Step 1: Create the Spoke VMware Router VM
This step creates the VMware ESXi virtual machine that will host the SSR branch router. The VM requires two VMXNet3 network adapters: NIC 1 connected to the WAN portgroup and NIC 2 connected to the LAN portgroup.
VM Minimum Requirements
| Resource | Minimum Value | Notes |
|---|---|---|
| vCPUs | 4 | |
| Scheduling Affinity | 0-3 | Set under CPU → expand |
| Memory | 8 GB | |
| Disk | 62 GB | |
| Network Adapters | 2 × VMXNet3 | NIC 1 = WAN portgroup, NIC 2 = LAN portgroup |
| Boot Firmware | EFI | UEFI secure boot disabled |
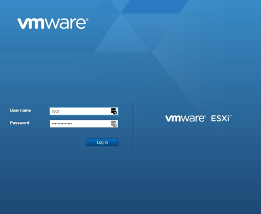
Log In to VMware ESXi
Open a web browser and navigate to your ESXi host. Log in with administrative credentials.
Upload the SSR ISO to the Datastore
-
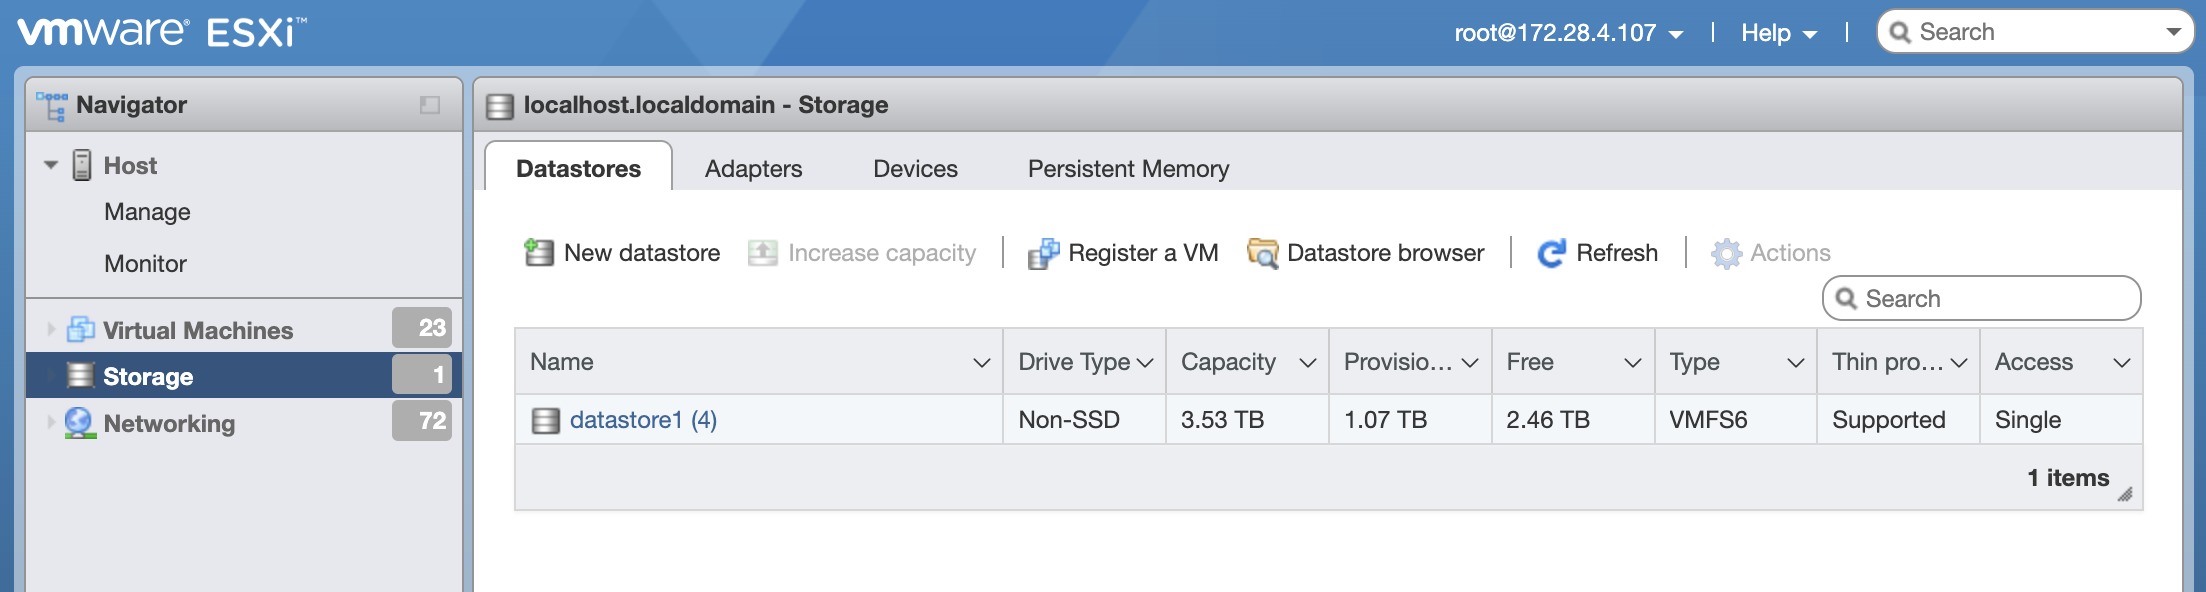
From the ESXi Navigator, select Storage.
-
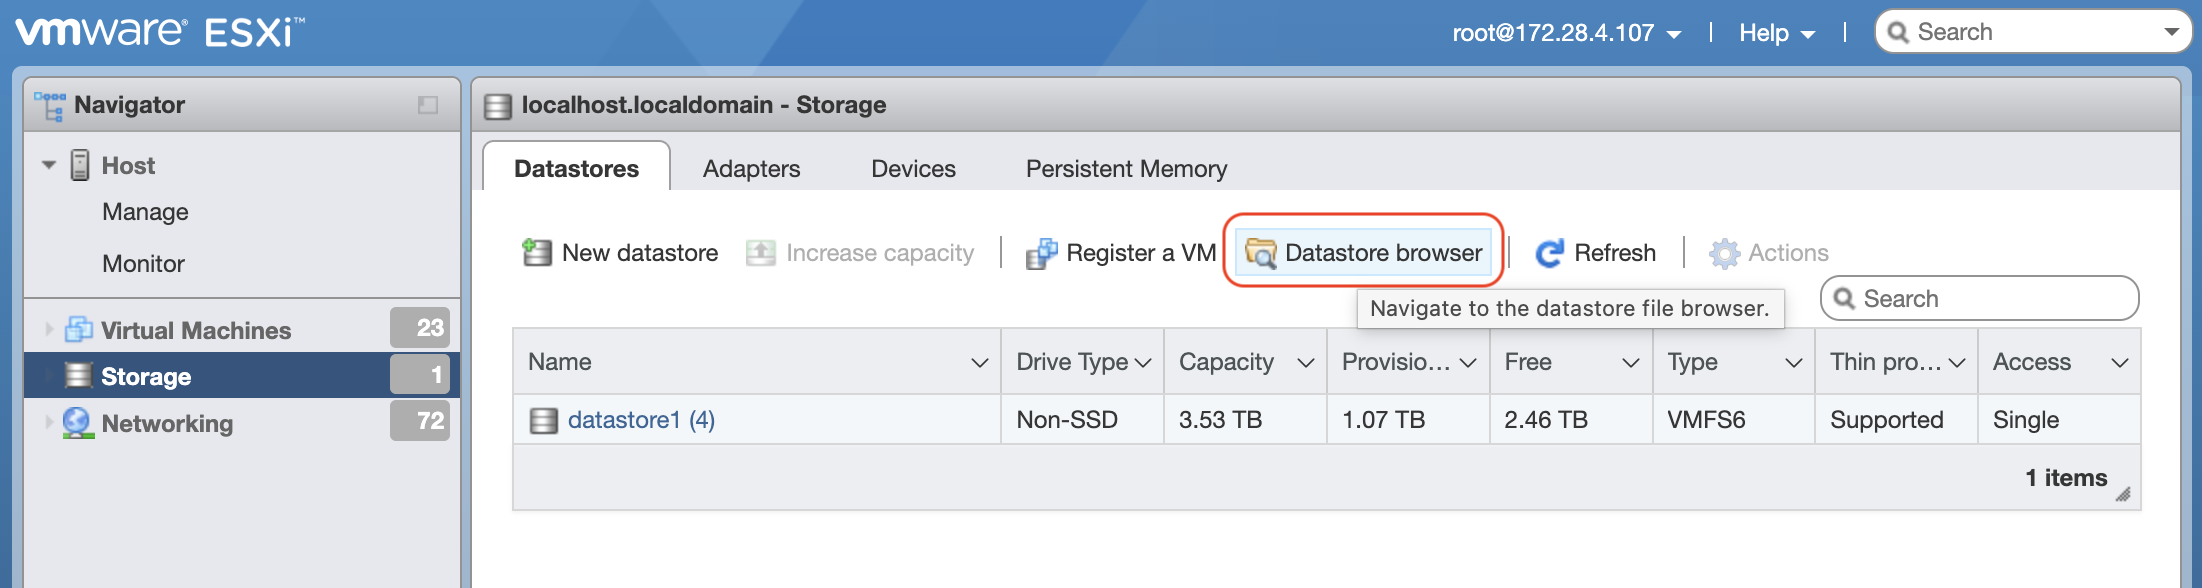
Click the Datastore Browser button.
-
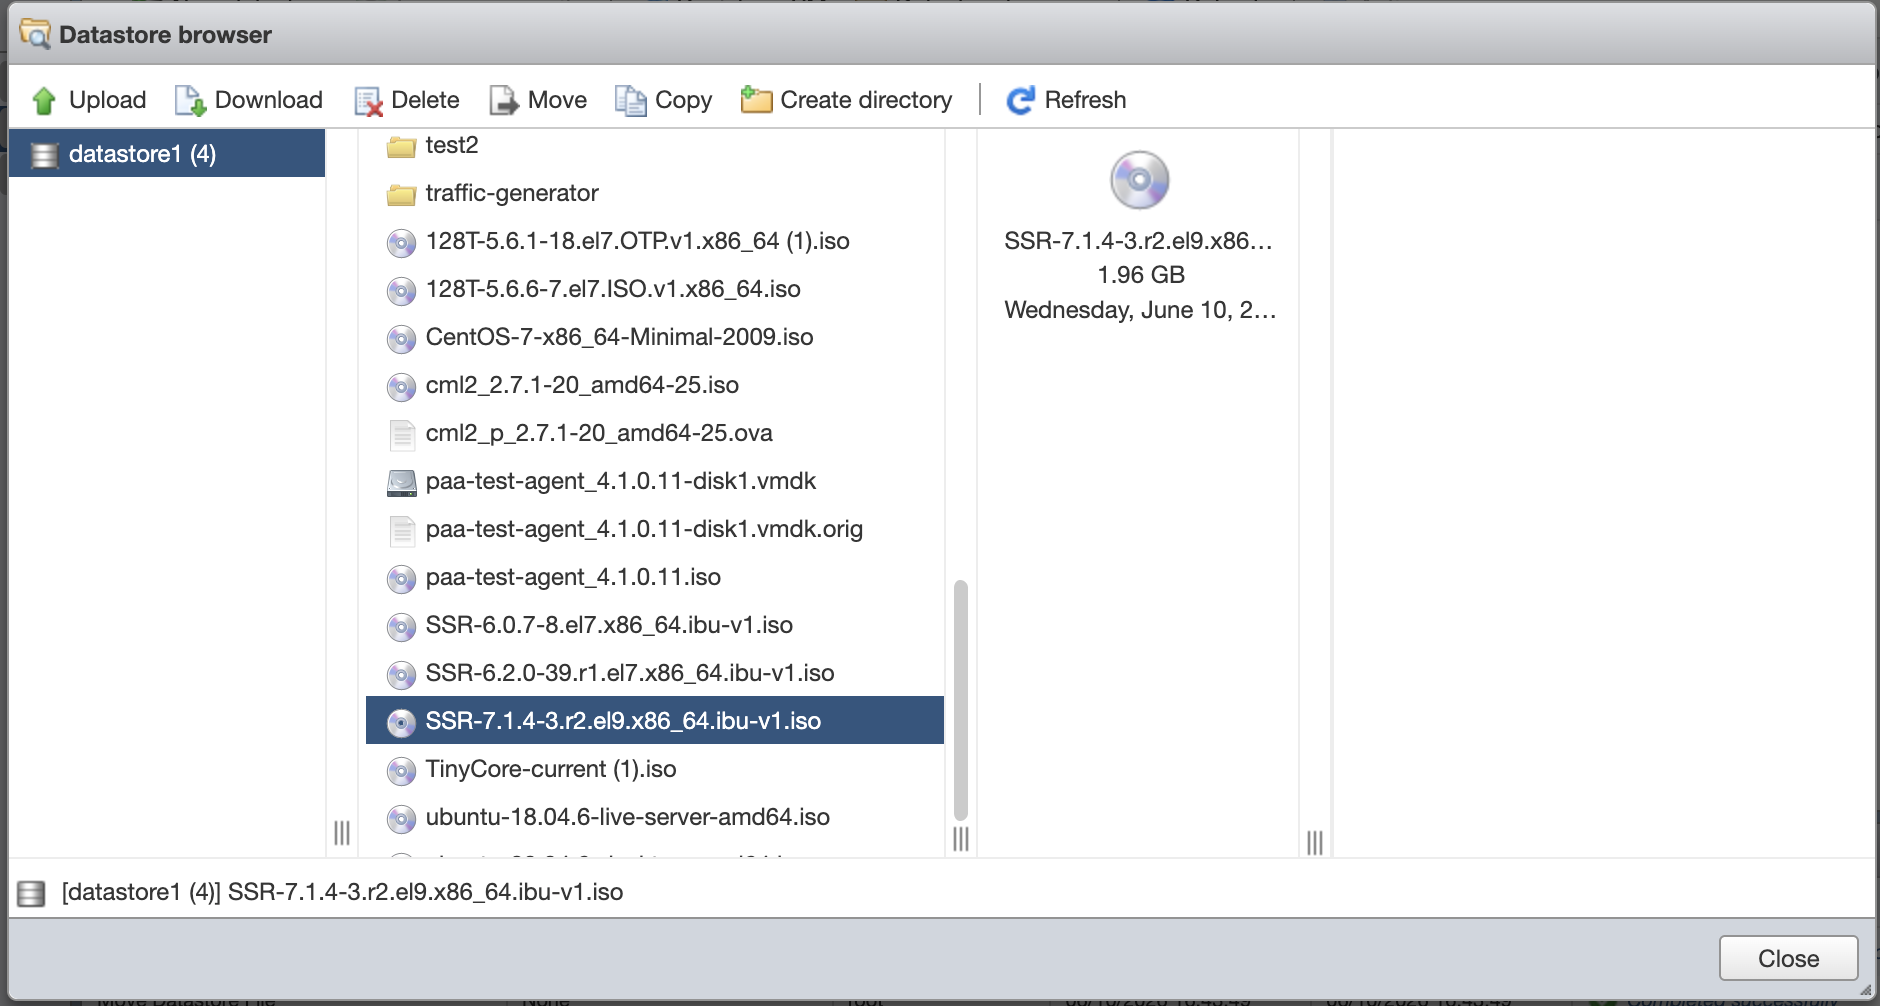
Click Upload, navigate to the SSR 7.1.4-3r2 ISO on your local workstation, and click Open. The ISO appears in the datastore.
-
Click Close.
Create the Virtual Machine
-
From the VMWare Navigator window, click on Create/Register VM.
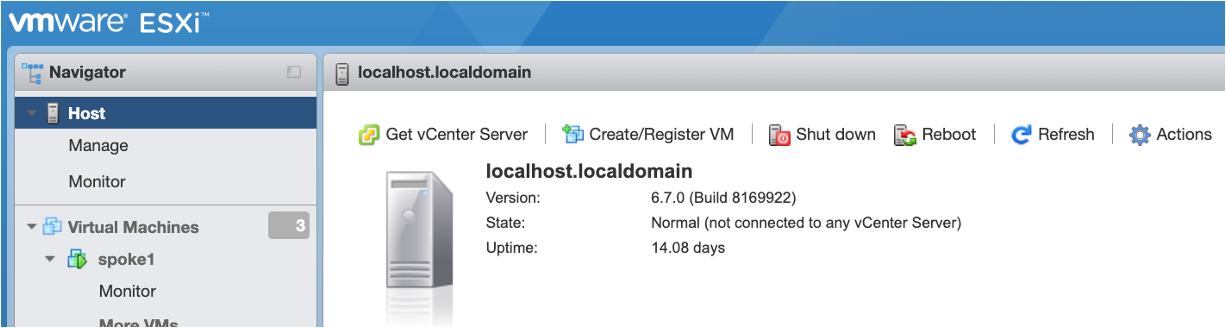
-
In the Select creation type window click Create a new virtual machine and then click Next.
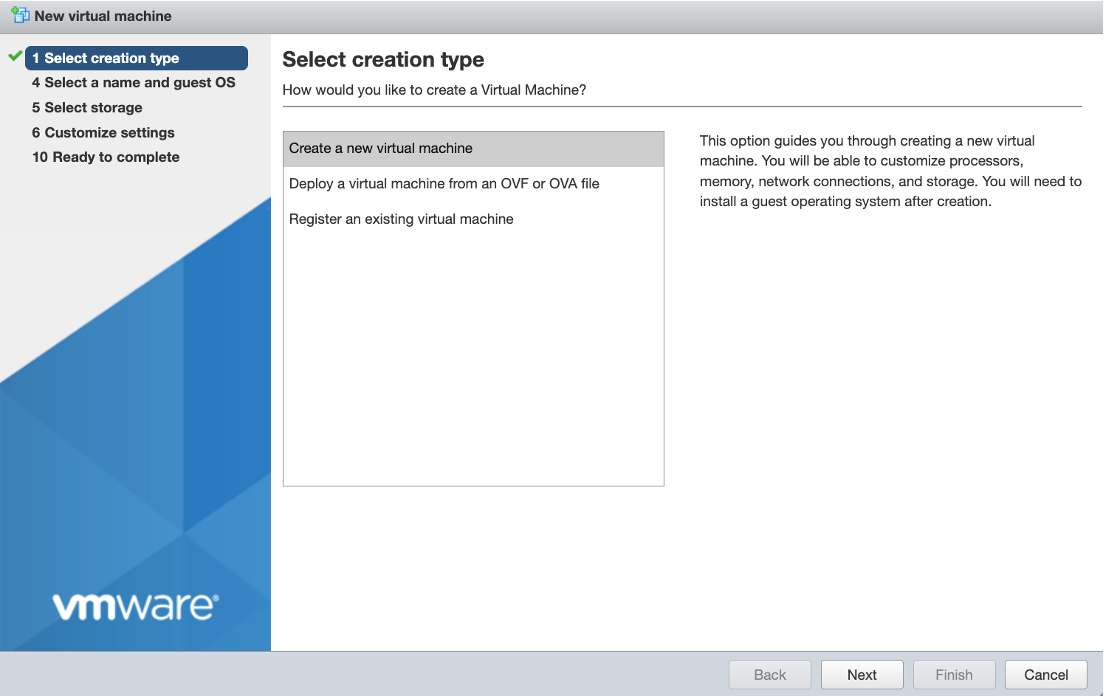
Name and Guest OS
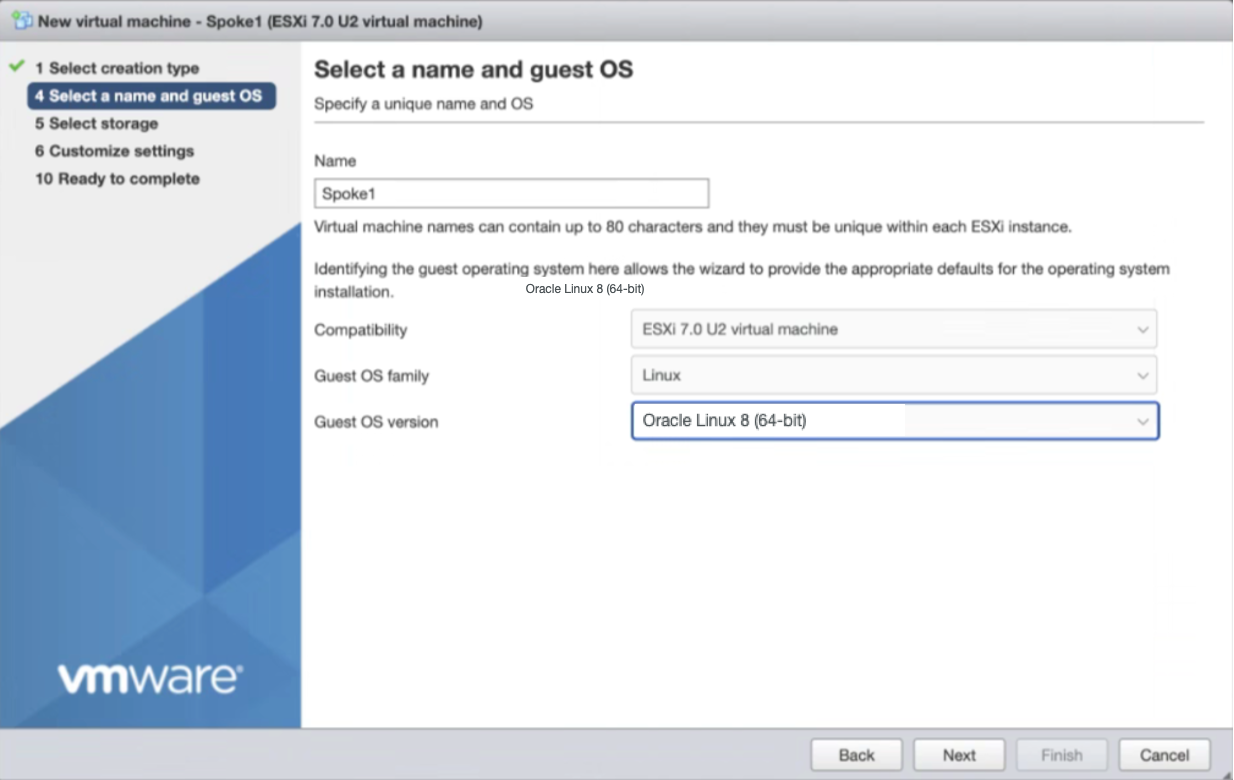
Use the steps below to configure the following:
| Field | Value |
|---|---|
| Name | A descriptive name, for example Spoke1 |
| Compatibility | ESXi 7.0 U2 virtual machine |
| Guest OS family | Linux |
| Guest OS version | Select the highest available Oracle Linux (64-bit) version |
-
Name the Virtual Machine Spoke1.
-
Select Linux from the Guest OS family dropdown selection.
-
Select the highest available Oracle Linux (64-bit) Guest OS version. Click Next.
Storage
-
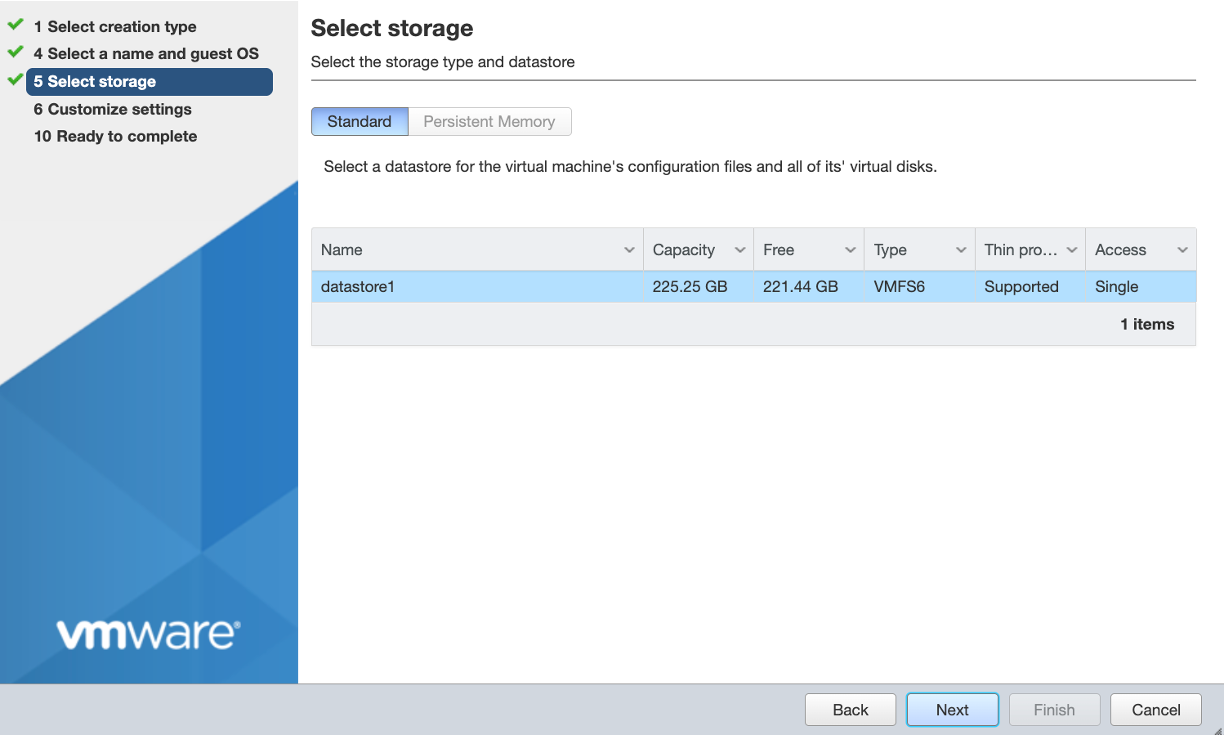
From the Storage screen, select datastore1 and click Next.
Virtual Hardware
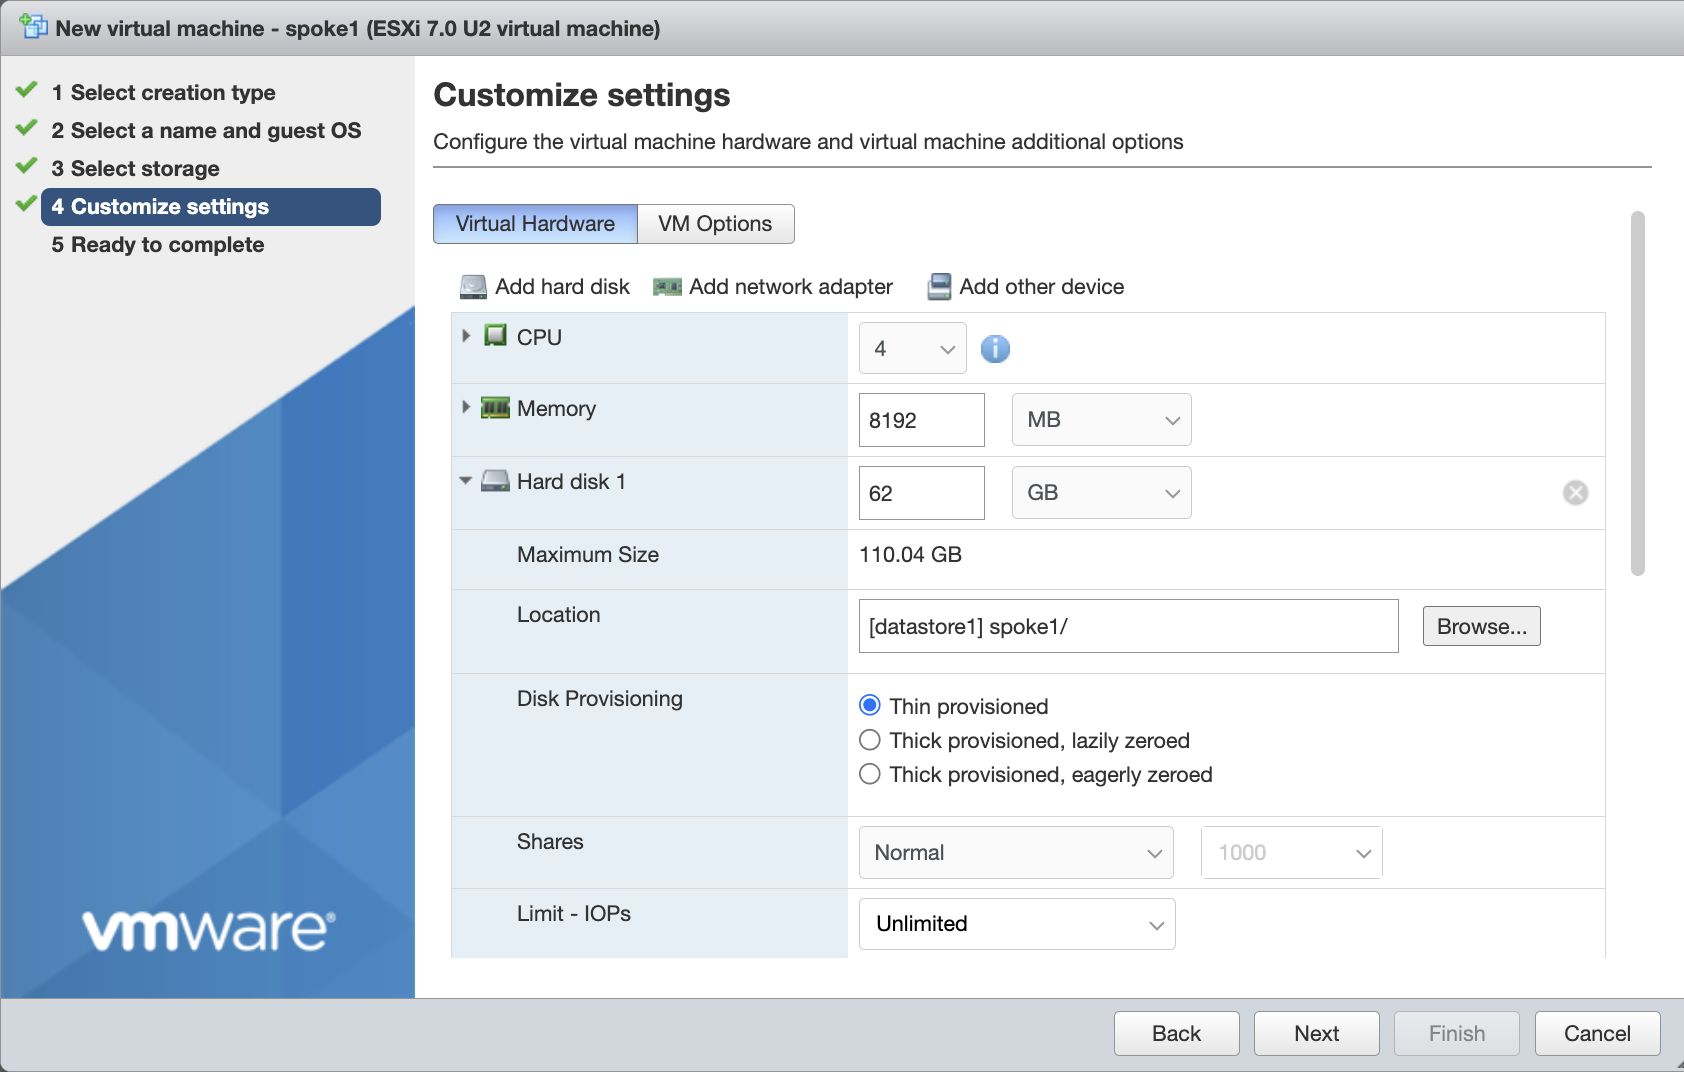
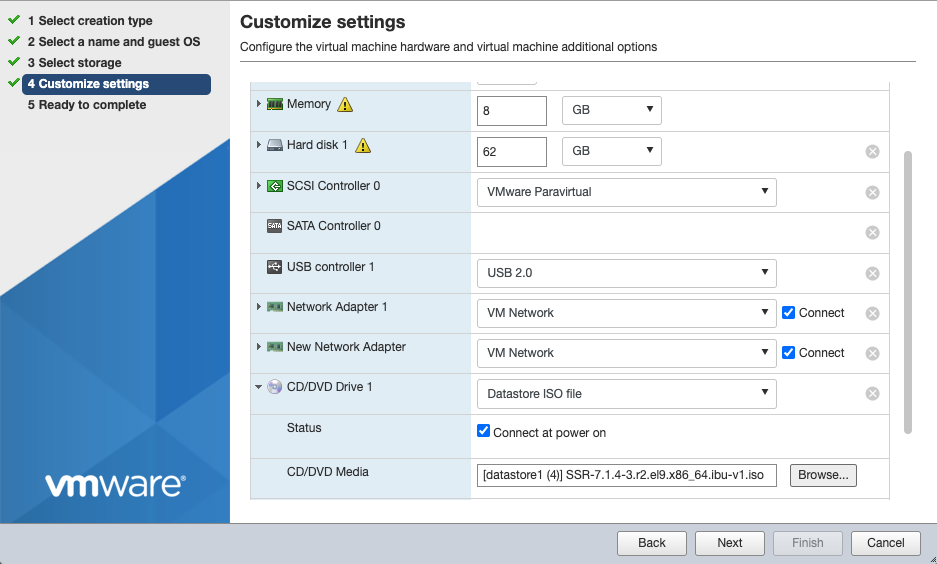
- On the Customize settings screen, click Virtual Hardware and configure the following settings.
These values meet the minimum router requirements:
| Setting | Value | Notes |
|---|---|---|
| CPUs | 4 | Minimum |
| Hardware virtualization | Select (checkbox) Expose hardware assisited virtualization to the guest OS | Set under CPU → expand |
| Memory | 8 GB | Minimum |
| Hard Disk 1 | 62 GB | Minimum |
| SCSI Controller 0 | VMware Paravirtual |
Boot Settings
-
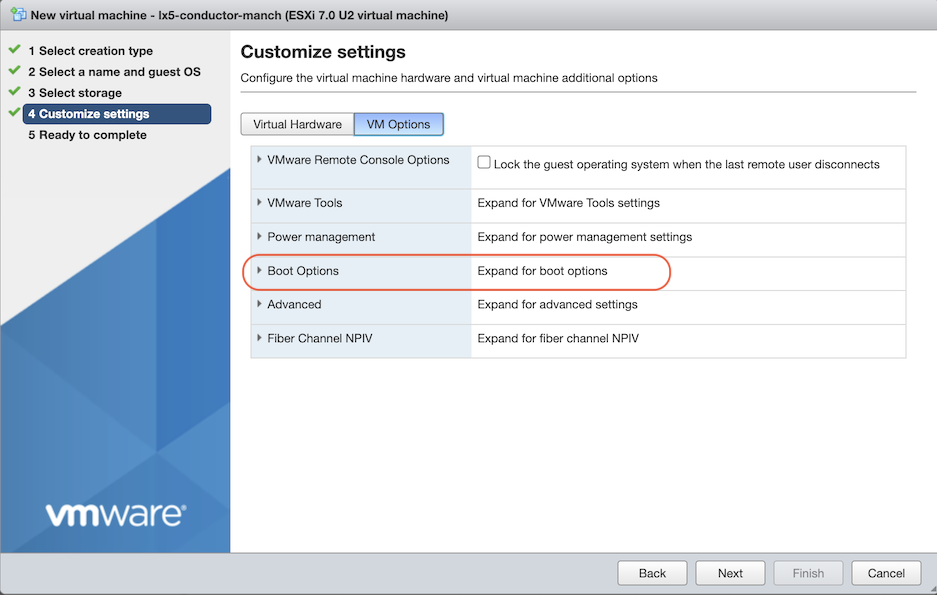
Click the VM Options tab.
-
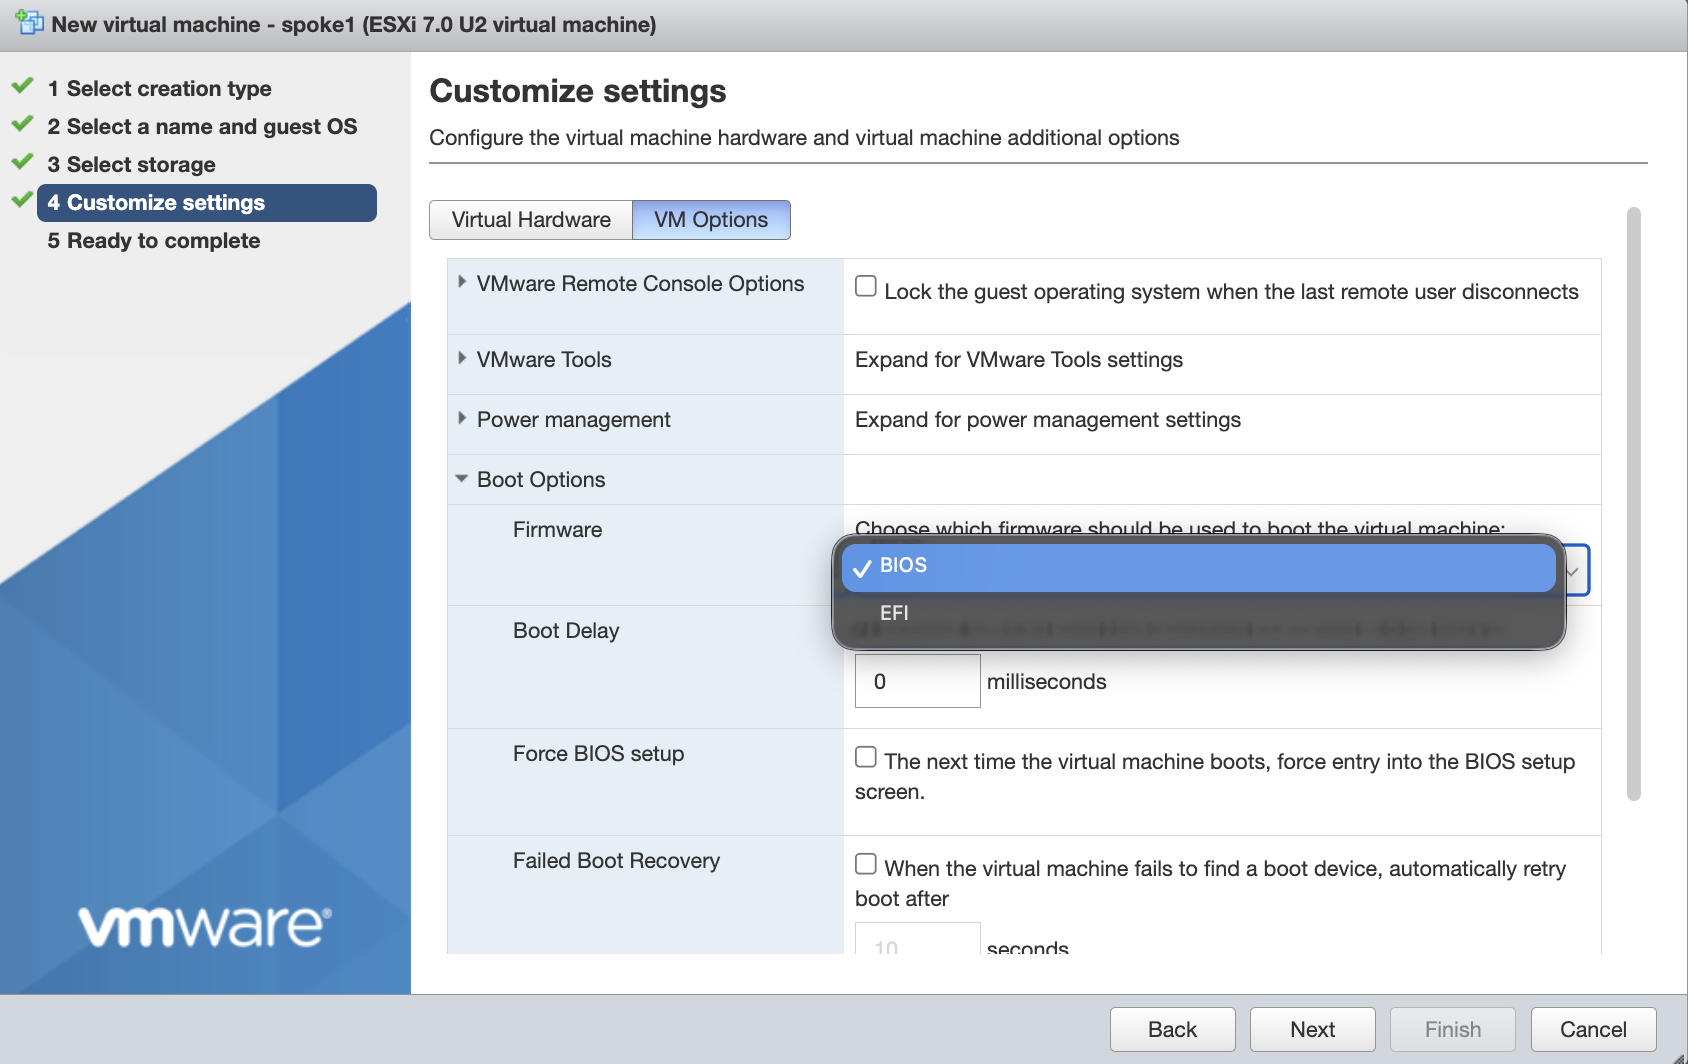
Expand Boot Options.
-
In the Firmware field, choose BIOS from the drop down.
- Click Next.
Network Adapters
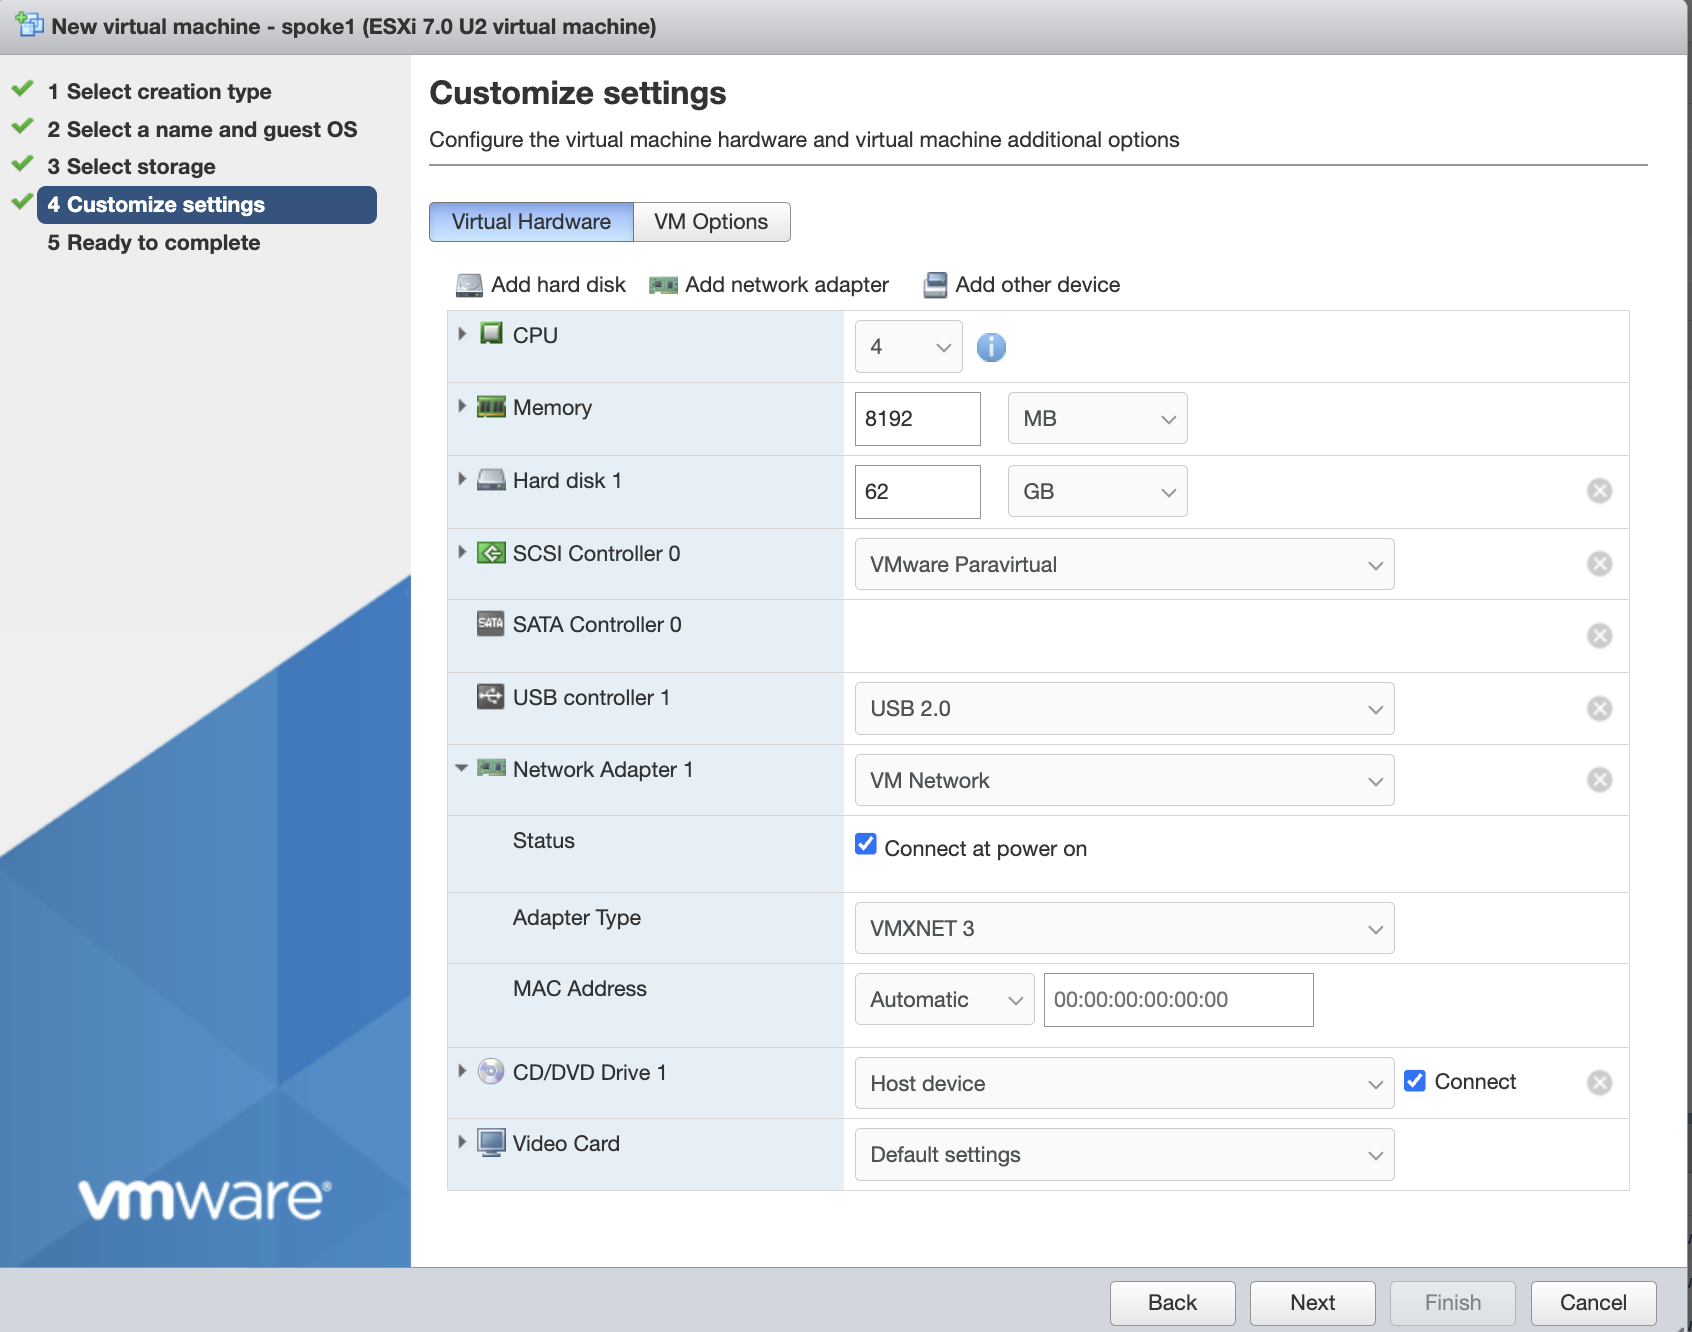
A VMware router requires at least two VMXNet3 network adapters: one for WAN and one for LAN. By default, one adapter is created.
-
Set the existing adapter's Adapter Type to VMXNET3 and select the appropriate portgroup name for the virtual network that will provide access to your WAN.
-
Click Add network adapter to add a second adapter. Set its Adapter Type to VMXNET3 and select the appropriate portgroup name for the virtual network that will provide access to your LAN.
If you need help creating portgroups and connecting them to your appropriate infrastructure, please consult your VMWare documentation.
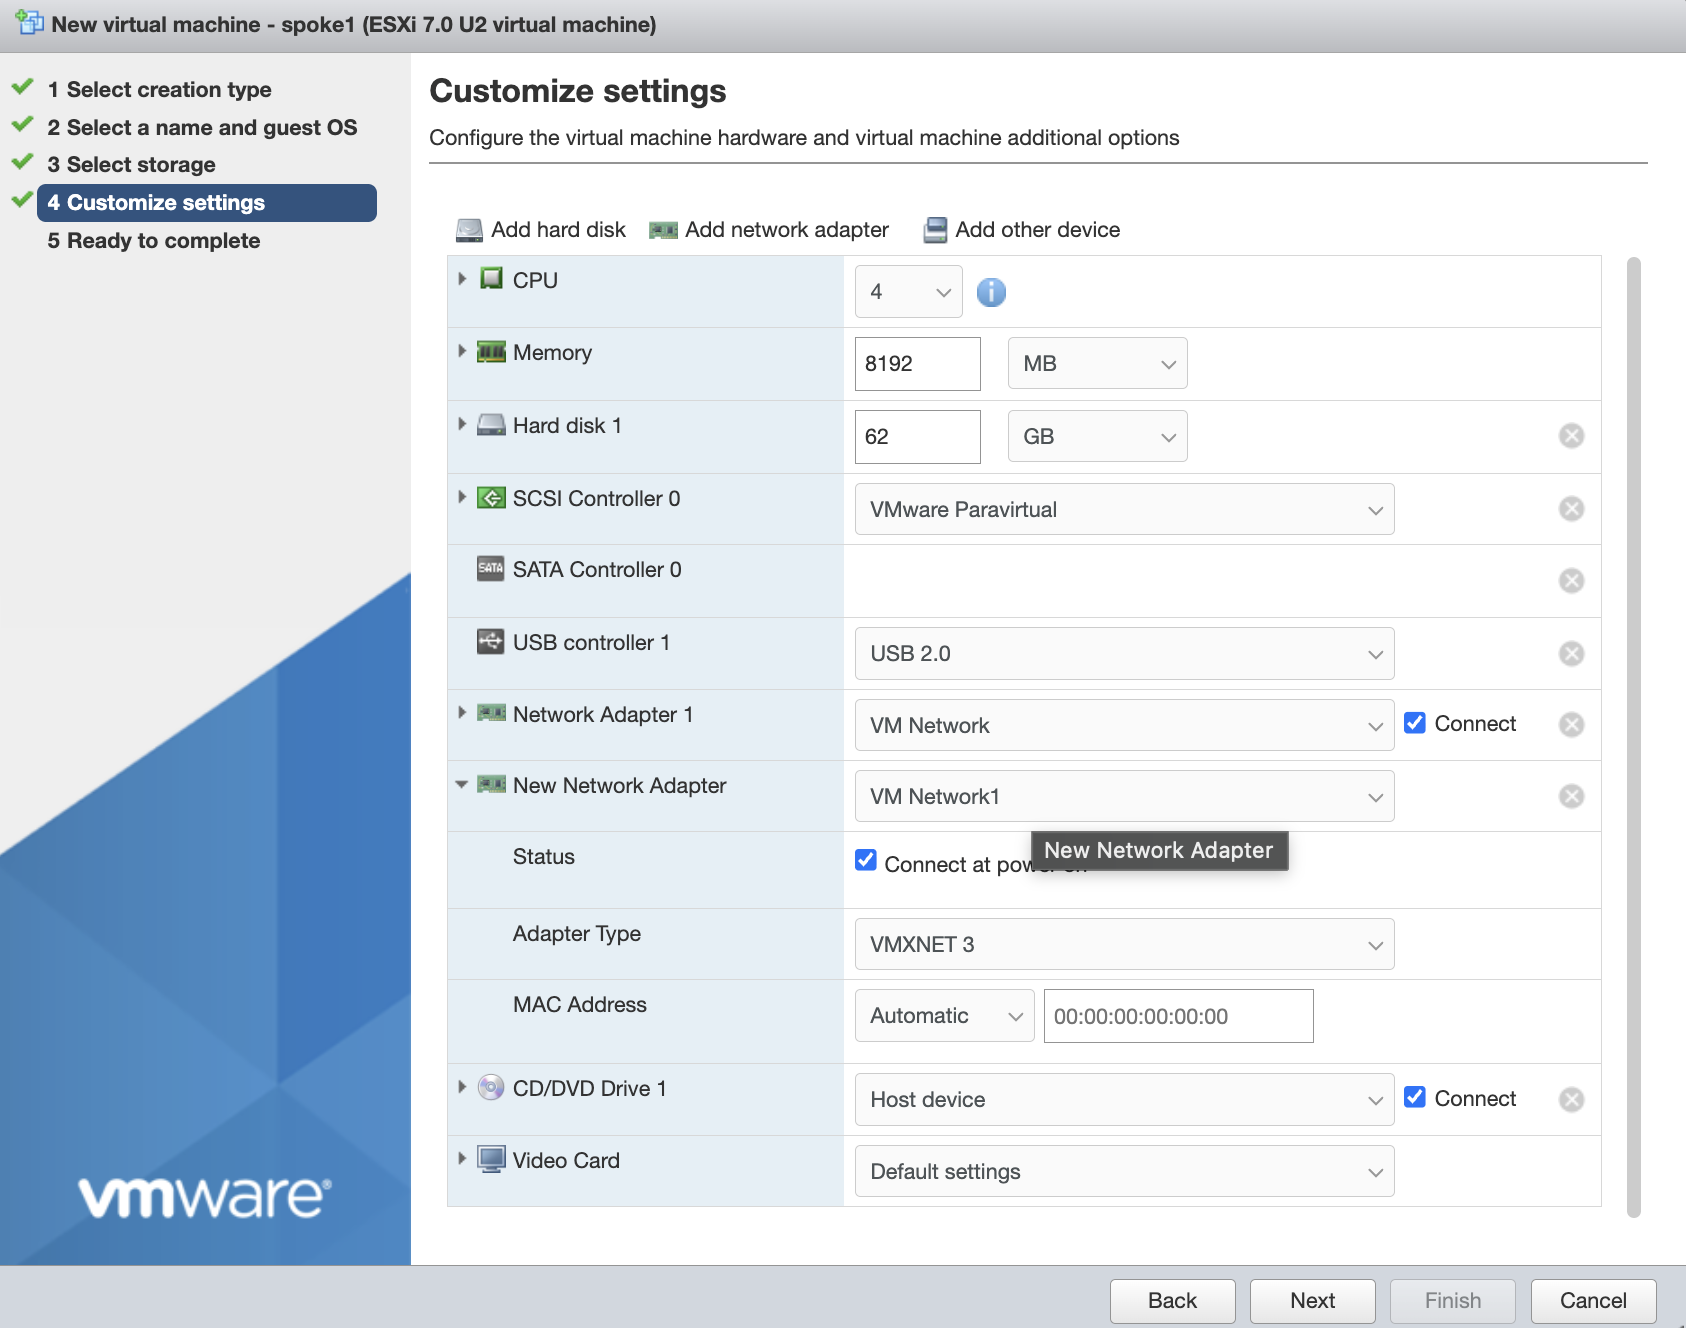
The order of the adapters (NIC 1 = WAN, NIC 2 = LAN) corresponds to the PCI addresses you will identify in Step 3 — Find VM NIC PCI Addresses.
CD/DVD Media - Software Selection
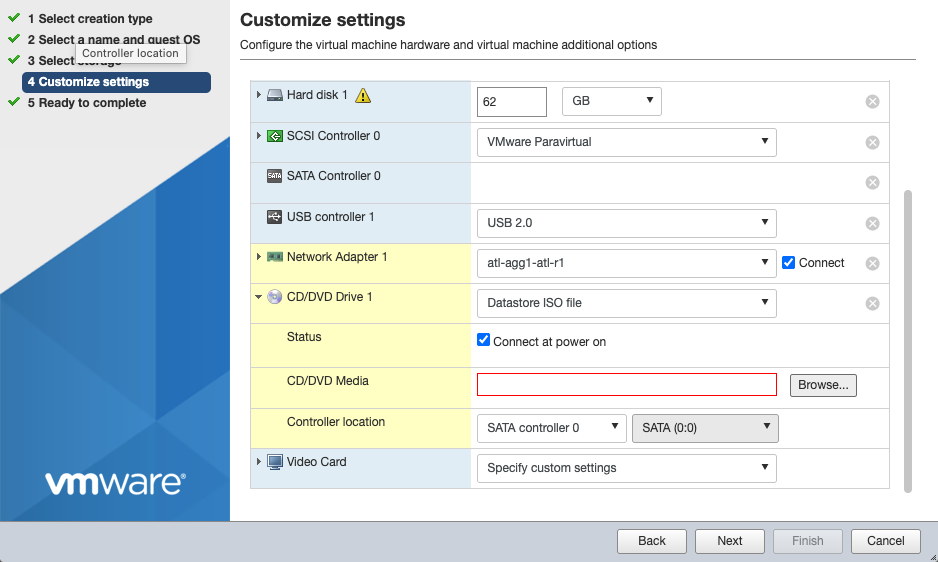
- Expand CD/DVD Drive 1.
-
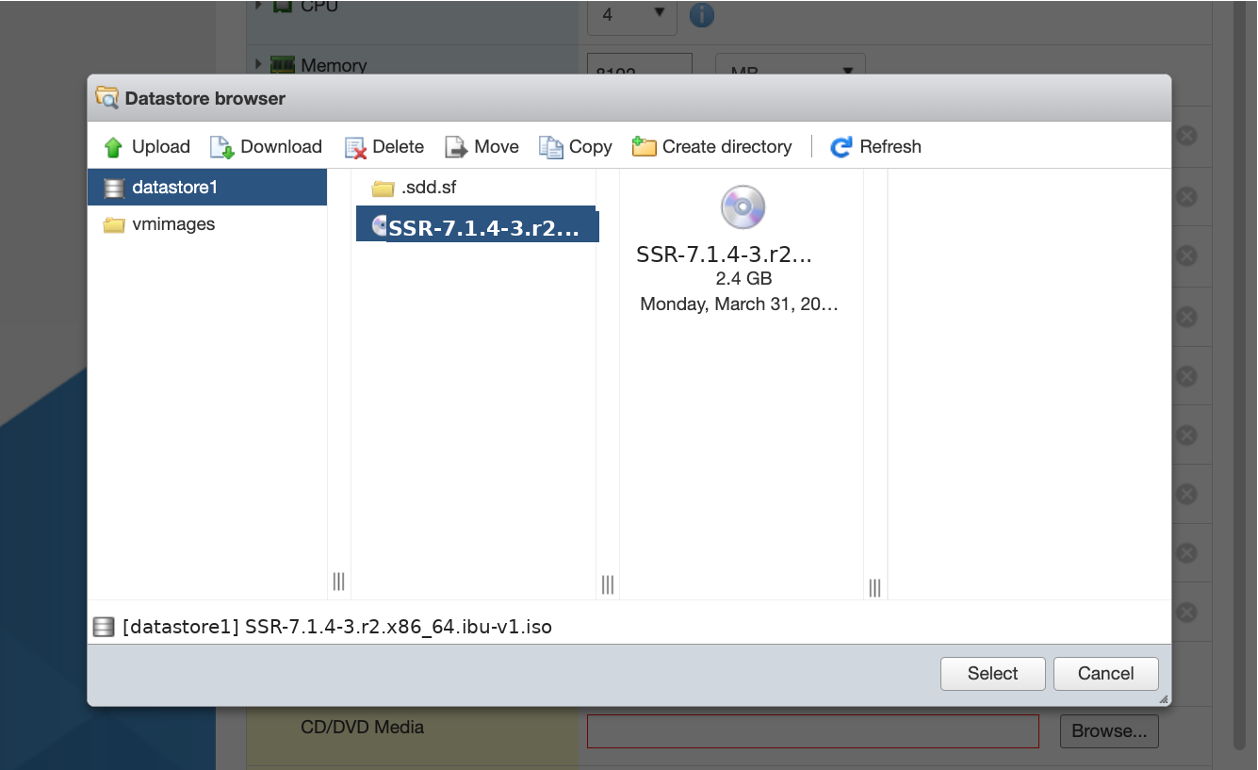
Place a check next to Connect at power on. In the dropdown to the right, select Datastore ISO file and then click Browse. The Datastore Browser opens.
-
Select the
SSR-7.1.4-3.r2.el9.x86_64.ibu-v1.isoand click Select.
- Confirm the settings, and then click Next.
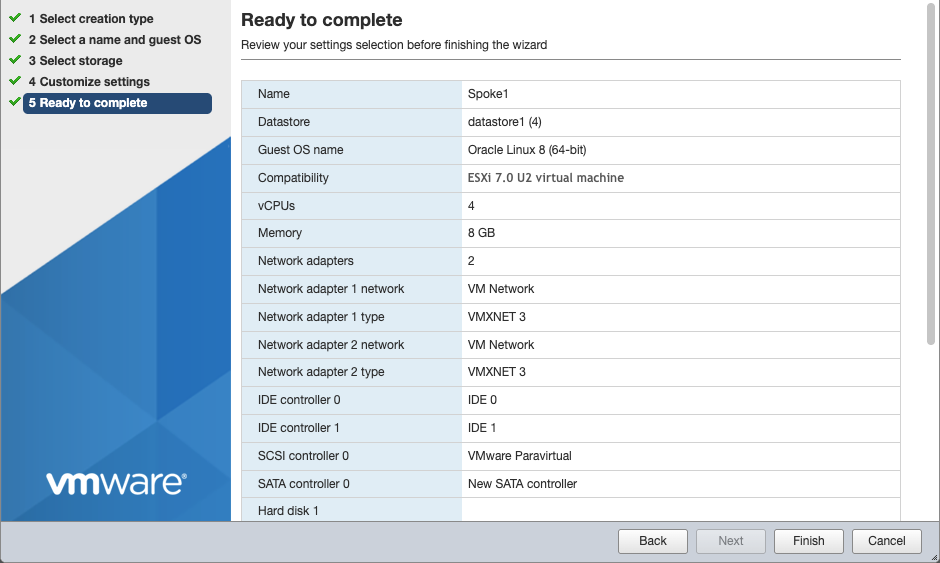
- Review the summary, then click Finish.
Next Step
Proceed to Step 2 — Install SSR Software and Initialize the Router.