Configuration Templates
Configuration templates allow administrators to automate the configuration of top level resources (e.g. Routers, Tenants, Services, etc). There are two modes of templating configuration: Basic and Advanced. Basic mode is intended for simple templates that don't require complex logic. Advanced mode, on the other hand, exposes the full power of the underlying templating language to the administrator.
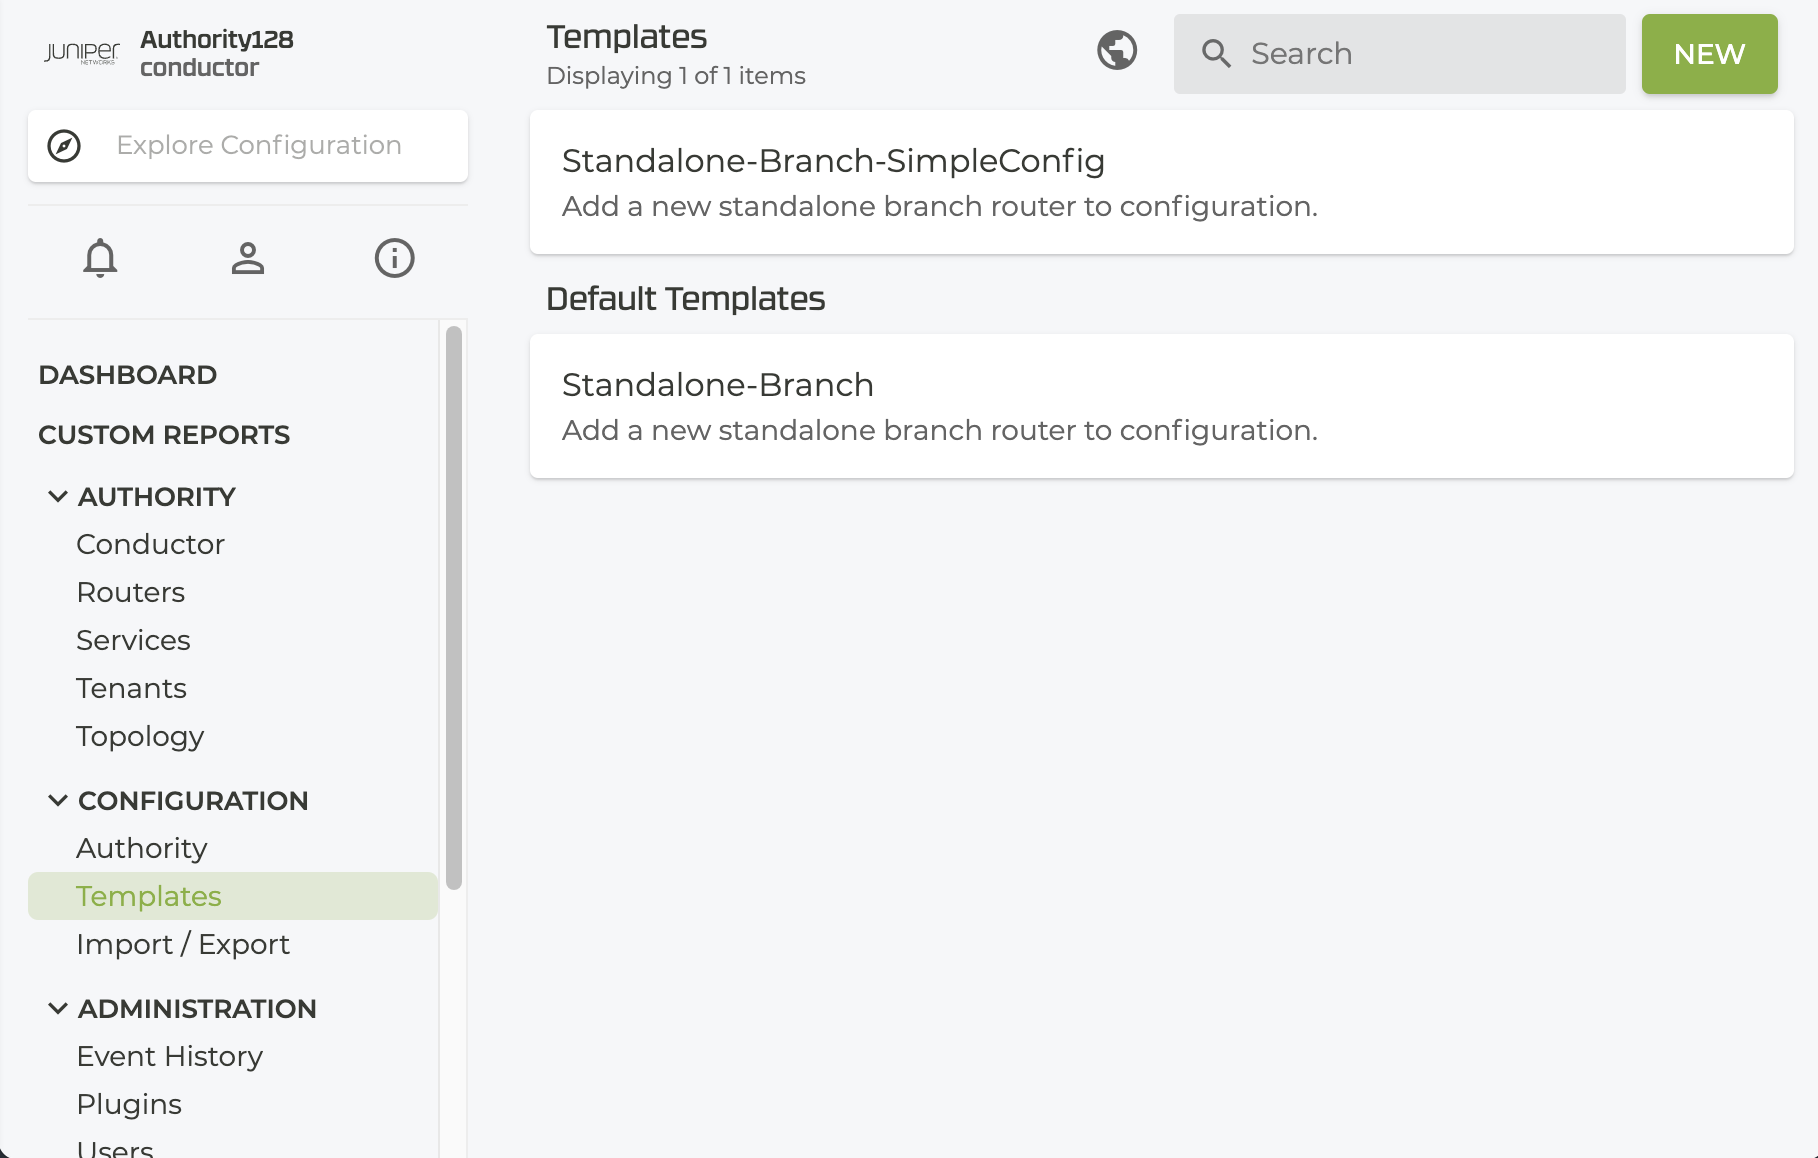
Default Templates
Beginning with SSR Version 5.4.0, a default Standalone Branch configuration template has been provided to streamline the configuration process. This template provides a basic configuration for a list of Juniper supported hardware.
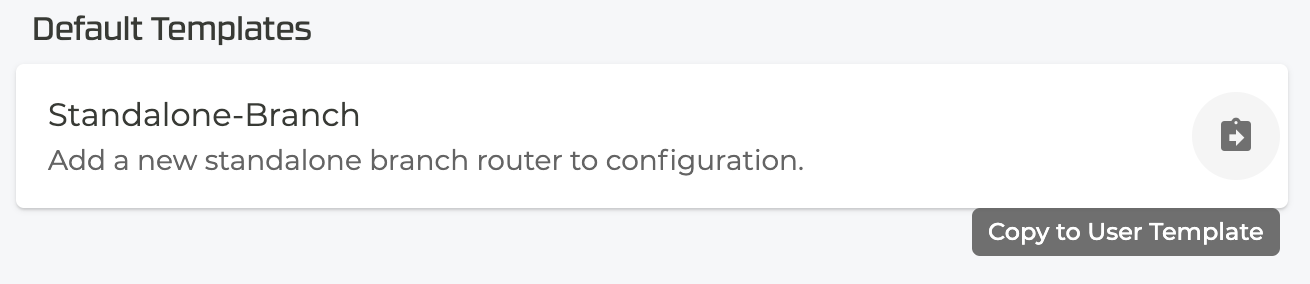
To use the default template:
- Click on the Copy to User Templates button.
- Assign a name to the template. The name can contain alphanumeric characters, underscore, and hyphen.
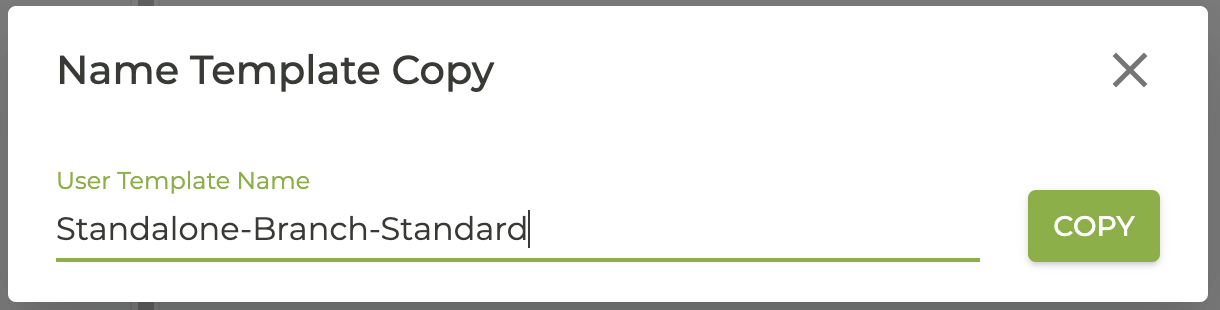
- Click the Copy button. The template appears in the Configuration Wizard window.
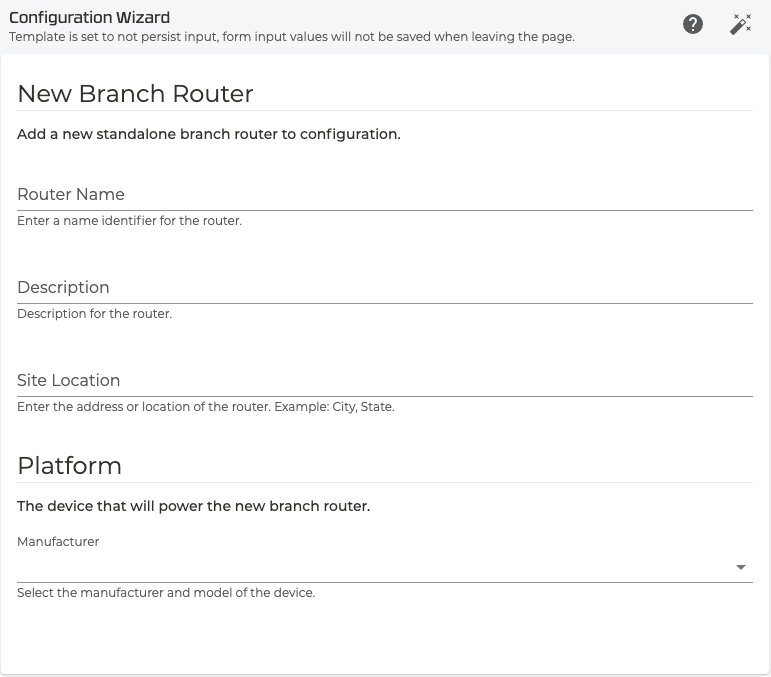
-
Enter the name, description, and location for the router.
-
Select the device that will power the router. Select one from the drop down. For additional information about the devices, click the help button (?) in the upper right corner of the window.
-
Once the configuration template is complete, click the Generate Configuration button in the top right corner of the panel, next to the help button.
Creating a Template
To create a template, begin by navigating to the Configuration page of the SSR Networking Platform. Next, click on the Templates button in the top right action area of the page: 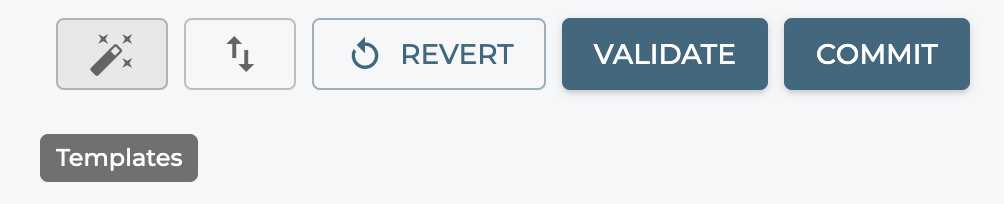
On the templates page you will see a list of your current templates, or a button to create a new one if none exist. Click the Create A Template button to create a new template: 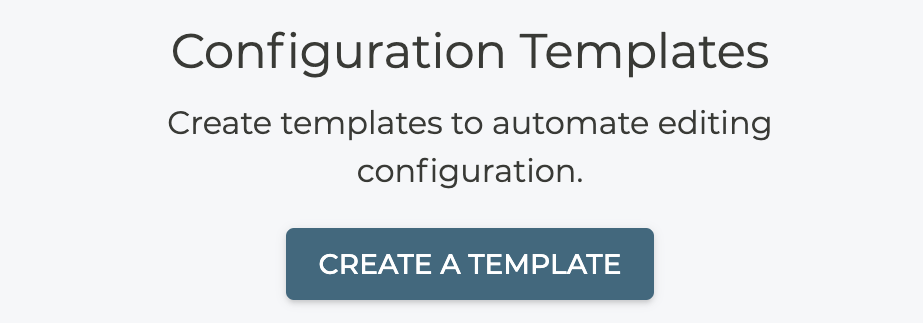
Next fill out the information for your template and click Save: 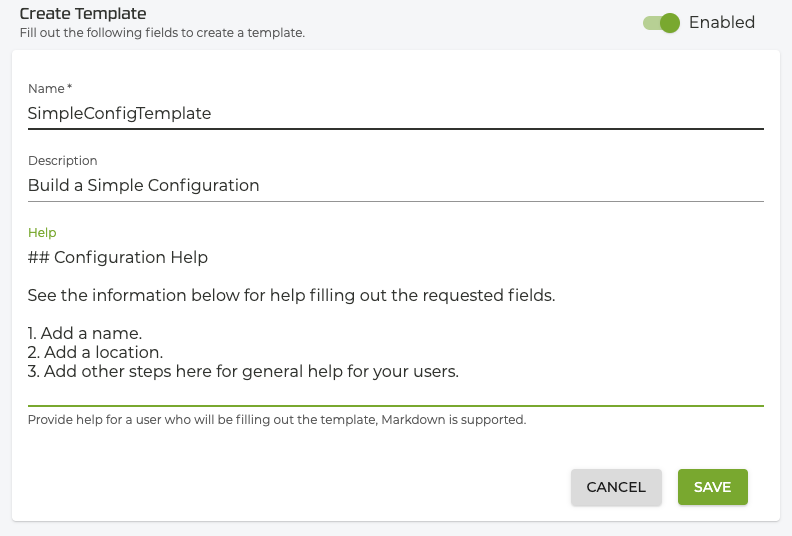
Adding Help for a Template
The Help field allows you to add help information to your configuration template. This is optional, and can be simple user instructions or detailed steps. Enter text, or use Markdown to format the text. Click Save when you are done.
You are returned to the list of templates to see your newly created template. Cicking into the template displays the message "Template is empty, copy configuration into the template to populate it.". Follow the steps in Copying Configuration into a Template to populate the template.
Copying Configuration into a Template
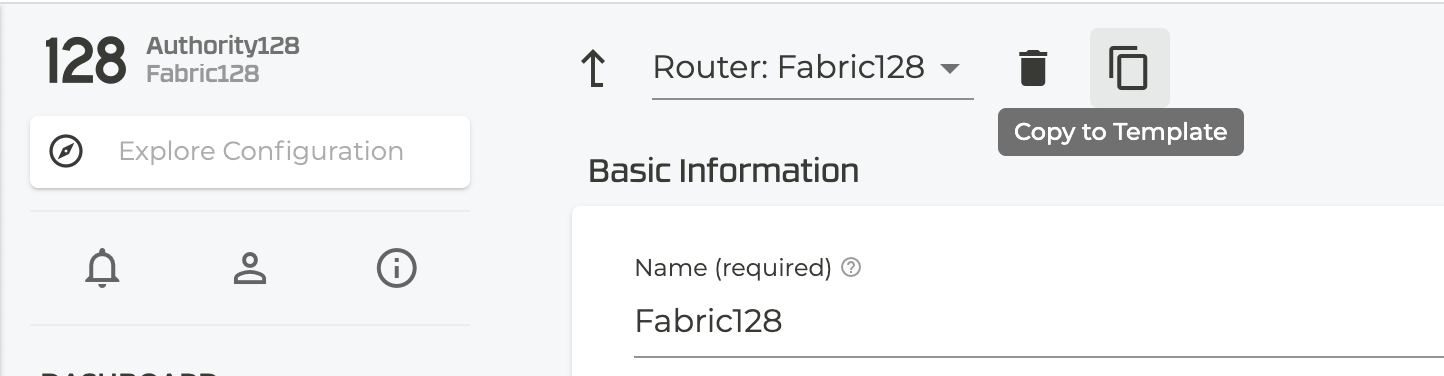
Instead of starting a template from scratch, it is often useful to copy existing or new configuration objects into the template body. The following button on top-level configuration object's pages can be used to copy the object into an existing template:
Basic Mode
Basic mode consists of two panes, the template body pane and the instances pane. The template body pane shows an annotated tree view of the configuration contained in the template. This represents the base configuration that will get generated for each instance of the template. Within the body you can mark fields as templated to make them a variable field for each instance (see Marking a Field as Templated). The instances pane allows you to add, remove, search, and generate instances of the template. You can picture the instances as the input to a for-loop, where you iterate through each instance, substitute its values into the template body, and generate a chunk of configuration. When generating configuration from instances, the administrator can select individual or all instances to run the generation step on.
Marking a Field as Templated
To mark a field in the template body as a variable field, hover over the value and click on it: 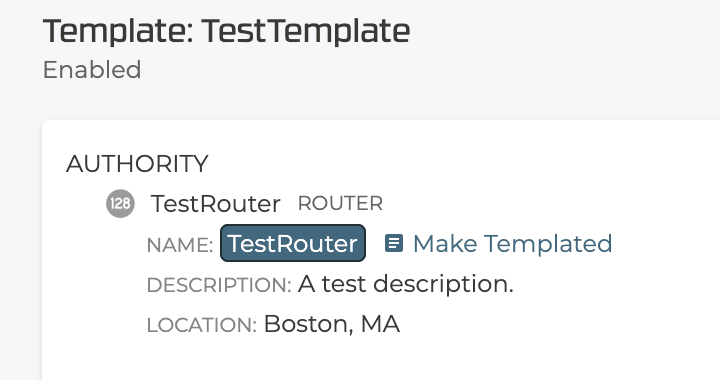
The field should turn green and indicate that it is now templated: 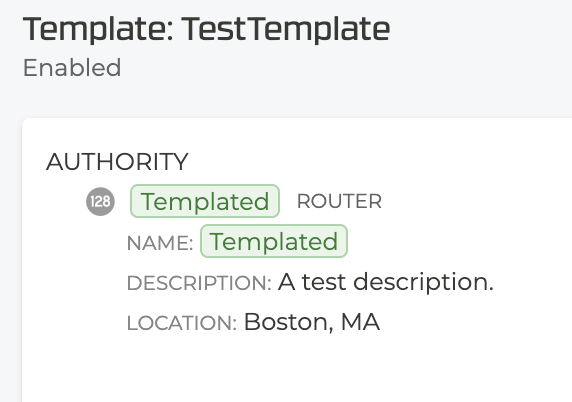
Adding Instances
To add an instance, click the Create an Instance button in the right pane: 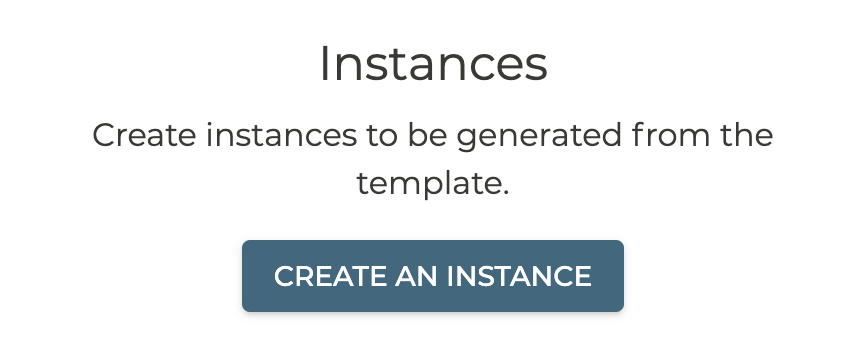
A new instance should have been created for you, click on it to expand it and fill it out with some info and then click Save: 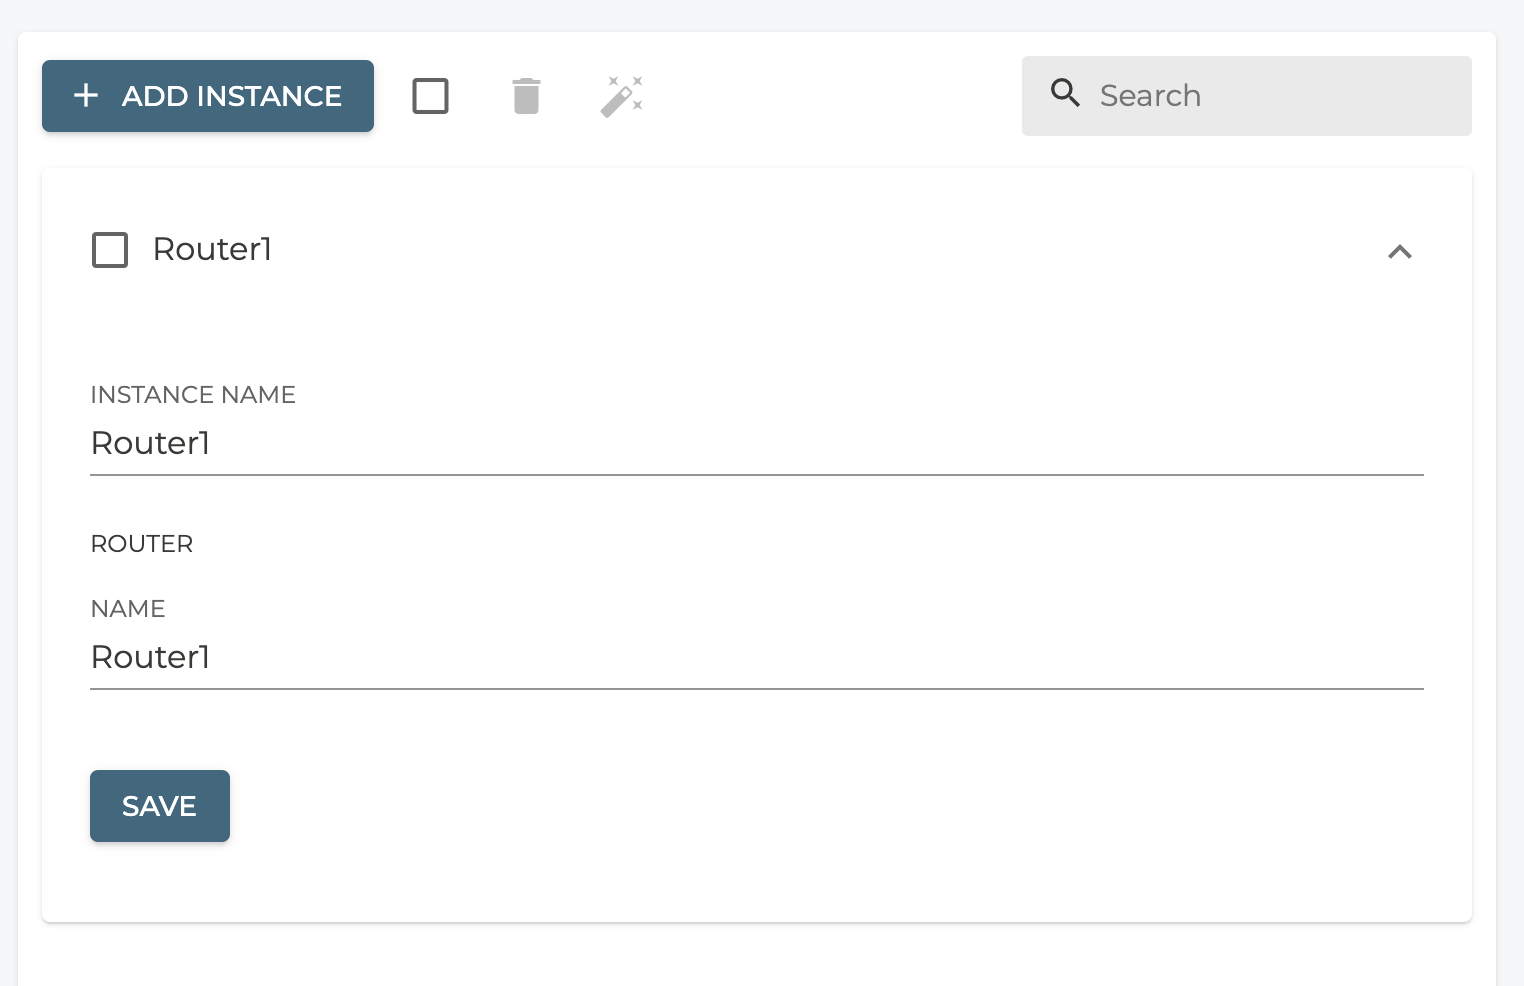
The name of the instance does not have to match the name of the router, it can be any name of your choosing.
Create another instance and save it as well. Now you should have two instances.
Generating Configuration
To generate configuration for instances, first select the instances you want to generate, or use the check box beside the Add Instance button to select them all: 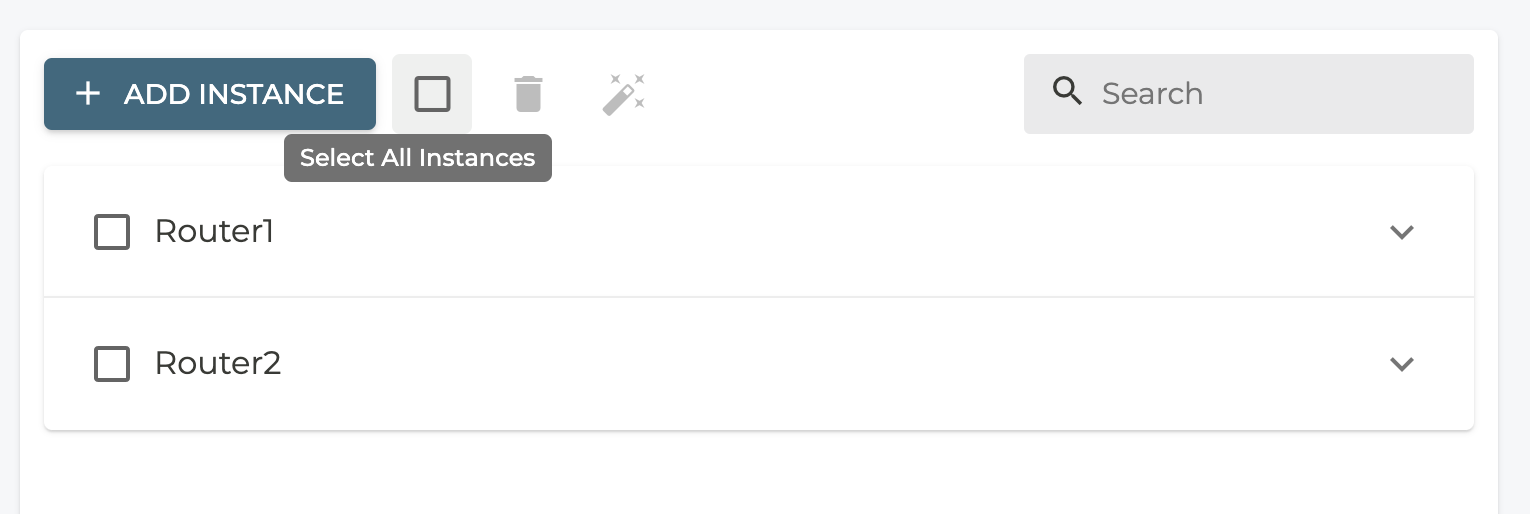
Now click the magic wand icon in the instances pane: 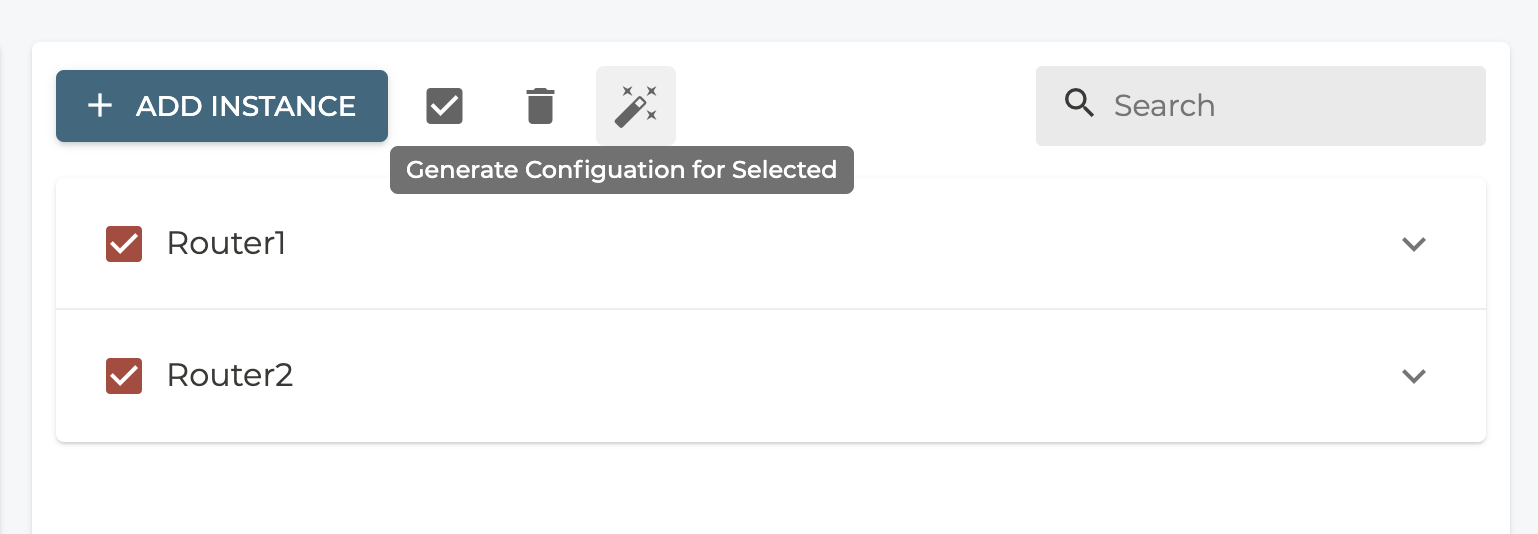
A wizard will appear to walk you through the generation steps and display any errors encountered along the way. When generation is finished you will see a success modal with a link to navigate to see your new configuration: 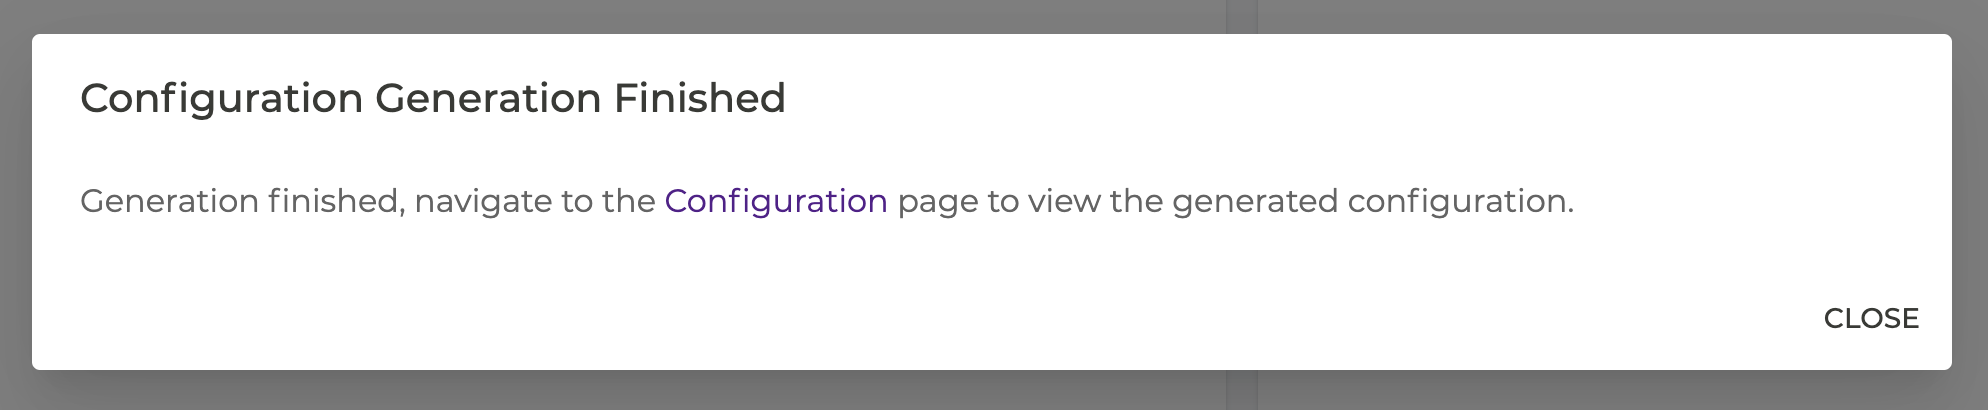
On the Configuration page you will see your generated configuration: 
Advanced Mode
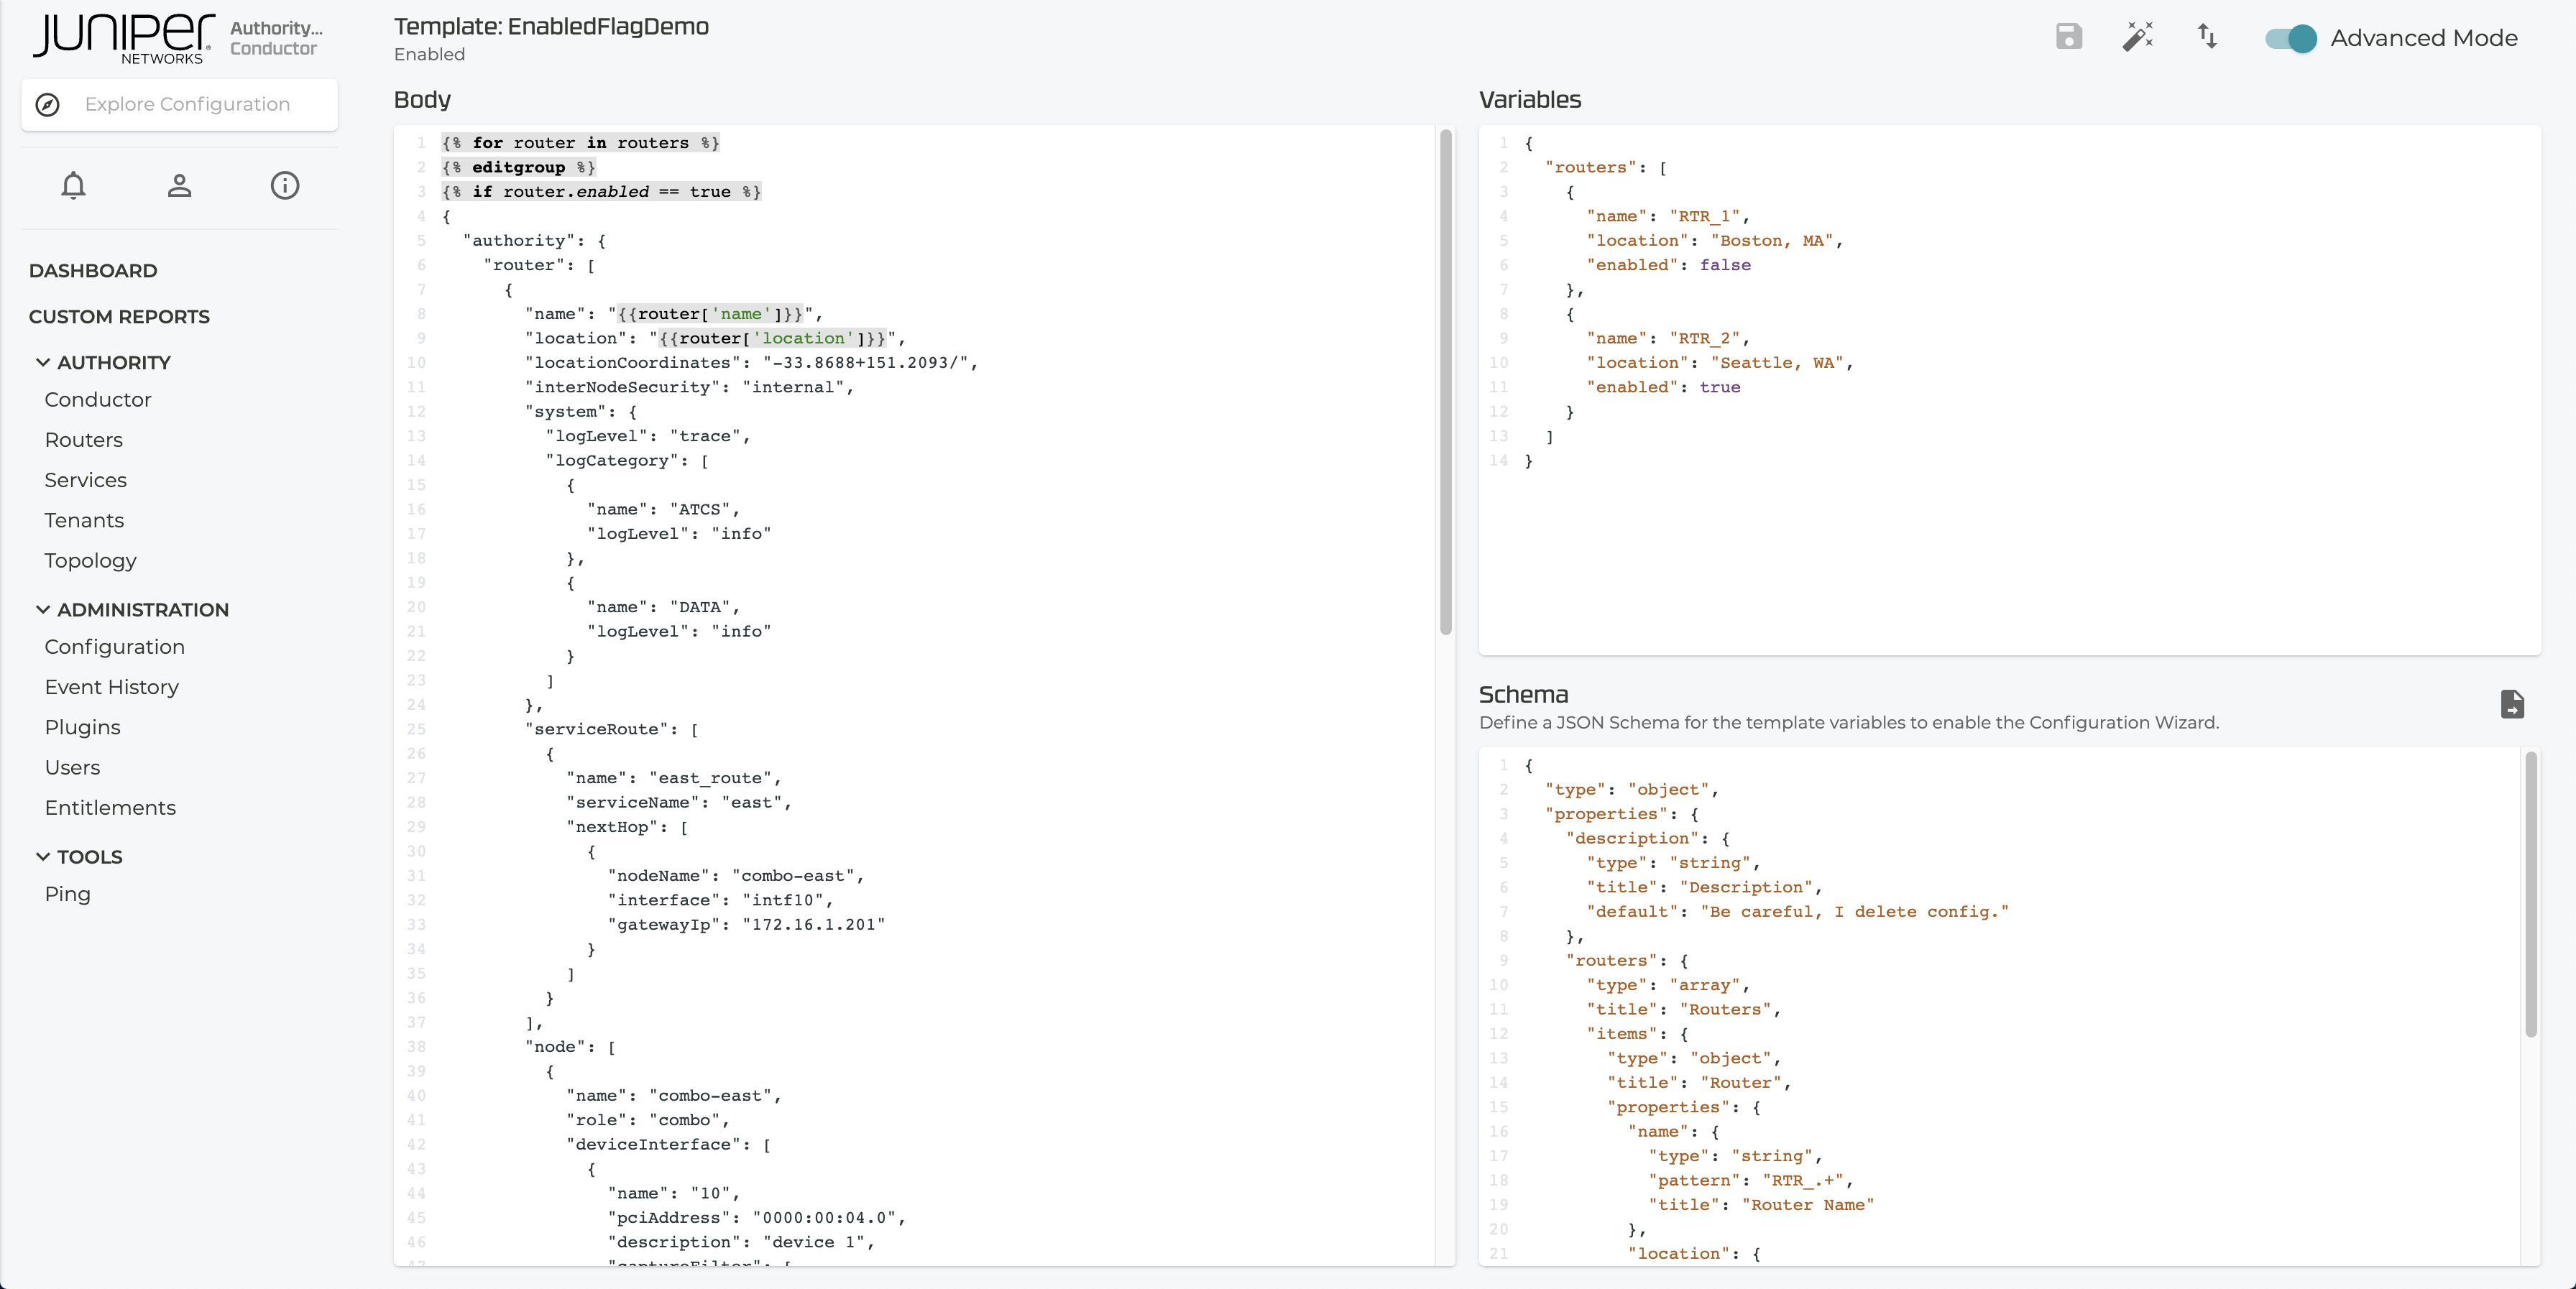
Advanced mode consists of two text based panes, the template body pane and the variables pane. Write the template body pane in the Liquid templating language. Write the variables pane in JSON. When you generate output from an advanced mode template, the template body is evaluated using the variables you define, and it must produce a valid configuration in JSON format. If the output of the generation is either not valid JSON or not valid configuration, you will be presented with information on where the failure occurred.
Any changes made to the template body pane or variables pane must be saved by clicking the Save button in the upper right portion of the page: 
Templating Language
The body of a configuration template is written in the Liquid templating language. Please refer to the Liquid documentation for the specifics of the language.
The SSR Networking Platform supports several custom tags and filters in Liquid (e.g. {% editGroup $}) that would not be parsable by other Liquid evaluators.
The {% editGroup $} Tag
Unlike in basic mode, advanced mode runs configuration generation in one step and makes one, possibly large, edit. In some cases it is desirable to break this large edit up into a set of smaller edits, this is the functionality of the {% editGroup $} tag. This tag can be conceptually thought of as a separator that the generated output is split upon.
For example, lets say you had the following template body and variables:
{% for instance in instances %}
{% editgroup %}
{
  "authority": {
    "router": [
      {
        "name": "{{instance.variables['name_IAPFNIn']}}",
        "location": "Boston, MA"
      }
    ]
  }
}
{% endfor %}
{
  "instances": [
    {
      "name": "Router1",
      "variables": {
        "name_IAPFNIn": "Router1"
      }
    },
    {
      "name": "Router2",
      "variables": {
        "name_IAPFNIn": "Router2"
      }
    }
  ]
}
After running the loop you would end up with:
{% editgroup %}
{
  "authority": {
    "router": [
      {
        "name": "Router1",
        "location": "Boston, MA"
      }
    ]
  }
}
{% editgroup %}
{
  "authority": {
    "router": [
      {
        "name": "Router2",
        "location": "Boston, MA"
      }
    ]
  }
}
After splitting on the {% editgroup %} tag you would end up with the following chunks of config:
{
  "authority": {
    "router": [
      {
        "name": "Router1",
        "location": "Boston, MA"
      }
    ]
  }
}
{
  "authority": {
    "router": [
      {
        "name": "Router2",
        "location": "Boston, MA"
      }
    ]
  }
}
This feature is also useful for initiating many top level edits that need to overlay on existing configuration.
Tag Naming Conventions
While not enforced, the administrator is encouraged to follow the following naming convention for tag names that correspond to configuration: field-name_{7 Random Characters from [A-Za-a0-9]}. For example, a tag name for a router could look like: name_bZ2h9e0.
Operations
Up until this point, all of the examples in this document have covered generated configurations that are merged into the existing configuration. In some deployments, the administrator may want to have a template that, for example, deletes configuration. The following syntax can be used to accomplish this in advanced mode:
{% for instance in instances %}
{% editgroup %}
{
  "authority": {
    "router": [
      {
        "_value": { "name": "{{instance.variables['name_aEayzmy']}}" },
        "_operation": "delete"
      }
    ]
  }
}
{% endfor %}
Given the following variables:
{
  "instances": [
    {
      "name": "Test1",
      "variables": {
        "name_aEayzmy": "Test1"
      }
    }
  ]
}
In the above example, router Test1 would be deleted from the candidate configuration upon running the generation step.
The following values are supported for the _operation field: merge, create, replace, delete, and remove.
List Positioning
In addition to the _operation property above, there is another property named _position. If, for example, you wanted to create a list item after another list item (e.g. if order matters) you could do the following:
{% for instance in instances %}
{% editgroup %}
{
  "authority": {
    "router": [
      {
        "_value": { "name": "{{instance.variables['name_aEayzmy']}}" },
        "_operation": "create",
        "_position": { "insert": "after", "keys": [{ "key": "name", "value": "Test2" }] }
      }
    ]
  }
}
{% endfor %}
Given the following variables:
{
  "instances": [
    {
      "name": "Test1",
      "variables": {
        "name_aEayzmy": "Test1"
      }
    }
  ]
}
The above would insert router Test1 after router Test2.
The insert property can have any of the following values: first, last, before, and after. If the list is of complex objects, like routers in the above example, the keys property must be specified for before and after. If instead the list was of simple strings like ["a", "b"], instead of keys you would specify a property called value which is a string to reference the item in the list that you want to target (e.g. "value": "a").
Pulling Values from the Candidate Configuration
The {% fromconfig path/to/a/config/value %} tag allows you to extract a value from the candidate configuration and use it during configuration generation.
Referencing a Leaf
For example, lets say you want a router's location to reference an existing router's location:
{
  "authority": {
    "router": [
      {
        "name": "{{name}}",
        "location": "{% fromconfig authority/router/nameOfTheExistingRouter/location %}"
      }
    ]
  }
}
Referencing a Leaf List by Index
For example, lets say that you want a router's description to be the first Conductor address defined at the authority level:
{
  "authority": {
    "router": [
      {
        "name": "{{name}}",
        "location": "{% fromconfig authority/conductor-address[0] %}"
      }
    ]
  }
}
Some things to note about paths to leaf lists:
- Indices are zero-based, the first element in the leaf list has position 0.
- If you do not provide an index (e.g.
authority/conductor-address) the first leaf list value will be used.
The following rules apply to all paths:
- If traversing a list with multiple keys, the keys should be in model order and separated by a comma.
- Keys should be URL encoded, do not URL encode the comma for compound keys.
- Leading and trailing slashes are ignored.
- Indices can only be used for leaf lists, you cannot reference a list by index, only by key.
Additional Filters
The following filters are available in addition to the built-in filters provided by Liquid.
The network_hosts Filter
The network_hosts filter can be used for expanding IPv4 or IPv6 blocks as follows:
{% assign addresses = exampleBlock | network_hosts %}
where exampleBlock is 192.168.0.1/30 will produce the following addresses:
["192.168.0.0", "192.168.0.1", "192.168.0.2", "192.168.0.3"]
They could then be looped over like so:
{% for address in addresses %}
  {
    "ipAddress": "{{address}}"
  }{%- if forloop.last == false -%},{%- endif %}
{% endfor %}
The network_prefix Filter
The network_prefix filter takes a string representation of a network in CIDR format and returns the prefix as a number:
'192.168.1.0/24' produces 24
The usable_ips Filter
The usable_ips filter takes a string representation of a network in CIDR format and returns an array of usable IPs in the network. The network and broadcast addresses are not present in the array:
'192.168.1.0/24' produces ['192.168.1.1, 192.168.1.2, ..., '192.168.1.254']
The mask_to_prefix_length Filter
The mask_to_prefix_length filter takes a netmask and returns the CIDR prefix length:
'255.255.255.0' produces 24
The prefix_length_to_mask Filter
The prefix_length_to_mask filter takes a CIDR prefix length and returns the netmask:
24 produces '255.255.255.0'
The network_address Filter
The network_address filter takes a string representation of an IP in CIDR format and returns its network address:
'192.168.1.10/24' produces '192.168.1.0/24'
Then you can assign the IP from global map to a local variable:
{% assign localIP = ipMap[lookupKey] %}
Global Variables
Global template variables allow you to define a set of variables that can be accessed from any advanced mode template. The global variables are defined via a free-form JSON blob, they can be accessed by clicking the following icon on the template index page:

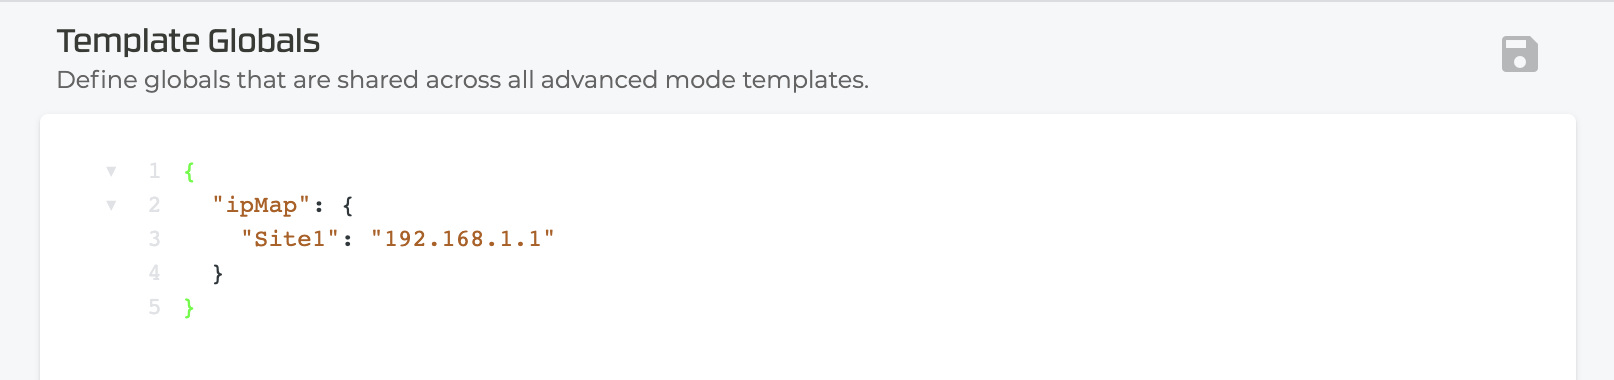
That will bring you to the global variables editor:
Global variables are merged with any local variables defined on the template. It is important to avoid name collisions between global and local variables, or encapsulate all global variables in an object to reduce the likelihood of a collision:
{
  "globals": {
    "iCantCollideWithLocalVariablesNow": "foo"
  }
}
You can reference global variables just as if they were local variables, no special syntax is required.
Dynamic Paths to Global Variables
Sometimes it may be beneficial to use a local variable in the path to a global variable. For example, say your global variables have a map of site name to IP address:
{
  "ipMap": {
    "Site1_IP": "192.168.1.1"
  }
}
And lets say your local variables contain a site name, for example:
"SiteName": "Site1"
You can use the replace filter in Liquid to build the key in the lookup map:
{% assign lookupKey = '%1_IP' | replace:'%1',SiteName %}
Then you can assign the IP from global map to a local variable:
{% assign localIP = ipMap[lookupKey] %}
Conversion Between Modes
If you have a schema defined in advanced mode, it will be lost when converting to basic mode.
When transitioning from basic to advanced mode or vice versa, data is retained and converted to the new mode. Basic mode can always be transitioned to advanced mode, but advanced mode cannot always be transitioned back to basic mode. The following conditions must be met for a template to be transitioned from advanced mode to basic mode:
- The template body must start with:
{% for instance in instances %}
{% editgroup %}
- The template body must end with:
{% endfor %}
- The JSON between the start and end segments of the body must be valid JSON.
- The JSON between the start and end segments of the body must be structurally valid configuration. We will trim any unrecognized fields, but for example if a field is supposed to be an array and it is a string, the conversion will fail.
- The variables pane of the template must contain valid JSON.
- There must be an array of instances in the variables JSON.
- Each instance must have a name and an optional variables object that maps tag names to the values that will be substituted in for them. For example:
{
  "instances": [
    {
      "name": "Router1",
      "variables": {
        "name_IAPFNIn": "Router1"
      }
    },
    {
      "name": "Router2",
      "variables": {
        "name_IAPFNIn": "Router2"
      }
    }
  ]
}
The easiest way to quickly make modifications to the structure of a template body in basic mode is to switch to advanced mode, make the edits, and then switch back to basic mode.
Configuration Wizard
In some scenarios, it may be desirable to have the best of both worlds between advanced mode and basic mode. Under the covers, the administrator needs the functionality of an advanced template, but also wants a form-based mechanism for filling out the variables. This can be accomplished with the Configuration Wizard. To enable the Configuration Wizard, the administrator must define a JSON Schema for the template via the advanced view:
Once an advanced template has a schema defined, clicking the template on the template index page brings the user to a form-based page for filling out the template variables:
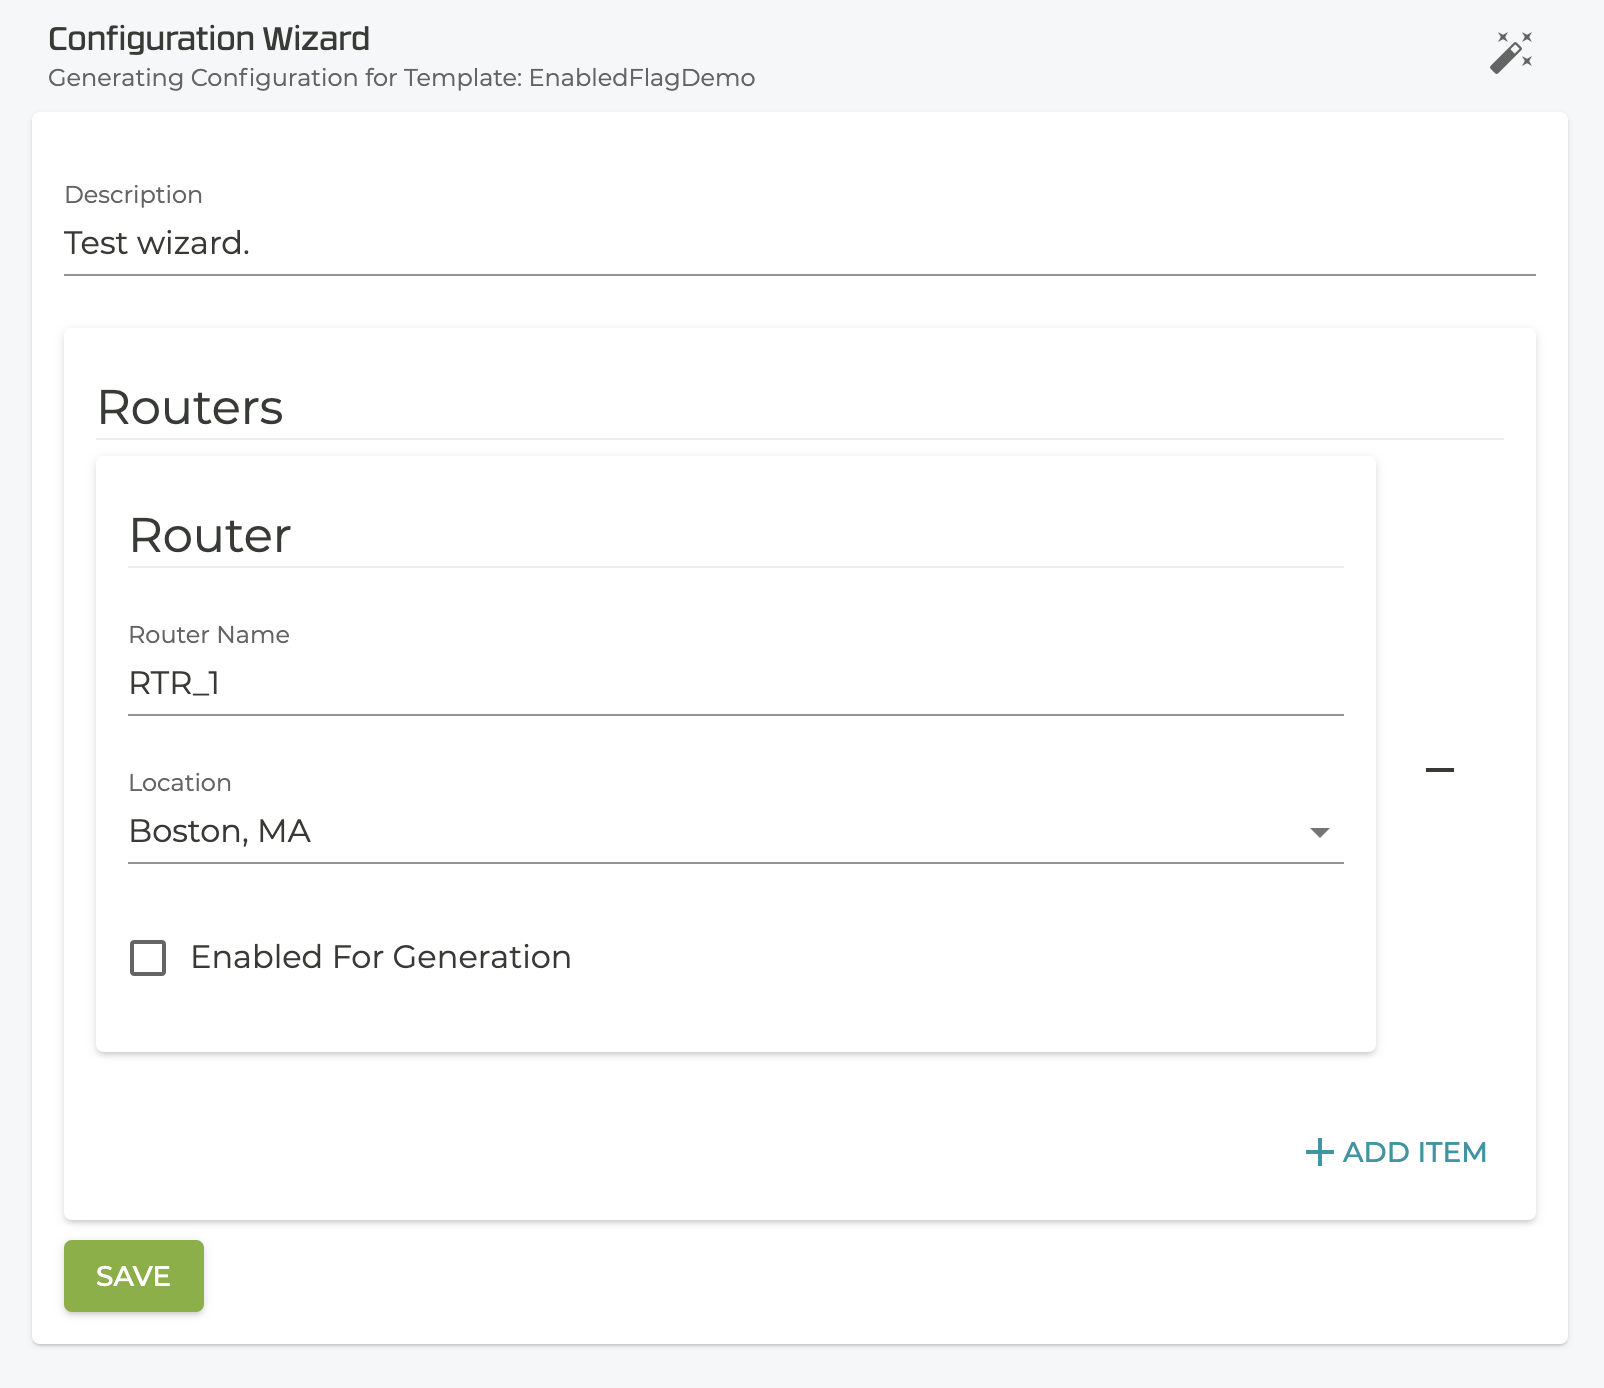
Note that the user must click Save at the bottom of the form page before proceeding to the generation step, otherwise their edits may be lost. The underlying advanced template can still be edited by clicking the View / Modify option on the templates index page.
Import / Export
Templates support import and export functionality, both in basic and advanced mode. The Import / Export wizard can be opened by clicking the following button in the upper right corner of the page: 
Backing Up Templates / Storage Mechanism
Templates are stored on disk as JSON in the following location: /etc/128technology/sync/templates.json. This file can be backed up, restored, or edited. While the SSR Networking Platform does watch this file for changes and updates it's state, it is not recommended to edit this file directly as a means to configure templates.
History
| Release | Modification |
|---|---|
| 4.5.0 | This feature was introduced into 128T-4.5.0 |
| 4.5.5 | Configuration Wizard was added |
| 4.5.10 | network_hosts filter was added |
| 5.4.0 | Template Globals and User-defined Help were added |