Configuring Role-Based Access Control
Role-Based Access Control (RBAC) lets an Administrator create Access Management Roles that control access to SSR resources such as routers, tenants, and services, as well as other Authority-level configuration objects.
Configuring Role-Based Access Control
The default Administrator role (admin) has access to all configuration options, and cannot be removed. From this built-in access role, all roles and access are assigned.
-
Create Resource Groups
A Resource Group identifies a set of associated resources. One or more Resource Groups are assigned to an Access Management Role.
-
Assign Resource Groups to Authority-level Resources
Resource groups can be assigned to a top-level resource (Authority level) such as a router, a tenant, or a service. The process for assigning a resource group to a service or a service-policy is slightly different than assigning a resource group to a router or a tenant.
-
Create Access Management Roles
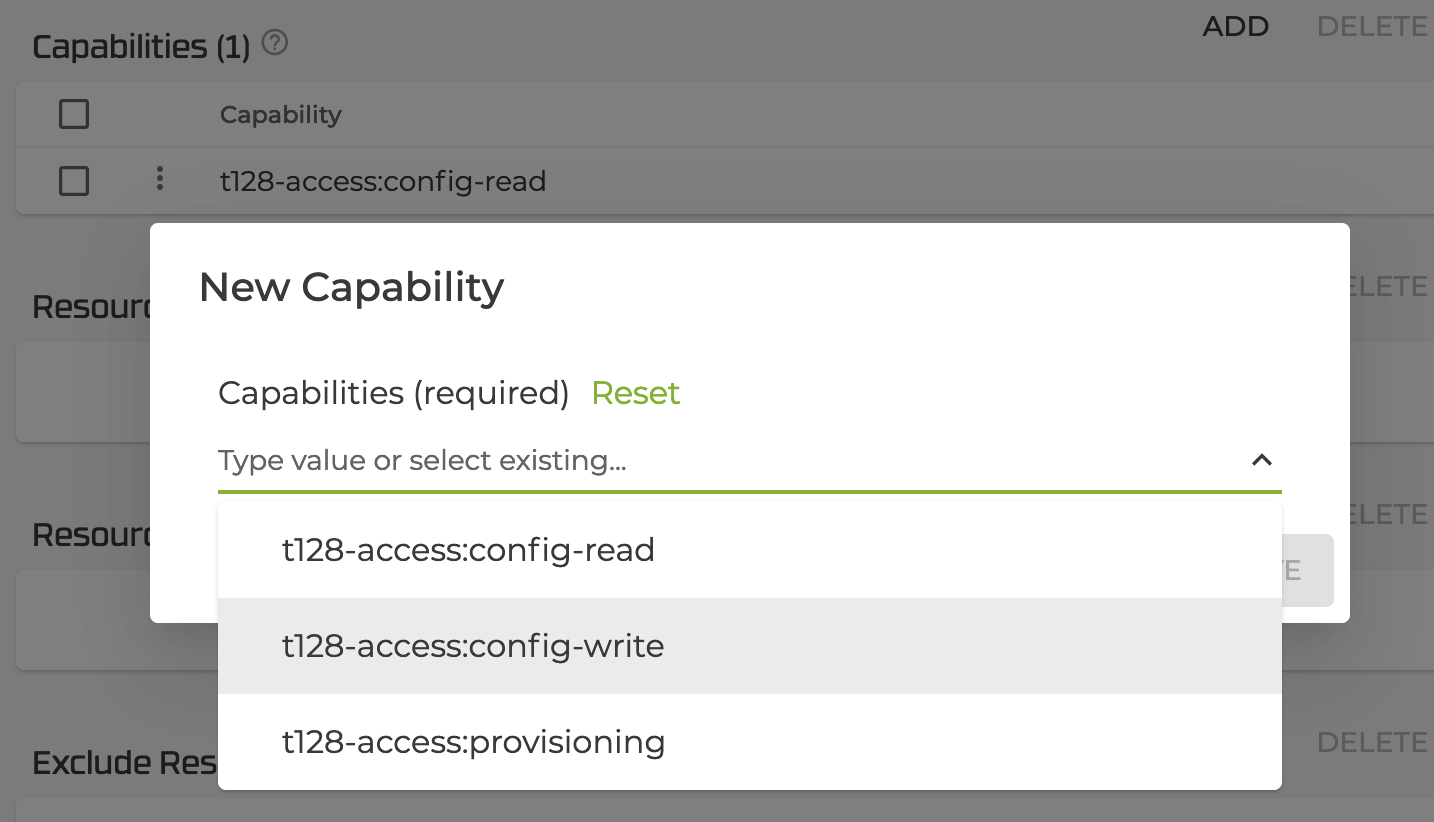
An Access Management Role identifies capabilities or actions a user can perform; config-read, config-write, and provision. Provisioning allows users to perform software lifecycle management duties, such as download software, upgrade existing installations, etc.
After the Access Management Role is created, the process is as follows:
- Assign Capabilities to the Access Management Role.
- Assign Resource Groups to the Access Management Role. You can specify more than one group for a role.
- Identify/assign the specific resources within the Resource Group the user can access (Advanced Feature).
- Additionally, you can specify resources within the Resource Group the user DOES NOT have access to, and these resources will be hidden from the user's view.
- Create users and select one or more Access Management Roles for the user.
Create a Resource Group
-
Under Administration, select Configuration.
-
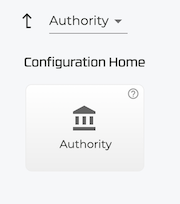
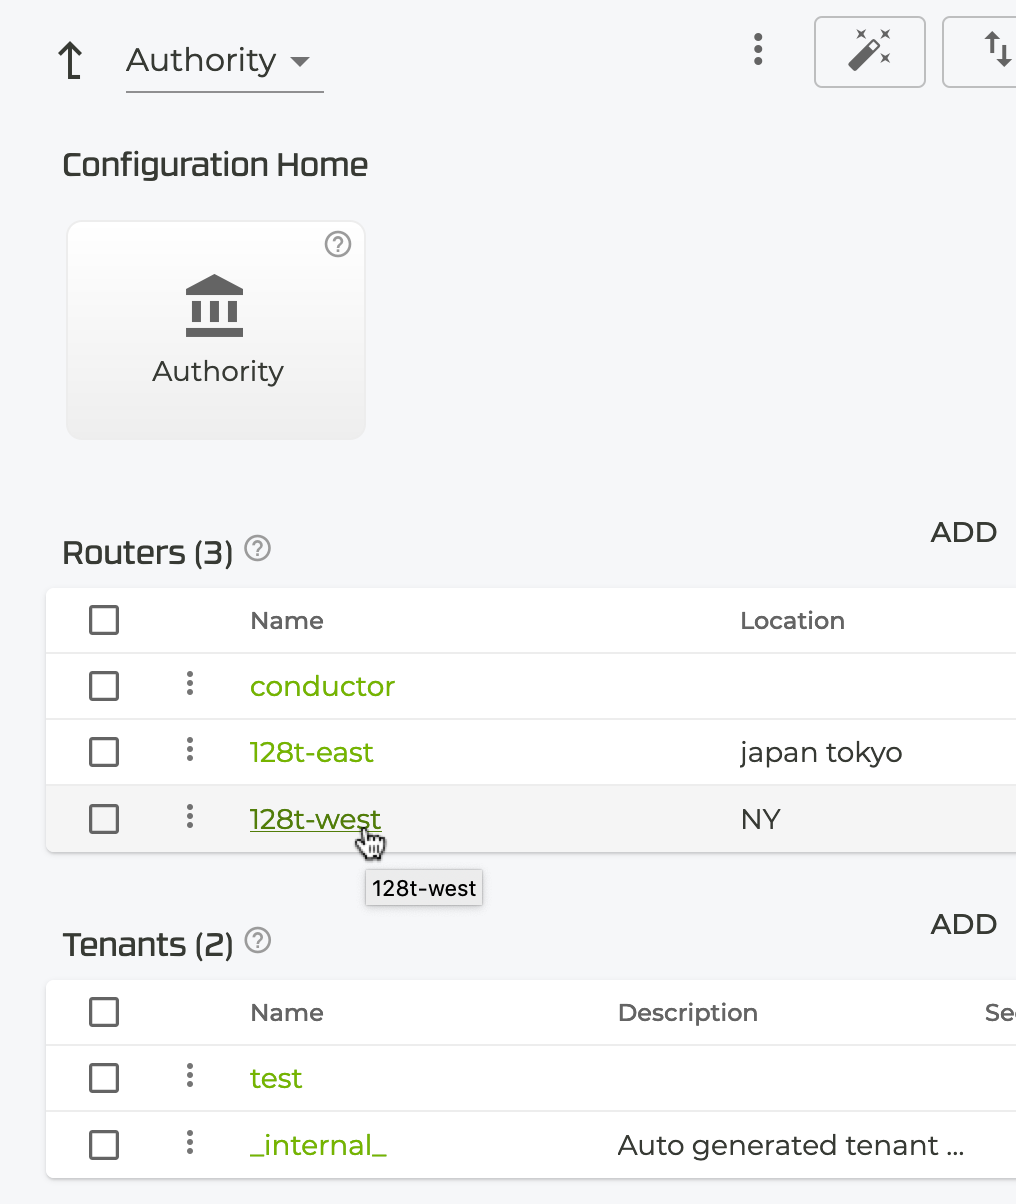
Under Configuration Home, select the Authority tile.
-
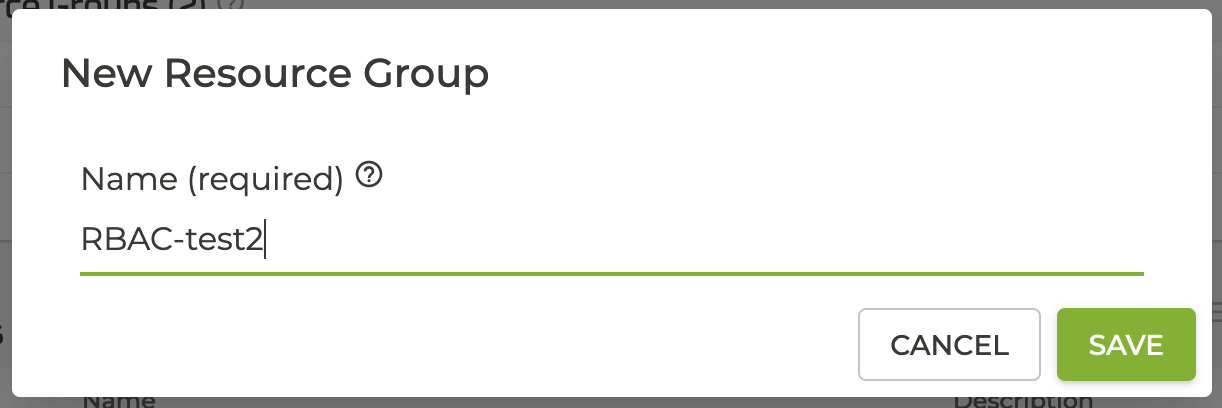
In the Authority Settings window, scroll down to Resource Groups, and click ADD.

-
Enter a name for the Resource Group, and click SAVE.
-
Repeat this for as many Resource Groups as are required.
Assign Resource Groups to Authority-level Resources
-
Under Administration, select Configuration.
-
Select an Authority-level resource; for example, a router or a tenant.
-
Scroll down to Resource Groups.
-
Click ADD.
-
In the New Resource Group window, click the down arrow and select the Resource Group name for the Resource.
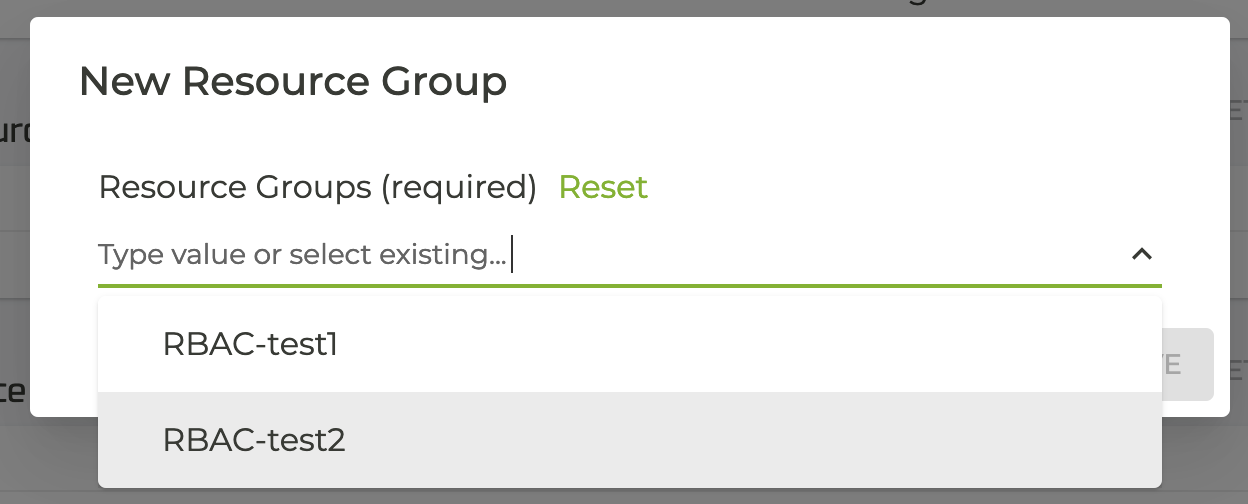
-
Click Save.
-
Repeat this process to associate each resource with a resource group.
Assign a Resource Group to a Service:
-
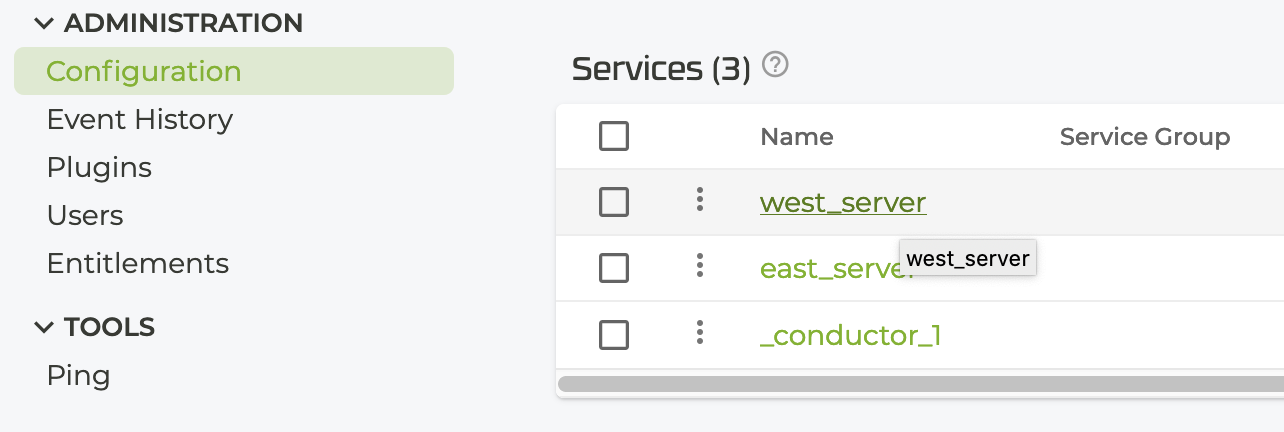
From the Configuration Home, scroll down to the Services panel.
-
Select the Service.
-
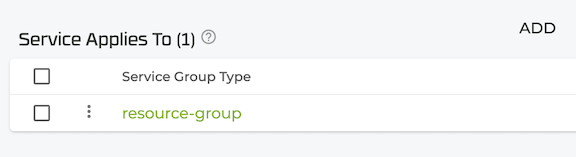
Scroll to the Service Applies To panel and click ADD.
-
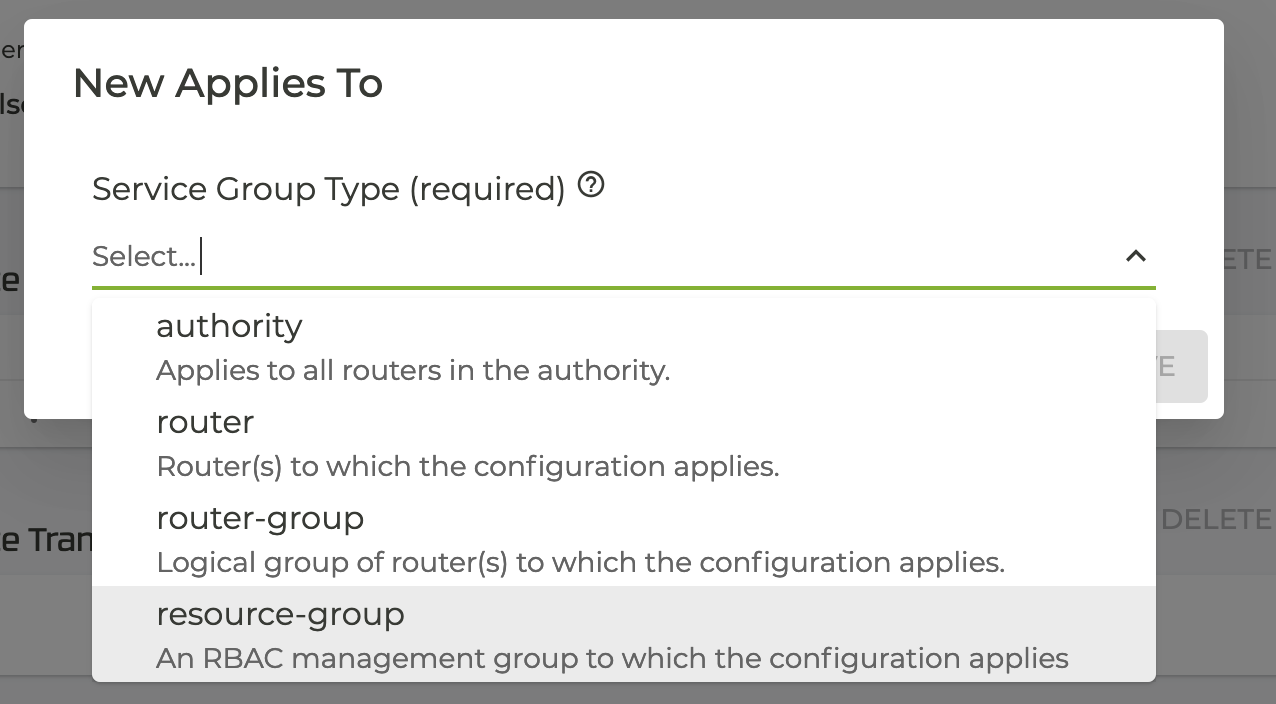
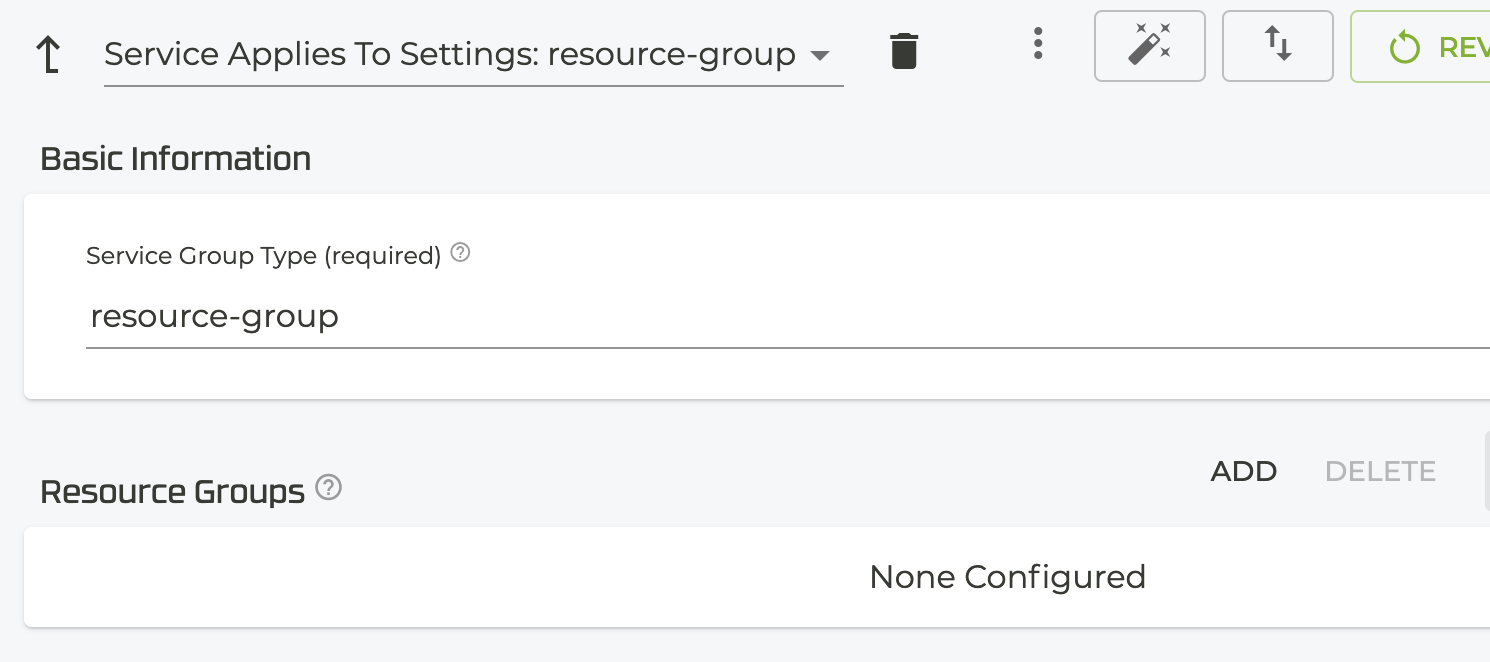
Select resource-group from the Service Group Type drop down.
-
Click SAVE.
-
On the Service Applies To Settings: screen click ADD next to Resource Groups.
-
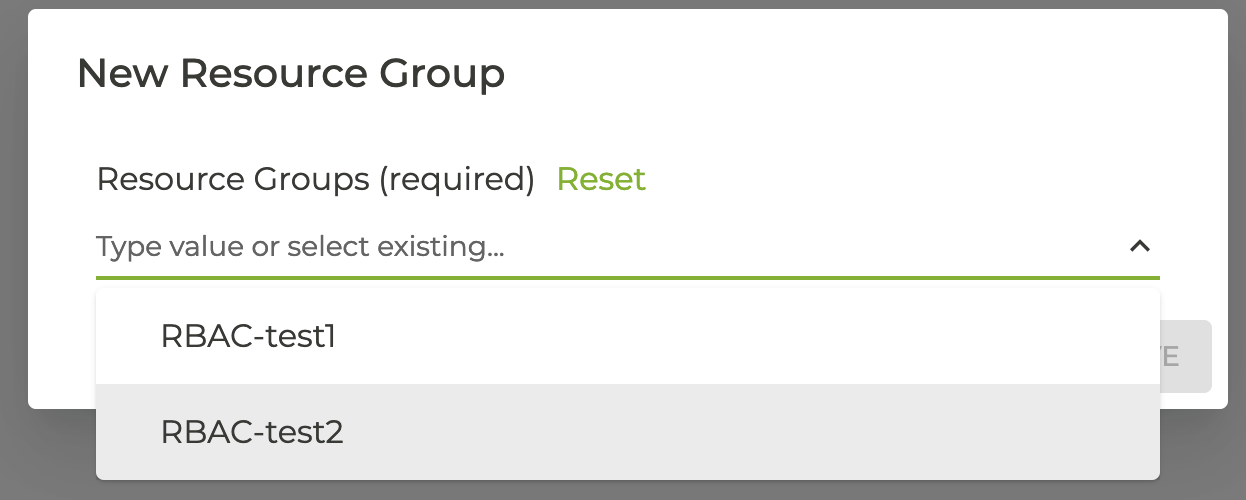
Select the appropriate resource group from the drop down and click SAVE.
Assign a Resource Group to a Service-Policy:
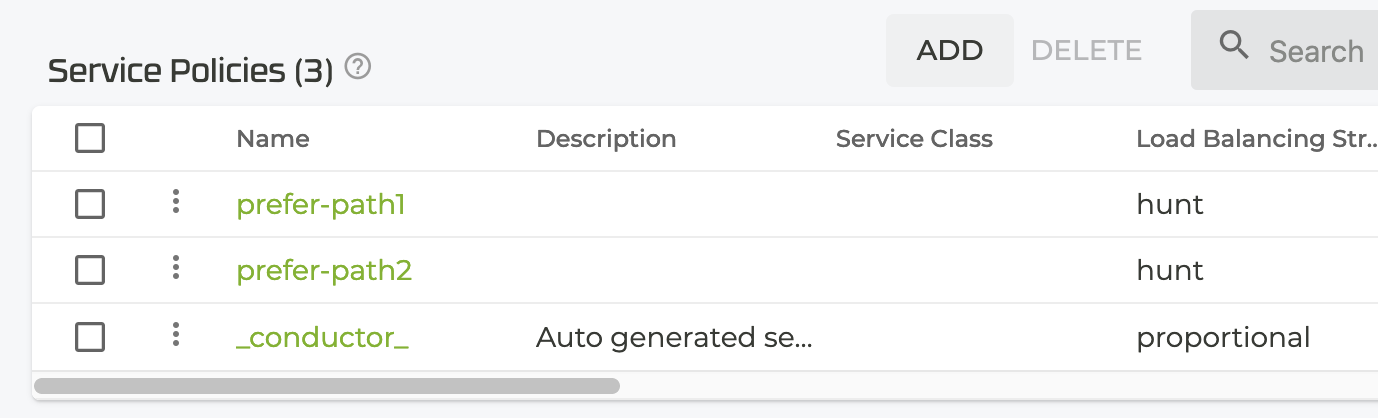
- In the Configuration Home panel, scroll down to Service Policies.
- Click ADD.
- Select a service policy.
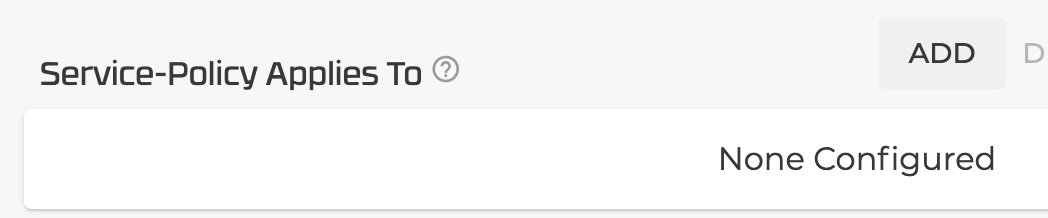
- In the Service Policy panel, scroll to the Service-Policy Applies To panel and click ADD.
- In the New Applies To pane, use the drop down to select resource-group.
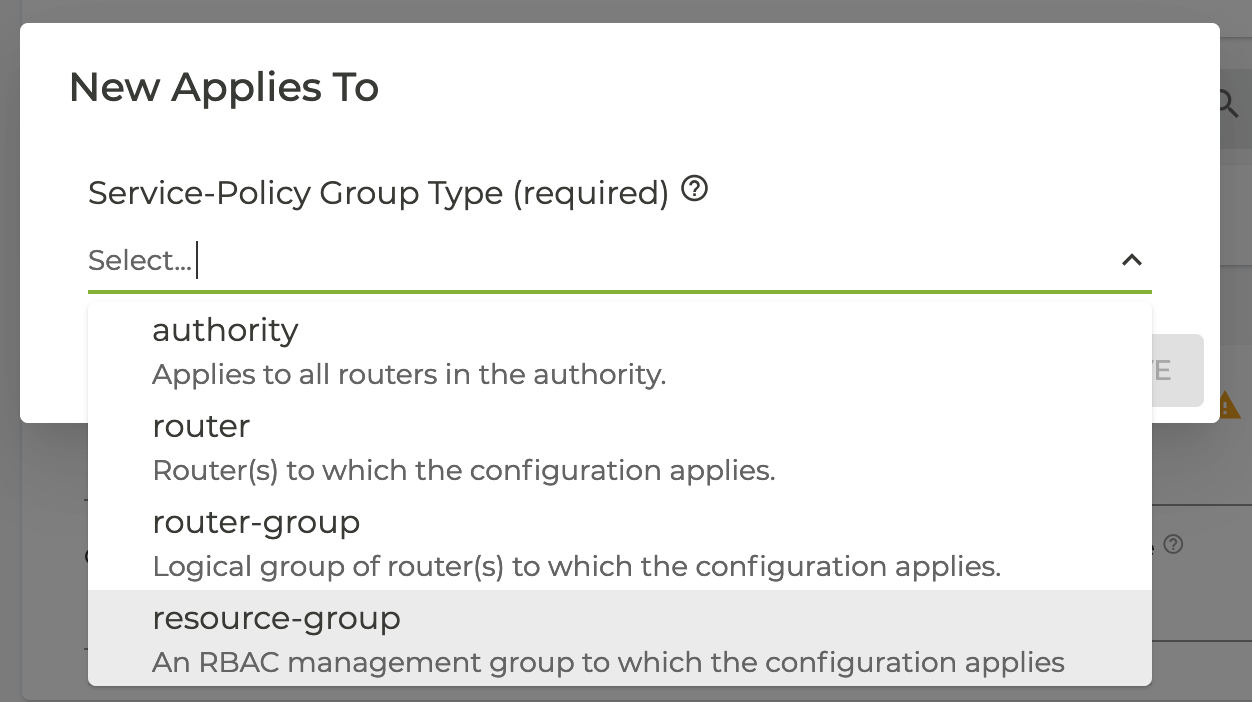
- Click SAVE.
- In the Service Policy Applies To Settings, select ADD next to Resource Group.
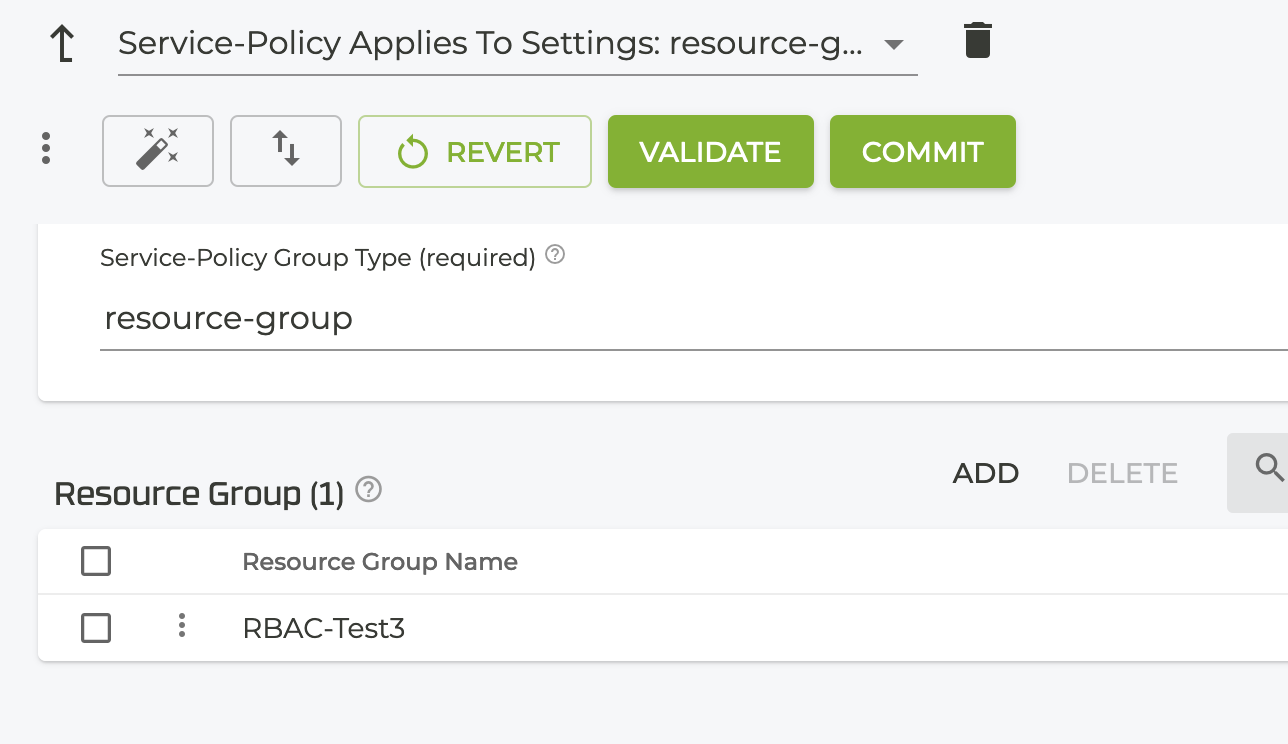
- Select the the appropriate resource group from the drop down, and click SAVE.

Create an Access Management Role
-
Under Administration, select Configuration.
-
Under Configuration Home, select the Authority tile.
-
Scroll down to Access Management Roles.
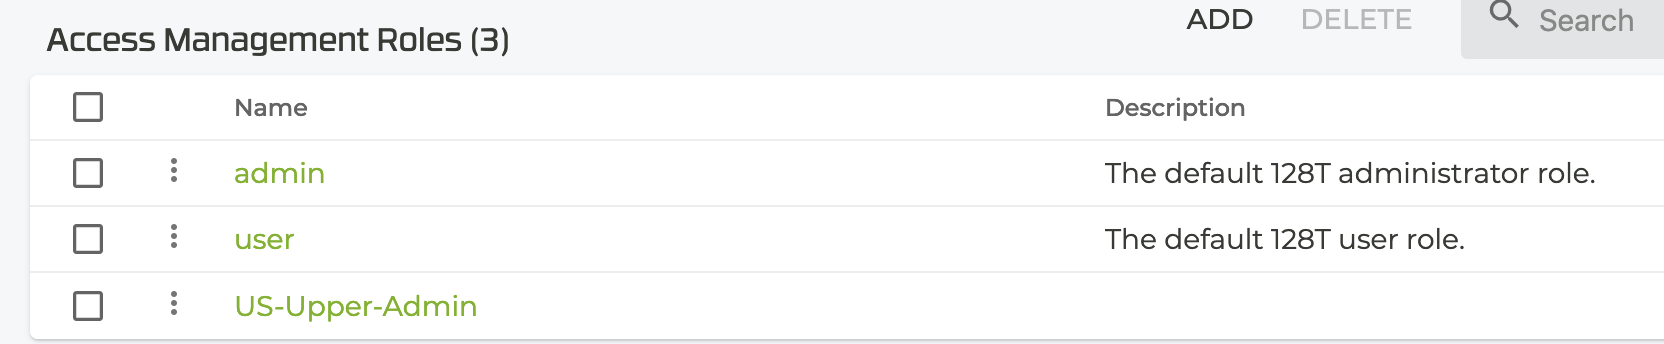
-
Click ADD.
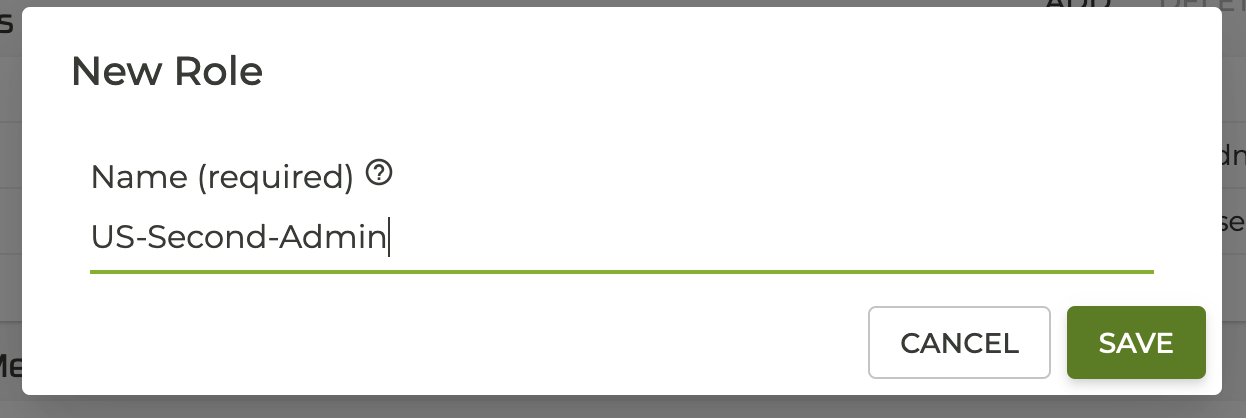
-
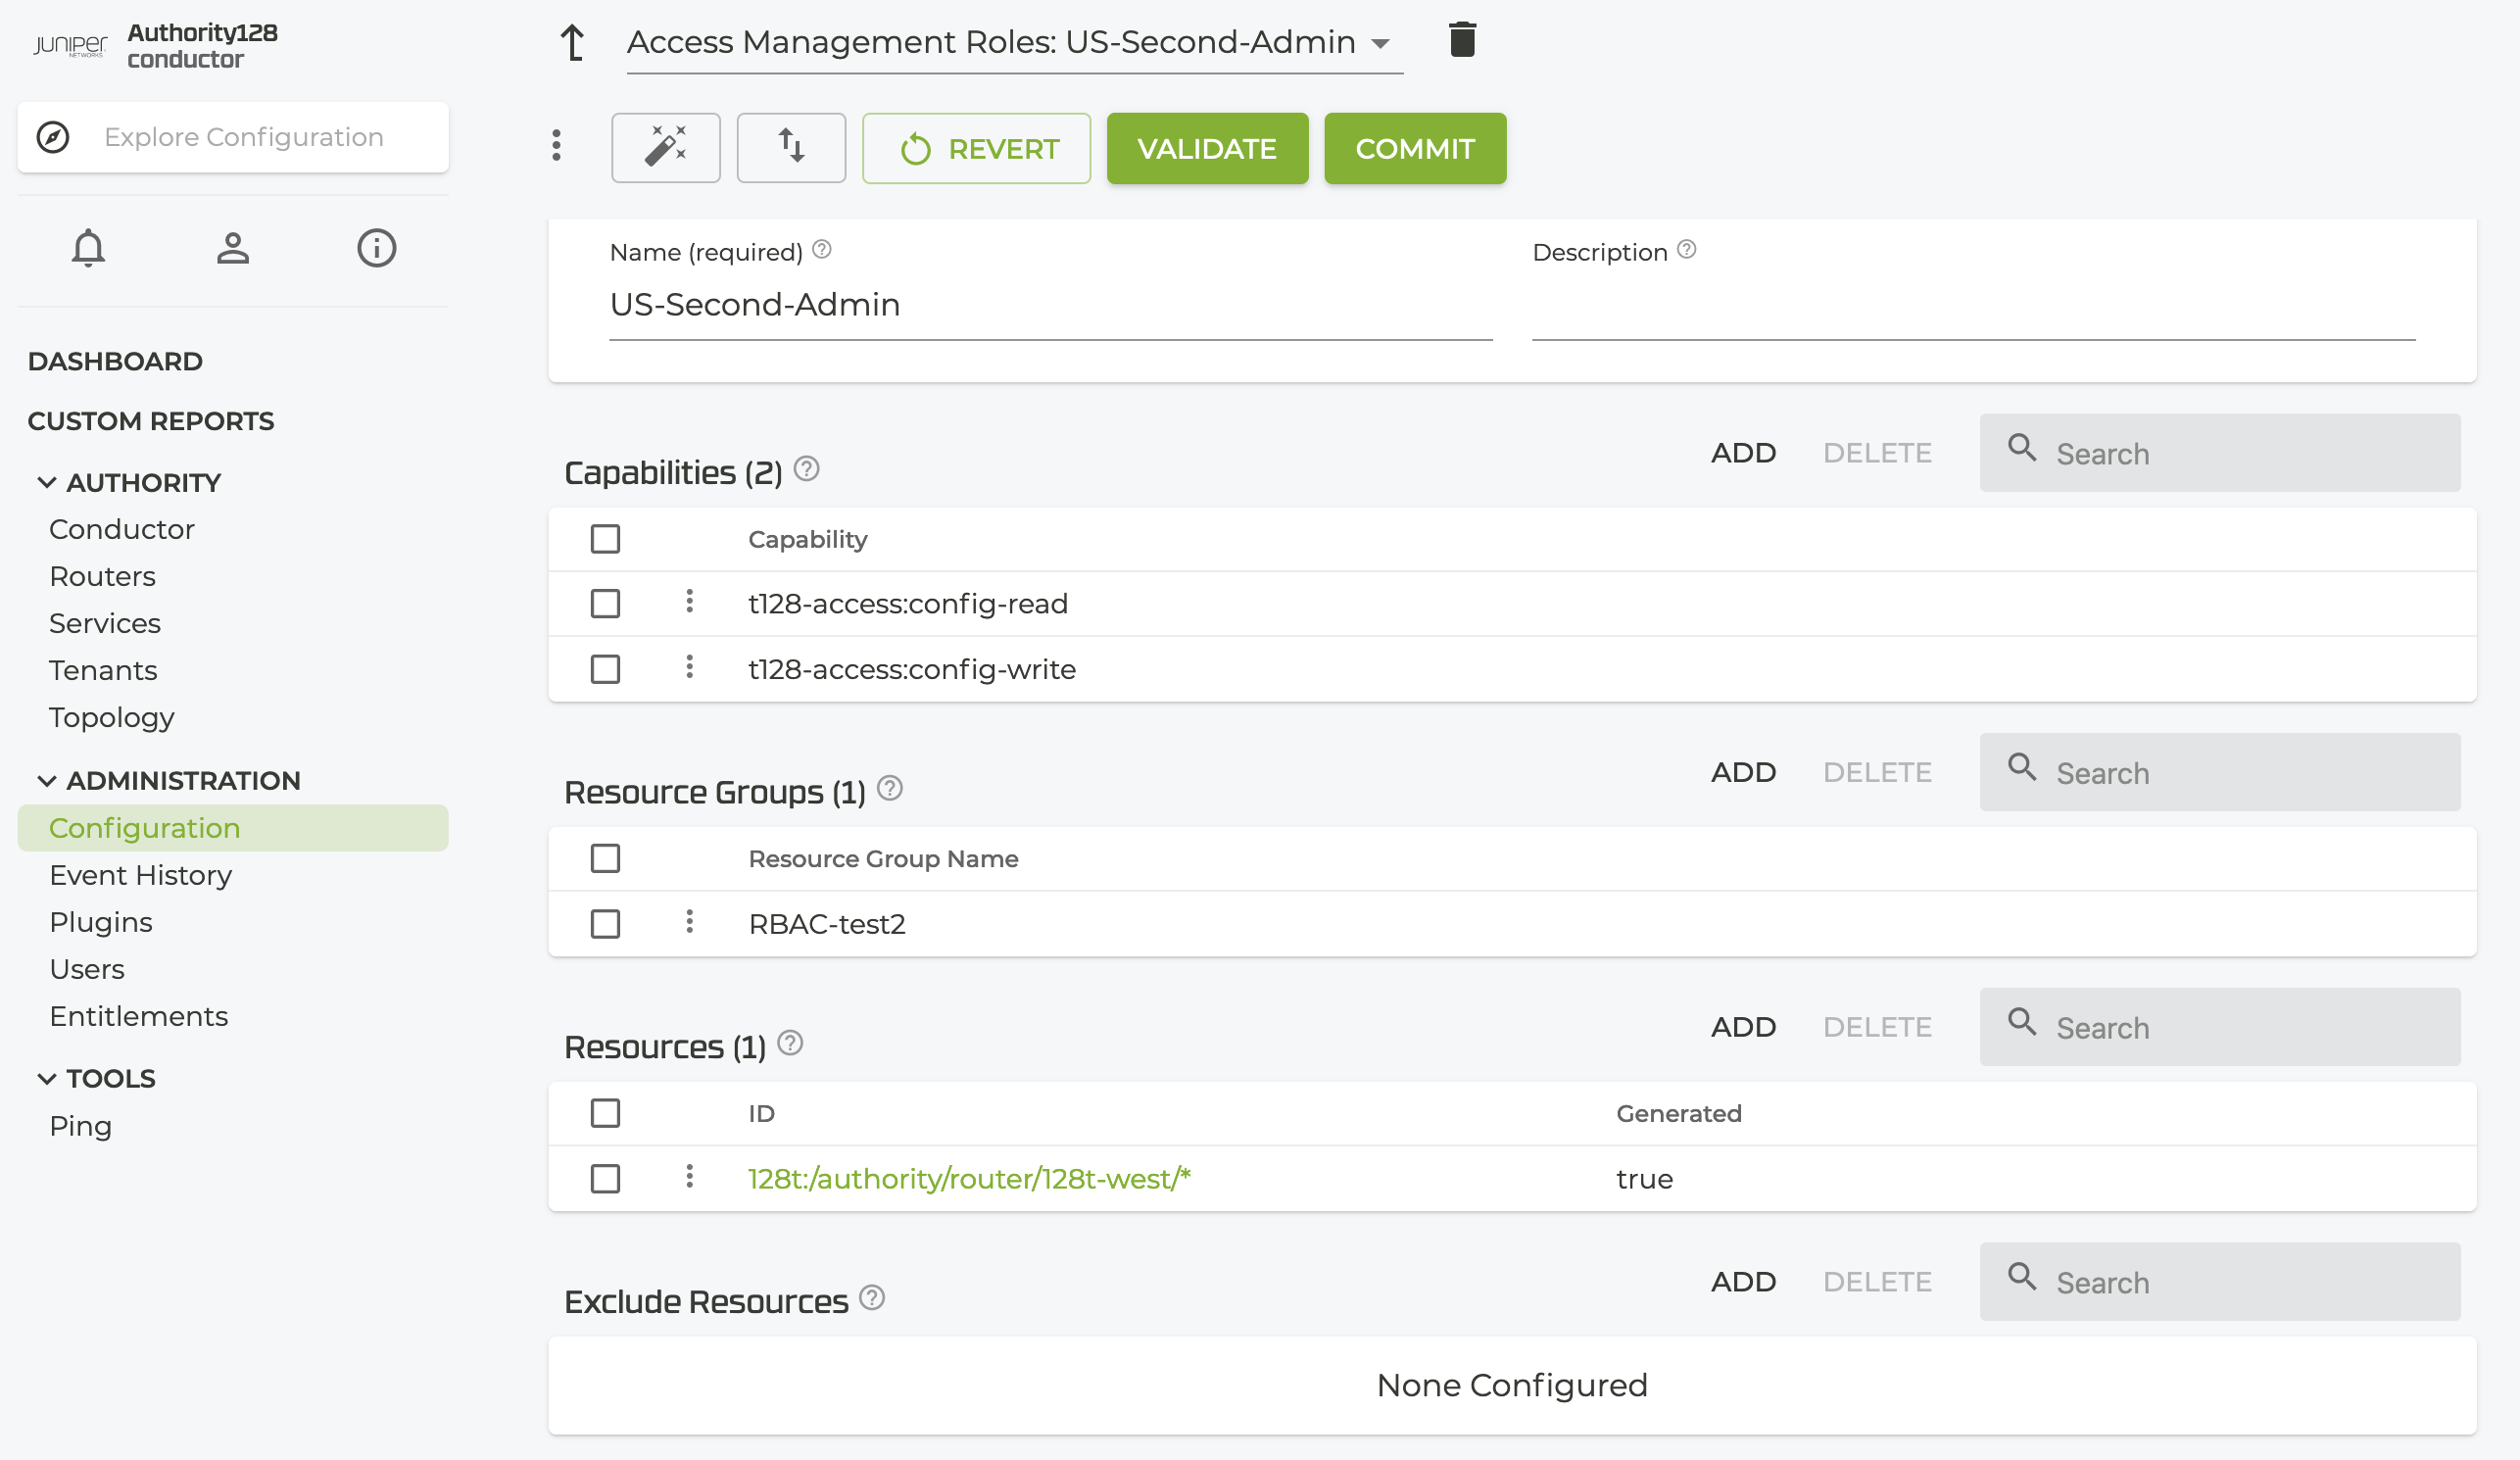
Create a name for the new role. Use a name that identifies the role in some way.
-
Assign the capabilities for each Access Management Role. In the Capabilities panel, click ADD and select the capability from the drop down. For example, user roles may only have read access to the resource, where an admin might have read and write access. Options are config-read, config-write, provisioning.
-
Assign a Resource Group or groups to an Access Management Role. In the Resource Groups panel, click ADD and select the Resource Group from the drop down.
-
In some cases you may choose to make specific resources accessible to an Access Management Role. This is an optional setting. In the Resources panel, click ADD and select resources from the drop down.
-
Additionally, you can specify resources within the Resource Group the user DOES NOT have access to from the Exclude Resources panel, and these resources will be hidden from the user's view.
Repeat this process for additional roles.
Create Users and Assign Roles
-
From the Administration menu, select Users.
-
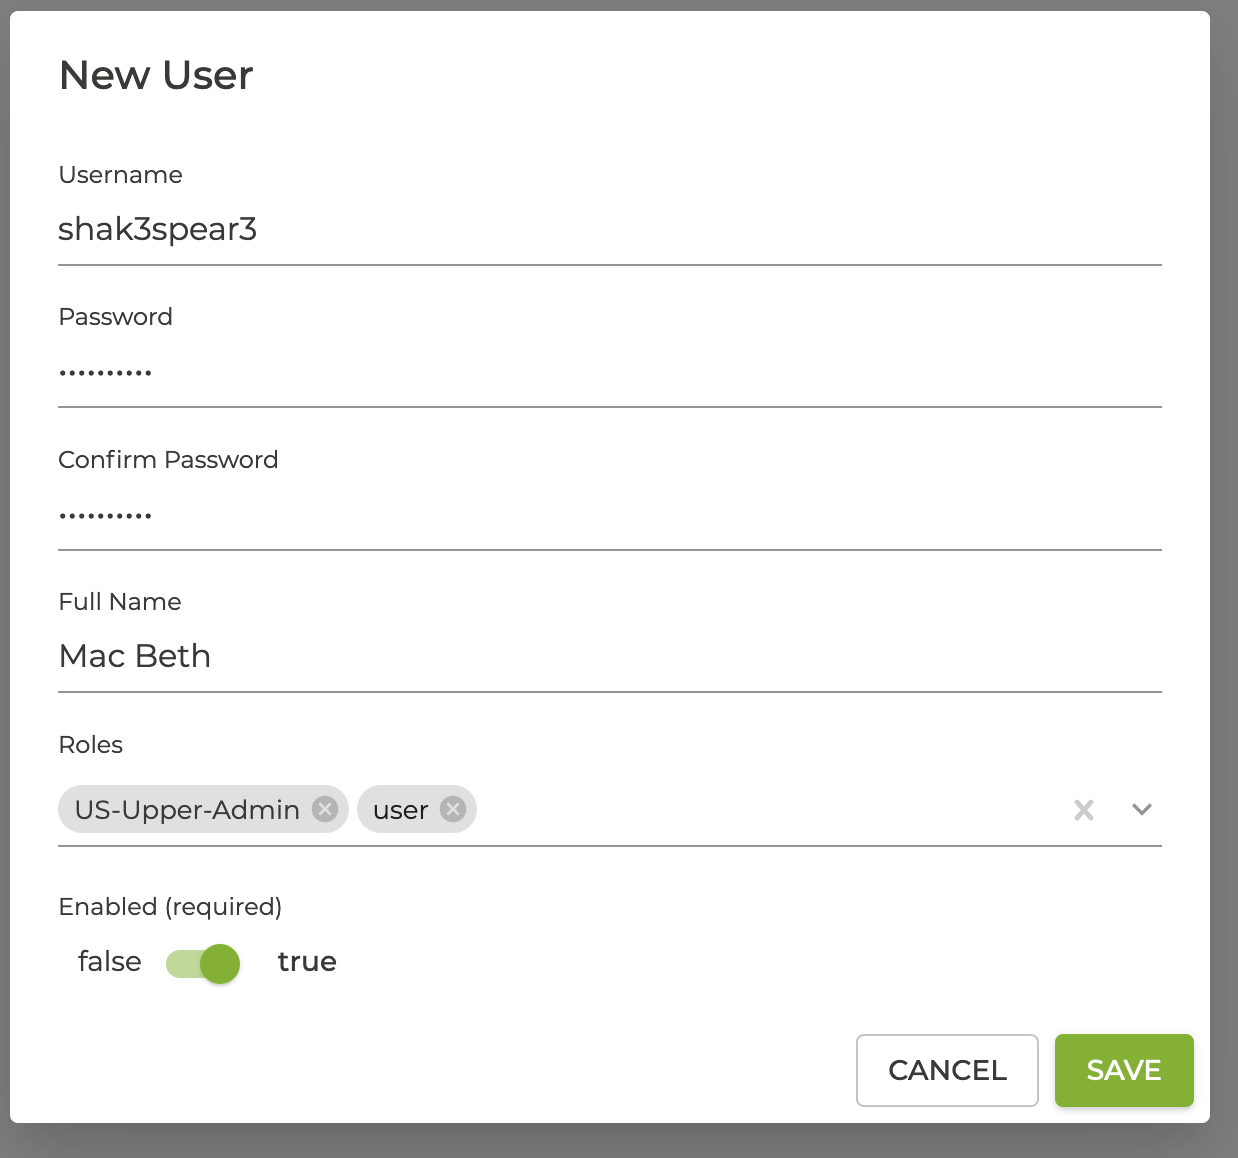
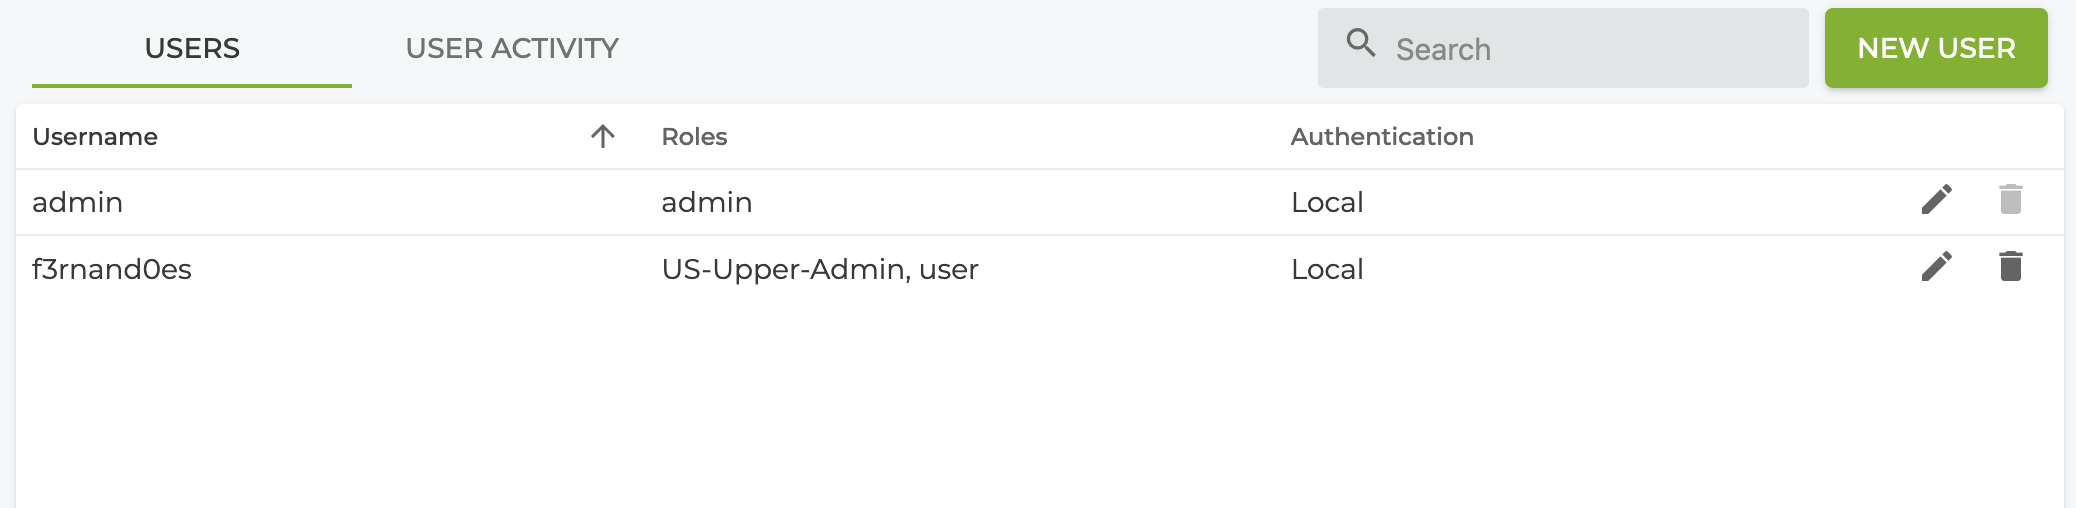
On the Users screeen, select NEW USER in the top right corner.
-
On the New Users panel, enter the following:
- Username: Minimum 9 characters, initial lowercase, and must be alphanumeric.
- Password: Minimum 9 characters, may not be a dictionary word, must contain alphanumeric and uppercase characters.
- Users full name.
- Users can have multiple roles; select the Role or Roles of the user from the drop down.
- Click SAVE.