Creating a Bootable USB
Introduction
Juniper Networks distributes the SSR software in a number of forms for different environments. Of those asset types, the ISO is most commonly used to stage a system that does not have an operating system, or if the system is being repurposed as an SSR system. The goal of this guide is produce a bootable USB drive from an SSR ISO.
For small deployments or a proof of concept, each ISO image can be loaded on to a bootable USB to install the operating system and SSR software.
Creating a Bootable ISO: Linux, MacOS and Windows
Creating a bootable ISO from Linux, Windows or MacOS is straightforward. The best way to get started is with a tool that makes creating bootable USBs easy for any platform.
-
Download and install Etcher for your platform.
-
Download the SSR ISO for the software version to be loaded onto the USB. Use the download instructions.
-
Launch Etcher. Select the ISO as the source from step 2.
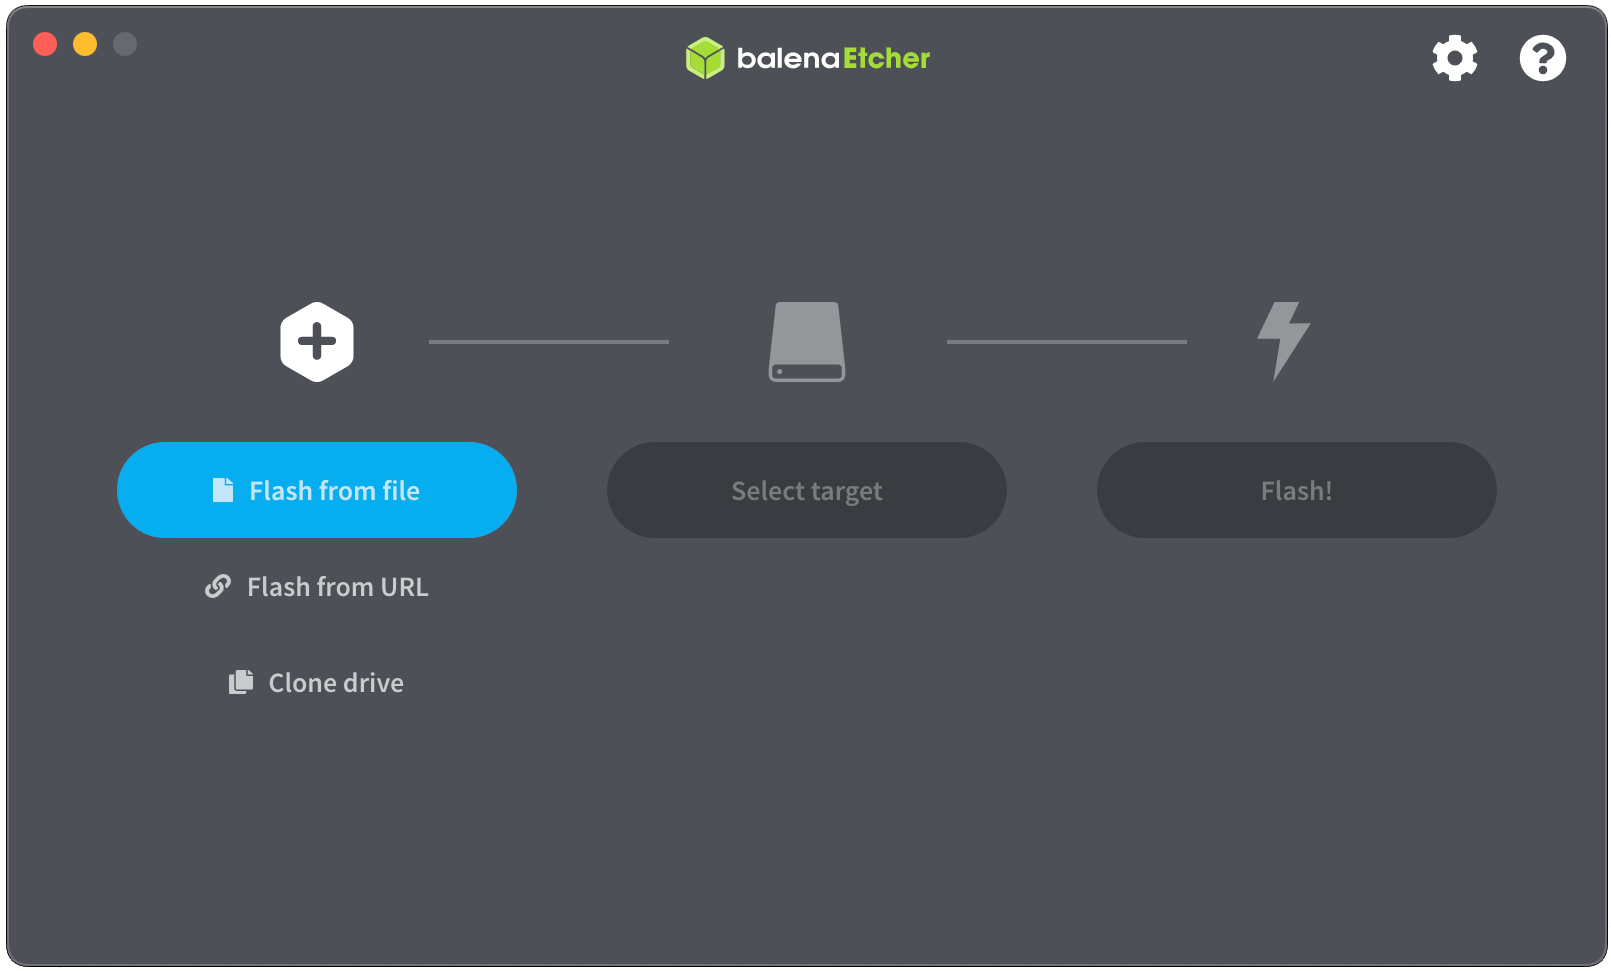
-
Select the target USB device attached to the system.
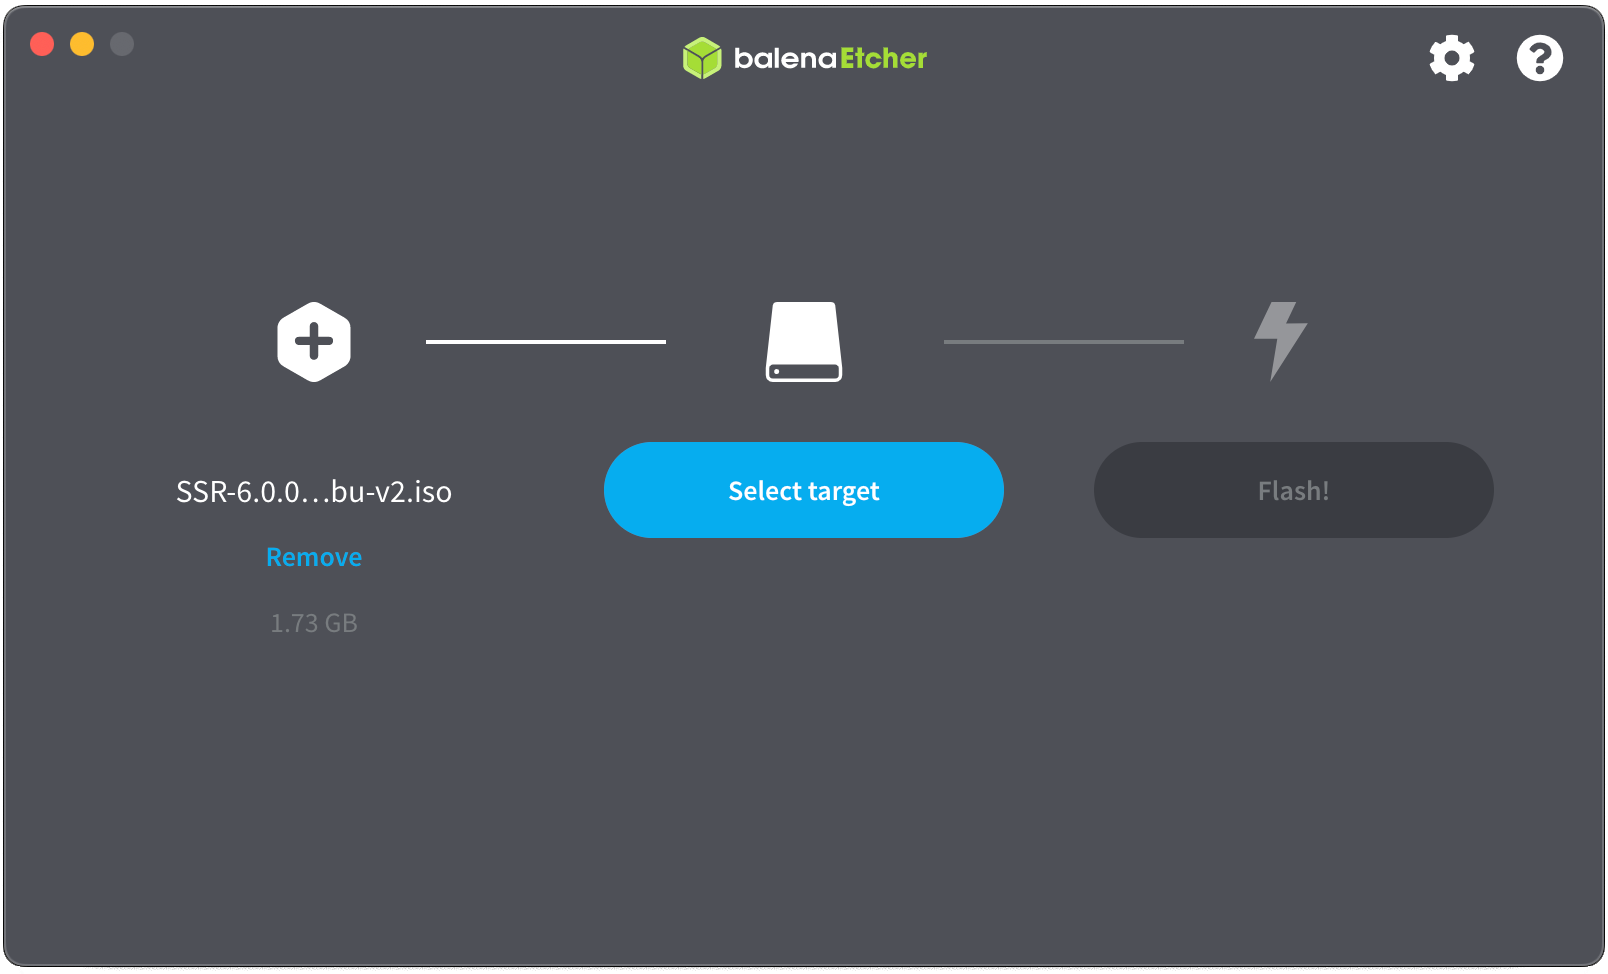
-
Click Flash! to get started.
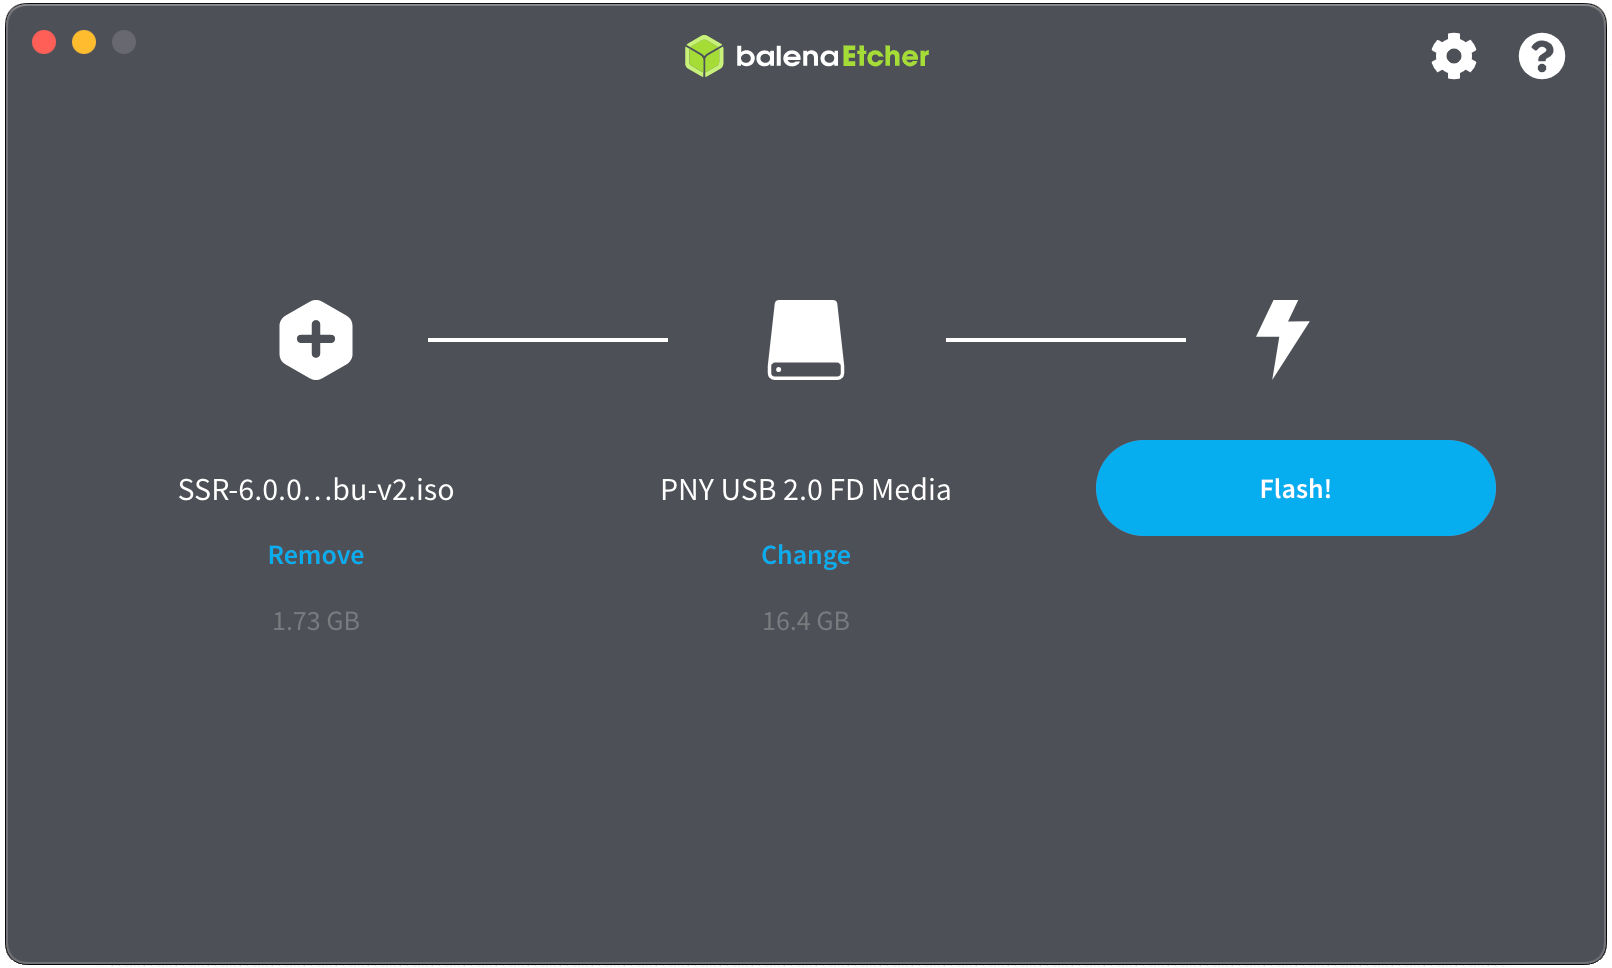
-
Wait for the USB to be flashed with the image.
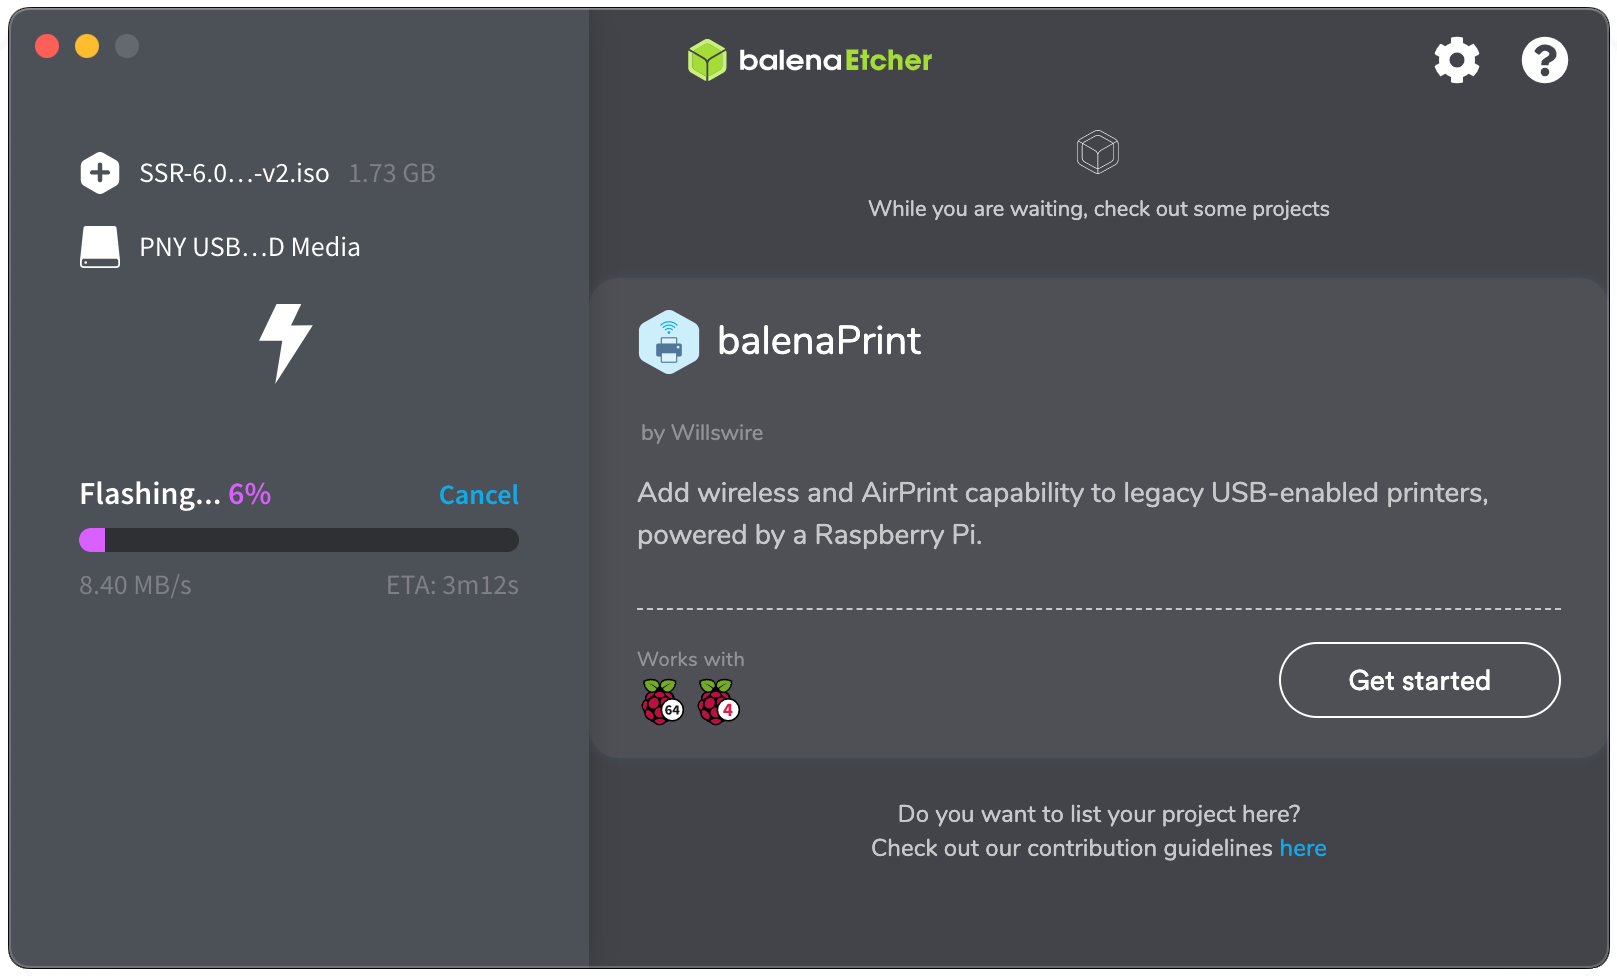
-
Once the image has been flashed, the contents will be validated against the source.
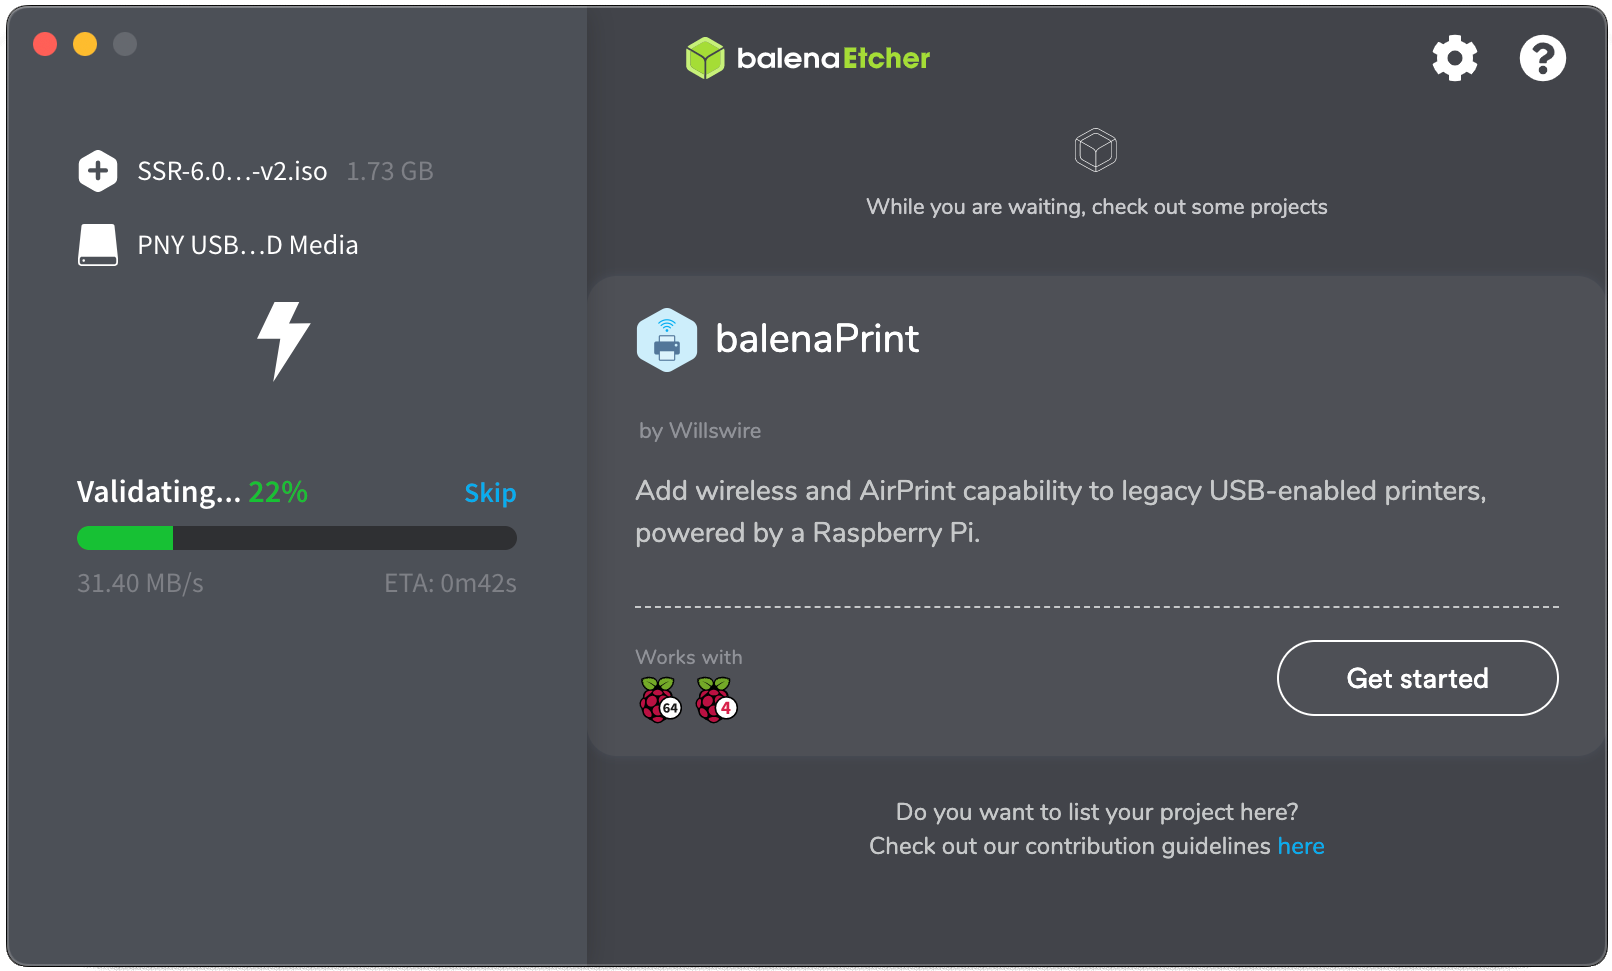
-
Once validated, eject the USB drive.

-
After you have created the bootable ISO, follow the instructions for installing from bootable media.