Configure Intrusion Detection and Prevention
In a typical network deployment, there is always a mix of trusted and untrusted traffic. To prevent security breaches, the SSR uses the IDP Signature database to identify and take action against malicious traffic. SSR services are configured to be monitored, and an IDP policy is applied to the traffic.
The idp-policy has three profiles that can be applied to an access-policy; Alert, Standard, and Strict. This allows the same service to receive different IDP treatment for different tenants. Each profile has an associated traffic action that may include all or some of the following actions:
- Close the client and server TCP connection.
- Drop current and all subsequent packets.
- Alert only, no additional action taken.
In the following example, all internet traffic originating from the corporate tenant identified as malicious or threatening receives a strict policy enforcement. Traffic originating from the guest tenant that is identified as malicious or threatening only triggers an alert. This means that the same threat entering two different network segments receives different treatment, allowing the administrator to enforce the right level of protection based on corporate policies.
Configuration
In the following example configuration, three access policies are defined for the service internet.
config
    authority
        service  internet
            name           internet
            address        0.0.0.0/0

            access-policy  corporate
                idp-policy  strict
                source      corporate
                permission  allow
            exit

            access-policy  guest
                idp-policy  alert
                source      guest
                permission  allow
            exit

            access-policy  other
                source      other
                permission  allow
            exit
        exit
    exit
exit
Tenant Configuration
IDP requires clear association of subnet to tenant; it is best to define the association as tenant-prefix:
config
    authority
        service  internet
            name           internet
            address        0.0.0.0/0

            access-policy  corporate
                idp-policy  strict
                source      corporate
                permission  allow
            exit
        exit

        tenant  corporate
            name    corporate
        exit

        router  idp
            name  idp

            node  node
                name              node

                device-interface  corp-lan
                    name               corp-lan

                    network-interface  corp-lan
                        name                   corp-lan
                        global-id              7

                        tenant-prefixes        corporate
                            tenant          corporate
                            source-address  172.16.3.0/24
                        exit
                        address                172.16.3.3
                            ip-address     172.16.3.3
                            prefix-length  24
                        exit
                    exit
                exit
            exit
        exit
High Availability
The IDP engine runs on each node of the system. Traffic is always sent to the IDP instance on the first node - per the order in configuration. Upon failover, the existing sessions do not gracefully failover; the TCP sessions are reset, and new sessions must be established by the client. For UDP sessions, the same best effort behavior can be expected from the IDP engine.
Modifying IDP Policies
Starting with SSR 6.1.4-R2, users can customize an existing IDP policy, creating exception-based rules. The following is an example workflow:
- A strict
idp-policyis initially configured for the service below.
        service      test-app
            name                  test-app
            address               172.16.2.0/24

            access-policy         lan
                idp-policy  strict
                source      lan
            exit
            share-service-routes  false
        exit
- Security events are triggered because traffic typical for that network configuration is considered a risk. The Attack is blocked with the Action CLOSE.
admin@node.cadillac# show idp events since 2m
Wed 2023-07-12 14:19:00 UTC
========== ================================== ======== ============= =============================== ========== ========
 Severity   Time                               Threat   Application   Attack                          Protocol   Action
========== ================================== ======== ============= =============================== ========== ========
        6   2023-07-12 14:17:54.659000+00:00   MEDIUM   HTTP          HTTP:EXTRA_CONTROL_CHARACTERS   TCP        CLOSE
- The user has identified the attack
HTTP:EXTRA_CONTROL_CHARACTERSto be of minimal risk to this network and would like to create a rule to change this event to be alert only. - The user creates an
idp-profilebased on the original strict policy, modifying the outcome and action to alert/allow. By creating an exception for the attack, the specific traffic flows as desired within the network.
Changes are implemented from the SSR GUI or PCLI (in this example the PCLI is used), and validated as part of the existing configuration workflow.
        idp-profile  strict-but-alert
            name         strict-but-alert
            base-policy  strict

            rule         alert-chunk-overflow
                name     alert-chunk-overflow

                match
                    vulnerability  HTTP:EXTRA_CONTROL_CHARACTERS
                exit

                outcome
                    action  alert
                exit
            exit
        exit
The new service configuration uses the idp-profile instead of the idp-policy.
        service      test-app
            name                  test-app
            address               172.16.2.0/24

            access-policy         lan
                idp-profile  strict-but-alert
                source       lan
            exit
            share-service-routes  false
        exit
After creating a new ruleset for IDP, the traffic will initially be routed "around" that particular set of rules until it is fully loaded into the IDP engine. Use show idp application status to verify the traffic status affected by the new rule.
When the modified profile is applied to the configuration, the following state message appears while it compiles:
admin@node.cadillac# show idp application status
Wed 2023-07-12 14:25:19 UTC
✔ Retrieving IDP state data...

===============================================
 node.cadillac
===============================================
 Mode:                    spoke
 Engine:                  on
 Pod:                     active
 Engine Started:          2023-07-11T14:39:55Z
 Up Time:                 23h 45m 24s
 Last Commit:             2023-07-12T13:55:00Z
 Last:                    starting

 Engine Message:
   IDP policy compiling, waiting to finish
Once the engine has applied the new policies, the compilation message disappears.
Retrieved IDP state data.
Completed in 0.02 seconds
Now when the vulnerability is matched, the event is logged, and traffic is allowed to pass:
admin@node.cadillac# show idp events since 2m
Wed 2023-07-12 14:27:45 UTC
========== ================================== ======== ============= =============================== ========== ========
 Severity   Time                               Threat   Application   Attack                          Protocol   Action
========== ================================== ======== ============= =============================== ========== ========
        6   2023-07-12 14:27:02.777000+00:00   MEDIUM   HTTP          HTTP:EXTRA_CONTROL_CHARACTERS   TCP        NONE
GUI Configuration
The following steps show how to use the GUI to use an existing IDP policy to create a modified IDP Profile.
-
Navigate to the IDP Profile feature.
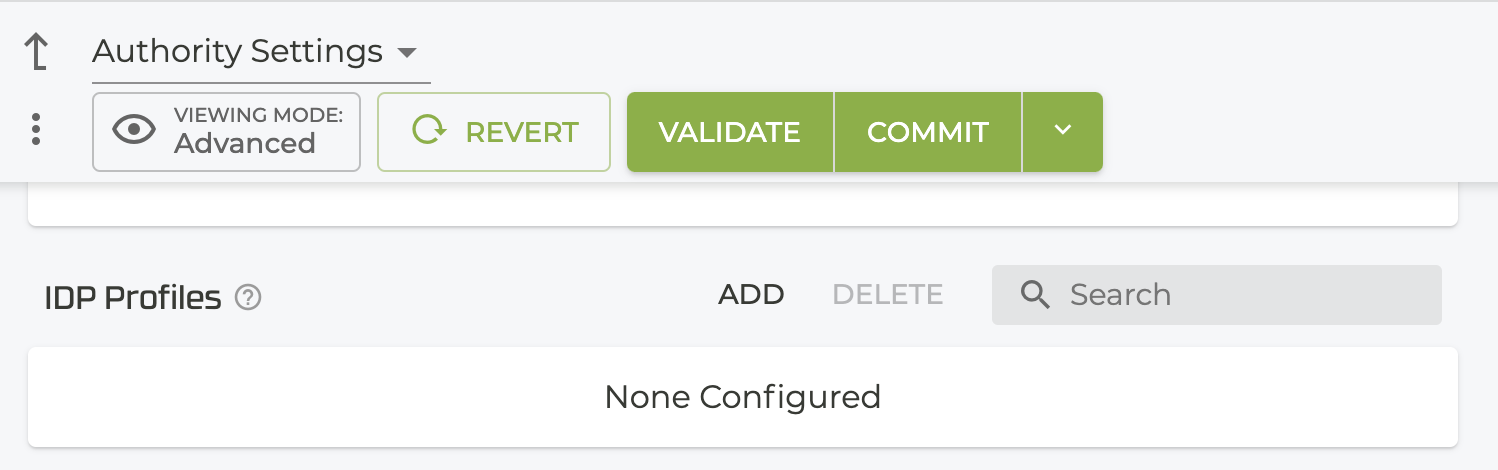
-
Click ADD.
-
Enter a Profile Name and click Save. The IDP Profiles configuration screen opens.

-
In the Base Policy, select an existing policy to modify.
-
To add exceptions to the rules, select ADD in the Rules field.
-
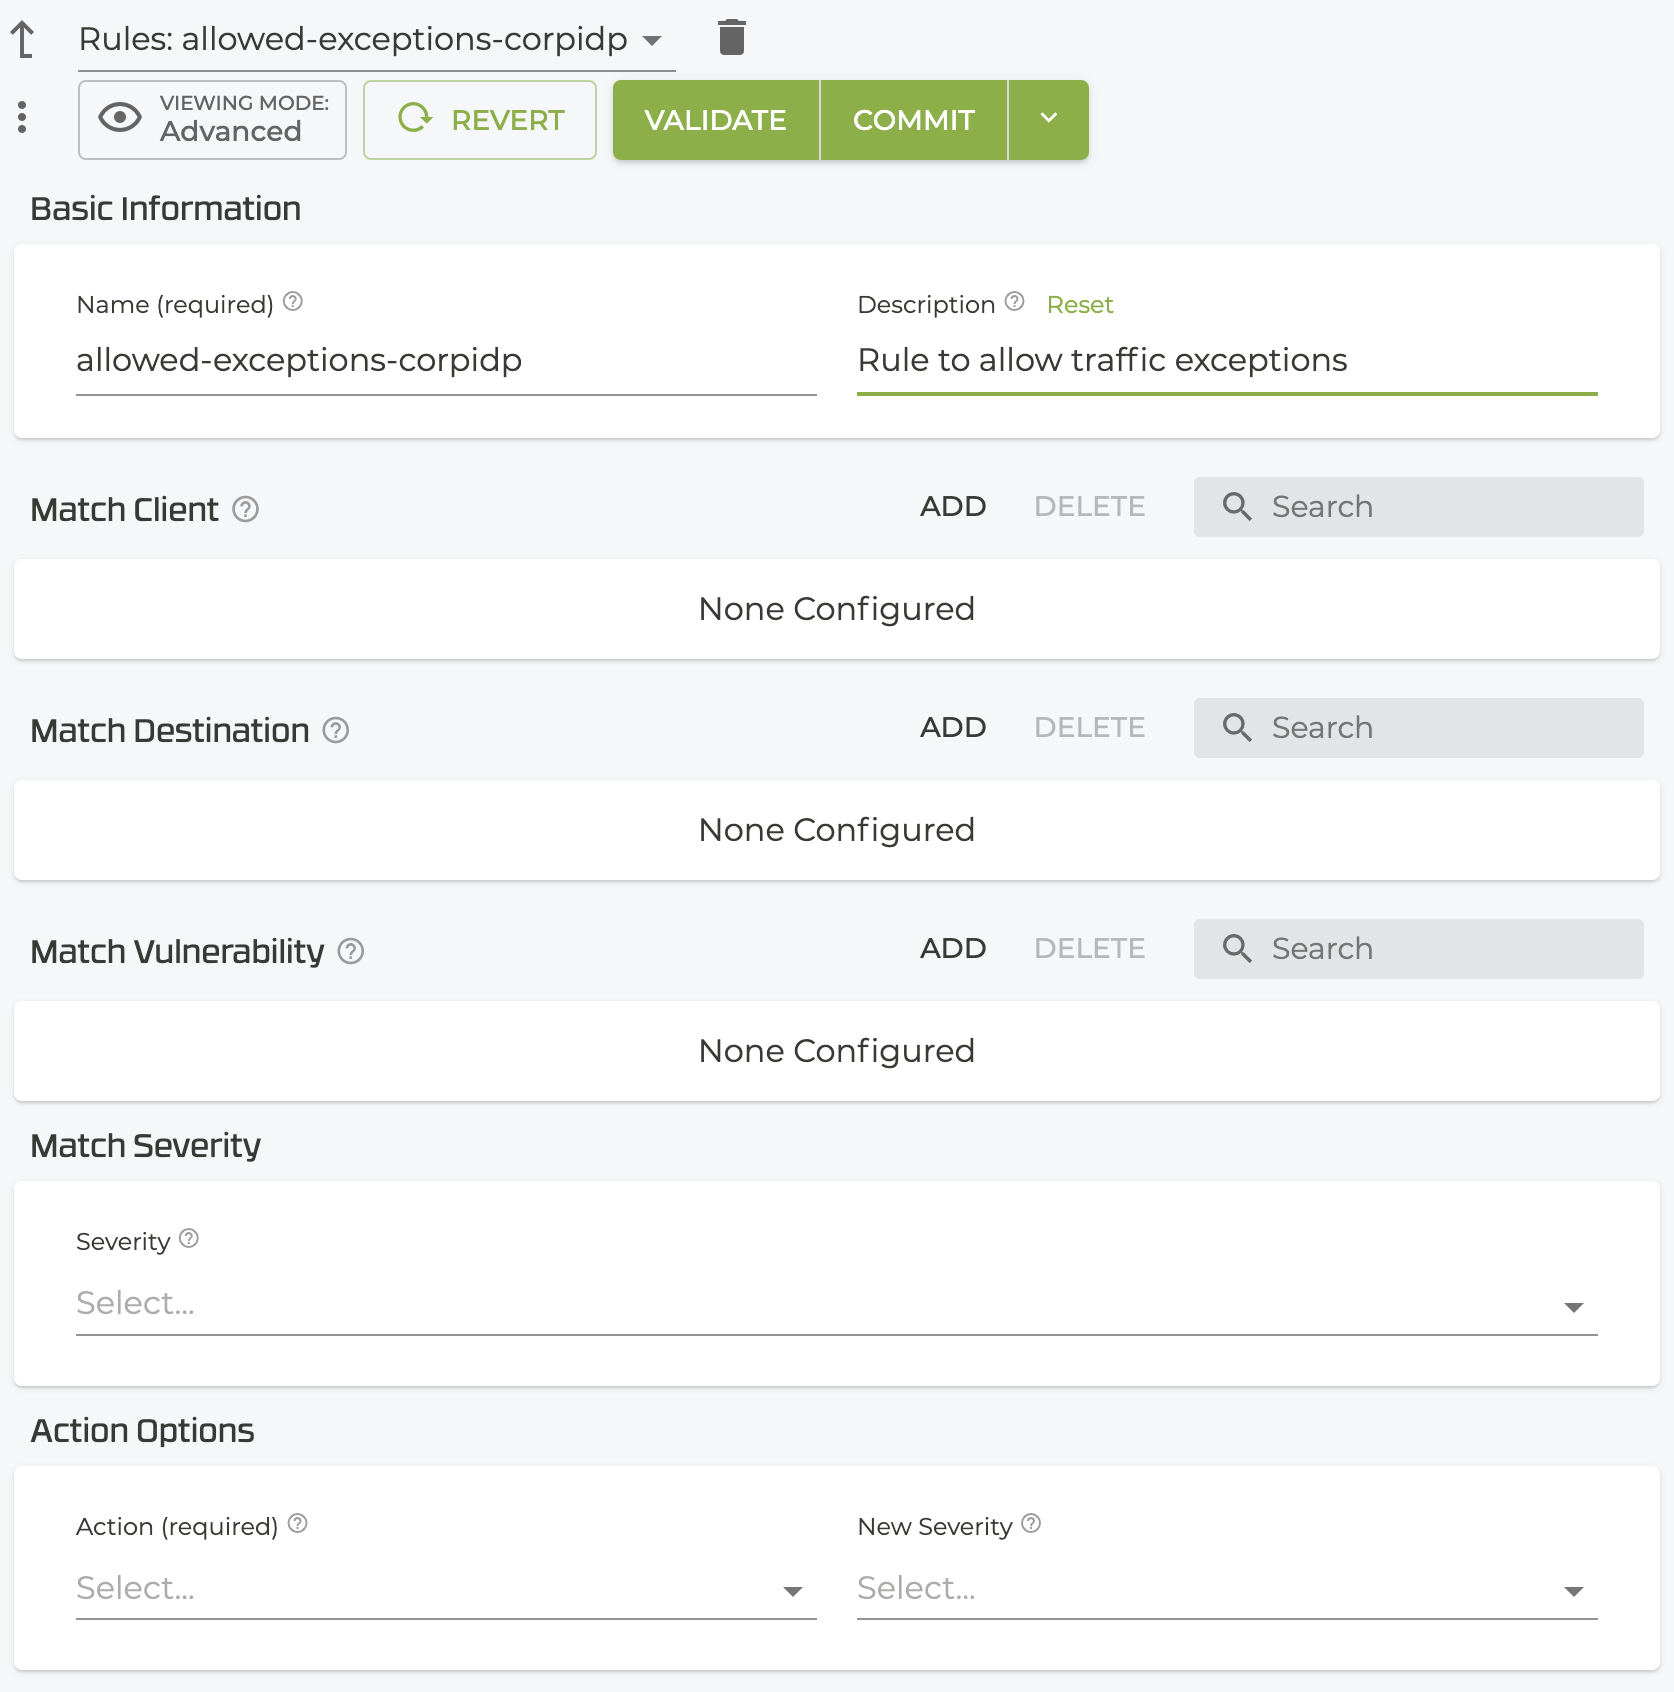
Name the New item and click Save. This opens the settings for the new rule.
-
Identify the following items that will be compared for a match:
The information available on the Security Events screen or the show idp-events command can be used to populate and modify the Rules fields shown below.
- Client IP Address prefix
- Destination IP Address
- Vulnerability
- Severity
- Action Options
 After creating the custom ruleset, use the
 access-policy as shown in the workflow above to define the IDP policy where this custom ruleset is used.
After creating a new ruleset for IDP, the traffic will initially be routed "around" that particular set of rules until it is fully loaded into the IDP engine. Use show idp application status to verify the traffic status affected by the new rule.
Offline IDP Policy Updates
This procedure provides steps to download and install an updated IDP Signature Database when the device does not have an internet connection (Air-Gap network). A single compressed file is downloaded, which is then copied to the device.
-
Log into the SSR using the admin account (full shell access is necessary).
-
Access the cSRX command line interface directly from the SSR shell:
sudo docker exec -it csrx cli -
Configure the SRX container with the following configuration:
 configure
 set security idp traceoptions file idpd
 set security idp traceoptions file size 20m
 set security idp traceoptions flag all
 set security idp traceoptions level all
 commit
 exit
-
After committing the above configuration, run the following CLI command:
request security idp security-package download full-updateThis command will construct the download URL in the idpd log file, which is specific to the software version running on the device. Since the security engine does not expect to have an internet connection, the command will return a failure status in the CLI. This is expected.
-
Run the following command:
show log idpd | match SecPackageThis will get the correct URL of the security package for your device from the
/var/log/idpdfile:Sample URL from the
/var/log/idpdlog:
Jul 19 05:58:37 [idp_secpack_download_handler]: URL sent to get the SecPackage is:

"https://signatures.juniper.net/cgi-bin/index.cgi?device=vsrx&adv_dev_info=&feature=idp&os=21.3&build=30&dfa=hs&platform_version=19.4&detector=12.6.130240409&from=&to=latest&type=update&sn=&release=10.3"
-
Copy the URL from
show log idpd | match SecPackageand change the type parameter value to offline as shown below:type=updateto
type=offline
https://signatures.juniper.net/cgi-bin/index.cgi?device=vsrx&adv_dev_info=&feature=idp&os=21.3&build=30&dfa=hs&platform_version=19.4&detector=12.6.130240409&from=&to=latest&type=offline&sn=&release=10.3
Ensure the correct URL is used for your device and version.
-
Paste your edited URL into a browser on a system with internet access, and press
Enter. Theoffline-update.tar.gzfile is downloaded to your system. -
Upload this file onto an SCP server that is reachable by the SSR device through the management connection. This may require enabling the internal tenant to reach the SCP server through a management service on TCP port 22. For information about configuring this port, see the Management Services documentation.
-
Enter the shell and download the security packages using the following CLI commands:
start shell
cd tmp
scp <user>@<scp_host>:offline-update.tar.gz .
exit
-
Use the CLI to unzip and import the security updates from the
/tmpdirectory:request security idp security-package offline-download package-path /tmp/offline-update.tar.gz -
Install the policy templates:
request security idp security-package install
Additional Verification Steps
-
Check the install status:
request security idp security-package install status
Example output:
Done;policy-templates has been successfully updated into internal repository
(=>/var/db/scripts/commit/templates.xsl)!
-
Verify the policy template version:
show security idp security-package-version -
List the security package attack details using the following command:
show security idp attack detail <attack-name>
Troubleshooting
In some cases you may see the following error:
run request security idp security-package install policy-templates
opening file (/var/db/idpd/sec-download/sub-download/SignatureUpdate.xml) failed; No such file or directory
In this instance, the SignatureUpdate.xml file has not been copied to the /var/db/idpd/sec-download/sub-download/ directory.
Manually copy SignatureUpdate.xml and templates.xml to /var/db/idpd/sec-download/sub-download/ and run the update again.
- Unzip
SignatureUpdate.xml.gzandtemplates.xml.gzin theoffline-updatepackage. - Transfer the
templates.xmlandSignatureUpdate.xmlto/var/db/idpd/sec-download/sub-download/:
run file list /var/db/idpd/sec-download/sub-download/
Example output:
/var/db/idpd/sec-download/sub-download/:
SignatureUpdate.xml*
templates.xml*
-
Install policy templates:
run request security idp security-package install policy-templatesThis is processed in async mode.
-
Check the install status.
run request security idp security-package install status
Example output:
Done;policy-templates has been successfully updated into internal repository
(=>/var/db/scripts/commit/templates.xsl)!
If you require additional assistance, contact Juniper Technical Support.